
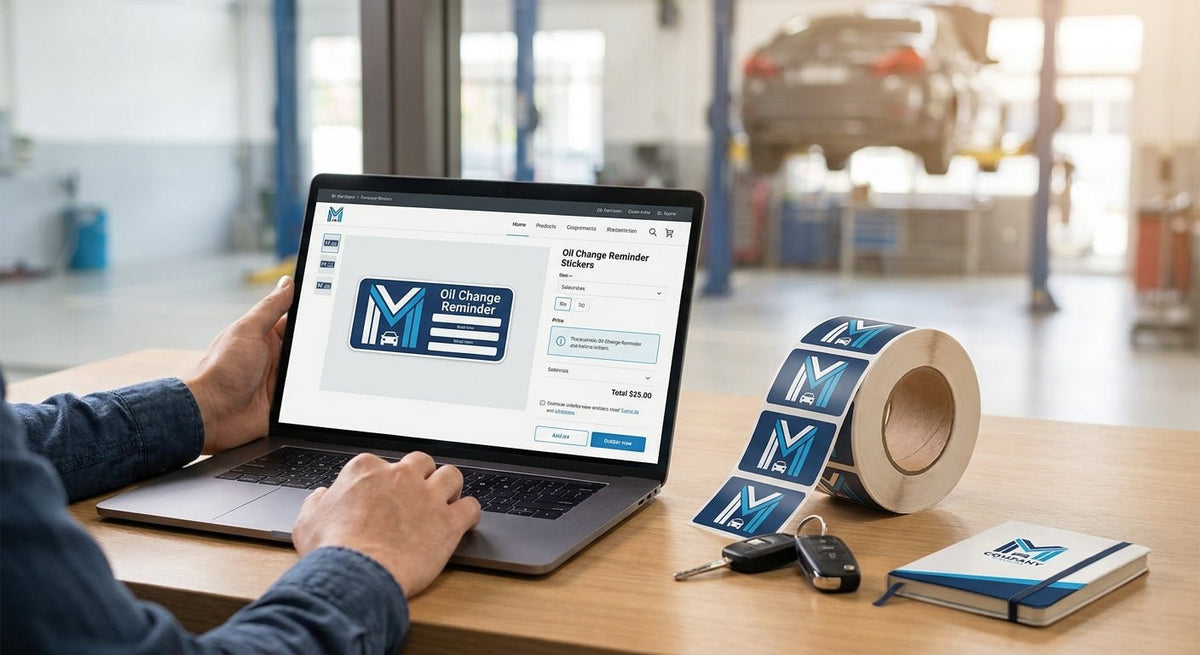
Ordering oil change stickers with a custom logo takes less than 10 minutes when you know exactly what to prepare — this guide walks you through every step, from artwork specs to delivery.
TL;DR: To order custom logo oil change stickers from McAuley Labels in 2026, gather a vector or high-resolution logo file, choose your material (static cling for windshield removal or adhesive for permanent placement), pick your quantity, upload your artwork during checkout, and confirm proof approval before production ships. McAuley Labels manufactures these in the US and ships direct to your shop. The oil change stickers with custom logo product page is the right starting point.
Why This Matters
A blank or generic oil change sticker is a missed branding opportunity every time a car leaves your bay. Custom logo stickers keep your shop name in the customer's line of sight until their next service interval — typically 3,000 to 10,000 miles. For independent shops, quick lubes, and dealerships running hundreds of oil changes per month, that adds up to thousands of branded impressions at a cost of a few cents per sticker.
The ordering process trips shops up in two places: logo file format and material selection. Get those right before you start and the rest is straightforward.
What You'll Need
- Logo file: Vector format (AI, EPS, SVG) preferred; PNG at 300 DPI minimum if vector is unavailable
- Logo dimensions: Know your sticker size — standard oil change stickers run 2.5" x 1.5" to 3.5" x 1.5"; your logo needs to fit legibly at that scale
- Brand colors: Hex codes or Pantone references so production matches your signage
- Quantity: Minimum order quantities apply; buying in bulk (500+) drops per-unit cost significantly
- Placement decision: Windshield interior (static cling) or under-hood/door-jamb (pressure-sensitive adhesive)
- Service interval fields: Decide whether the sticker will carry pre-printed date/mileage fields or blank writable fields
- A credit card or PO: McAuley Labels ships direct to business customers across the US
The Steps
Step 1 — Choose Your Material
What it accomplishes: Material determines where the sticker sticks, how long it lasts, and whether the customer can reposition it.
For windshield placement, static cling is the standard. It adheres without glue, removes cleanly at the next service, and leaves no residue on glass. Pressure-sensitive adhesive is the right call for door jambs, air filter housings, or anywhere you want a permanent reminder that survives heat and moisture.
In 2026, McAuley Labels offers both formats with custom logo printing. Confirm the placement with your service writers before ordering — getting this wrong means reprinting.
Common mistake: Ordering adhesive stickers for windshield use. Customers hate scraping off adhesive-backed stickers, and technicians waste time doing it at the next service visit.
Step 2 — Prepare Your Logo File
What it accomplishes: A clean file produces sharp print output. A low-resolution file produces a pixelated logo that undermines the branding purpose of the sticker entirely.
Export your logo as an AI, EPS, or SVG file. If your designer only has a PNG, it must be at least 300 DPI at the actual print size — not 300 DPI at a large canvas scaled down. Transparent background is required; white backgrounds will print as white boxes on colored sticker stock.
Keep your logo simple at this scale. Fine detail below 0.5 pt line weight will not reproduce cleanly on a 2.5" x 1.5" label. If your logo has a complex icon paired with a wordmark, consider using the wordmark only for the sticker.
Expected outcome: A file the McAuley Labels production team can use without back-and-forth revision requests, which keeps your order on schedule.
Common mistake: Sending a logo exported from a Word document or screenshot of your website. These are screen-resolution images (72 DPI) and will not print cleanly.
Step 3 — Configure Your Sticker Specs
What it accomplishes: Locking in size, quantity, and field layout before checkout prevents mid-order change requests that delay production.
Decide on:
- Size: 2.5" x 1.5" fits most windshield corners; 3.5" x 1.5" gives more room for mileage and date fields
- Quantity: Order at a 3-month minimum based on your monthly oil change volume to reduce per-unit cost without overstocking
- Fields: Date of service, mileage at service, next service date, next service mileage — decide which are pre-printed vs. hand-written
- Color scheme: Background color, text color, logo placement (left, center, or header band)
For shops doing 200+ oil changes per month, ordering 500–1,000 units at a time is standard in 2026.
Common mistake: Ordering the same quantity you'd order from a generic sticker supplier. Custom logo stickers have a setup cost baked into smaller runs — the per-unit economics improve sharply above 500 units.
Step 4 — Place the Order and Upload Your Artwork
What it accomplishes: This is where your specs and file become a production job.
Navigate to the oil change stickers with custom logo product page on mcauleylabels.com. Select your material, quantity, and any field options available in the product configurator. At checkout, you will be prompted to upload your logo file — use the vector or high-resolution PNG you prepared in Step 2.
If your shop also needs QR codes on the sticker (for linking to service history or a review page), McAuley Labels offers a dedicated windshield sticker with QR code and custom logo option. That variant encodes a scannable QR alongside your logo in the same sticker format.
Double-check your shipping address. McAuley Labels ships direct from US manufacturing — address errors are the single most common cause of delivery delays.
Common mistake: Uploading the file and assuming production starts immediately. A proof approval step follows upload for custom orders.
Step 5 — Review and Approve Your Proof
What it accomplishes: The proof is your last chance to catch layout errors, color shifts, or field placement issues before 500 stickers are printed.
McAuley Labels will send a digital proof to the email on your order. Review it against these four points:
- Logo is sharp and positioned correctly
- Background and text colors match your brand
- All service fields are present and labeled correctly
- Sticker dimensions match what you ordered
Approve only when all four check out. If anything is off, request a revision with specific notes — "move logo to top-left, increase font size on mileage field" is more useful than "something looks wrong."
Production begins after approval. Do not approve a proof you are not confident in — reprints take time and cost money.
Expected outcome: A production-ready file that matches your shop's branding and prints cleanly at scale.
Common mistake: Approving the proof on a phone screen. Colors and fine detail look different on mobile. Review the proof on a desktop monitor before clicking approve.
Step 6 — Receive, Inspect, and Store Your Order
What it accomplishes: A quick inspection on delivery prevents discovering a print defect six weeks into using the batch.
When your order arrives, pull 5–10 stickers from different positions in the roll or pack and compare them to your approved proof. Check logo sharpness, color consistency, and adhesion quality. Static cling stickers should peel cleanly from the liner; adhesive stickers should release without stretching.
Store rolls away from direct sunlight and heat. In 2026, most shop storage areas run warm in summer — a cabinet or drawer keeps stock flat and prevents adhesive degradation.
If you find a defect, contact McAuley Labels with photos immediately. Do not use the full batch and then report the issue — document it on the day of receipt.
Common mistake: Storing static cling stickers near a heat source. Heat causes cling material to curl and lose its grip on glass.
Troubleshooting
Logo looks pixelated on the proof. The uploaded file was raster and too low-resolution. Request a revision hold, re-export your logo as a vector or at 300 DPI minimum at actual print size, and resubmit.
Sticker won't adhere to windshield glass. For static cling, the glass surface must be clean and dry. Wax, water repellent coatings, and rain-X reduce cling adhesion. Clean the corner with isopropyl alcohol before applying.
Colors on the printed sticker don't match our signage. Digital proofs are RGB; print output is CMYK. Provide Pantone references or CMYK values with your order to get the closest match. RGB hex codes alone will shift in print.
Fields are too small to write in. This is a design spec issue. Request a revised proof with larger field boxes. If using thermal-printable stickers for in-house printing, field size is controlled by your label template software.
Order arrived but quantity is short. Count the full delivery and report any shortfall with the packing slip within 48 hours of receipt.
Proof approval email never arrived. Check spam. If it is not there within one business day of ordering, contact McAuley Labels directly with your order number — production cannot start without proof approval, so this stalls your timeline.
Tools and Resources
- Oil change stickers with custom logo — the main product page for logo-printed stickers, static cling and adhesive options
- Logo design: Adobe Illustrator or Inkscape for vector export; Canva Pro if you only have PNG (export at 300 DPI at print size)
- Color reference: Keep your brand's CMYK or Pantone values in a document you can paste directly into order notes
- How to design custom oil change stickers with a logo — step-by-step guide to building a sticker layout from scratch if you are starting without existing artwork
- How to order custom oil change stickers in bulk — covers quantity pricing tiers and multi-location ordering logistics
FAQ
What file format does McAuley Labels require for custom logo stickers? Vector files (AI, EPS, SVG) are preferred. PNG files are accepted at 300 DPI minimum at the actual print size. Do not submit JPEGs exported from a website or screenshots.
How long does it take to receive custom logo oil change stickers? Production time in 2026 depends on order size and proof approval speed. Once you approve the digital proof, production and shipping typically run 5–10 business days for standard orders. Delays almost always trace back to slow proof approval or file revision requests.
What is the minimum order quantity for custom logo stickers? Minimum quantities vary by product configuration. Larger quantities reduce per-unit cost — 500 units is a common floor for custom-printed runs. Check the product page for current minimums.
Can I put a QR code on my oil change sticker along with my logo? Yes. McAuley Labels offers a windshield sticker variant that includes both a custom logo and a scannable QR code. The QR can link to a review page, service history portal, or any URL you specify.
Is static cling or adhesive better for windshield oil change stickers? Static cling is better for windshields in nearly every shop context. It removes without residue, does not damage tint, and the next technician can peel it off in seconds. Adhesive is the right choice for door jambs, hoods, or surfaces where you want the sticker to stay permanently.
Do the stickers hold up in hot cars? McAuley Labels manufactures stickers for automotive use, where interior temperatures regularly hit 150°F or higher in summer. The materials are rated for automotive environments. Store your stock away from heat, but the applied sticker is designed to hold.
Can I order different logo stickers for multiple shop locations? Yes. Each location's logo or address variation is a separate artwork file and a separate line item. Order them together and note the location name with each file upload to keep production organized.
How much do custom logo oil change stickers cost? Per-unit cost depends on quantity, material type, and configuration. Bulk orders in 2026 bring per-unit cost to a few cents per sticker. The product page shows current pricing by quantity tier.
One Last Thing
The proof approval step is where most custom sticker orders slow down — not production, not shipping. Shops that turn proof approval around within the same business day they receive it consistently get their orders faster than shops that let the email sit. Build proof review into whoever processes your supply orders, not into whoever is running the service bay.