
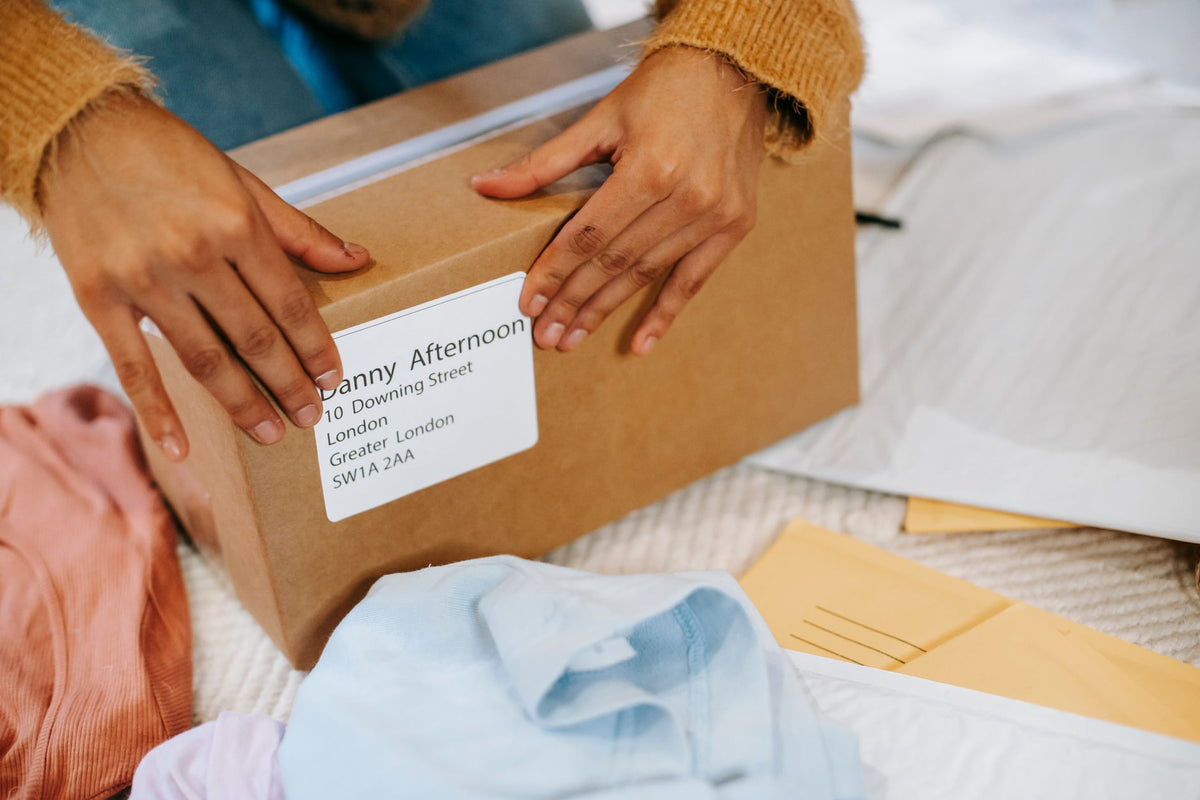
Printing 4x6 shipping labels at home is straightforward once you match your printer type to the right label stock and configure your carrier settings correctly. This guide covers every step — hardware, software, label loading, and common fixes — so your first label prints clean and scannable.
TL;DR: To print 4x6 shipping labels at home in 2026, you need either a direct thermal printer (no ink, no ribbon) or a standard inkjet/laser printer with 4x6 label sheets. Direct thermal is faster and cheaper per label. Download your shipping label from USPS, UPS, FedEx, or your ecommerce platform, set the paper size to 4x6 inches, and print at 203 DPI or higher. McAuley Labels carries 4x6 thermal label printer options purpose-built for home-based shipping.
Why This Matters
Carriers scan every label at multiple points in transit. A blurry, misaligned, or undersized label causes scan failures, delays, and sometimes lost packages. In 2026, all major carriers — USPS, UPS, FedEx, and DHL — require labels to be at minimum 4 inches wide × 6 inches tall with a readable barcode. Getting the setup right once saves you reprints, voided labels, and customer service calls.
What You'll Need
- A printer: direct thermal (recommended), inkjet, or laser
- 4x6 label stock: direct thermal labels (no ribbon needed) or plain 4x6 adhesive sheets for inkjet/laser
- A carrier account: USPS Click-N-Ship, UPS.com, FedEx account, Shippo, ShipStation, Etsy Shipping, or Shopify Shipping
- A USB cable or Wi-Fi connection between printer and computer
- 10–15 minutes for first-time setup; under 60 seconds per label after that
Direct thermal vs. inkjet/laser: Direct thermal prints by heating the label surface — no ink cartridges, no ribbon, no recurring supply cost beyond the labels themselves. A dedicated 4x6 direct thermal printer pays for itself within a few hundred labels compared to inkjet ink and specialty paper.
The Steps
Step 1 — Choose your printer type
Decide whether you'll use a dedicated 4x6 thermal printer or repurpose an existing inkjet/laser.
A dedicated direct thermal printer handles 4x6 as its native format. You load the roll, the driver sets 4x6 automatically, and there is no page-size guesswork. Print speed is typically 4–6 inches per second — a label in under 2 seconds.
An inkjet or laser printer works but requires you to manually set a custom 4x6 paper size every session on most operating systems, and ink smears if labels get wet in transit. If you're shipping more than 10 packages a week, the inkjet route gets tedious fast.
Common mistake: Buying a standard desktop label maker (the kind that prints 0.5"–1" address labels) and assuming it prints 4x6. It does not. Confirm the printer's maximum print width is at least 4 inches before purchasing.
Step 2 — Install drivers and label software
For a dedicated thermal printer, download the manufacturer's driver from the official product page. McAuley Labels' Godex-based printers use GoLabel software, which is free and handles label sizing, DPI, and print speed in one interface.
For Windows: go to Settings → Devices → Printers & Scanners → Add a printer, then select your installed driver. For Mac: use System Settings → Printers & Scanners → Add Printer, and macOS will often detect the driver automatically if installed first.
Set the default paper size to 4.00 × 6.00 inches in the driver properties immediately after installation. Doing this now means every carrier platform you use will inherit the correct size.
Common mistake: Skipping driver installation and relying on a generic USB print driver. Generic drivers default to Letter (8.5×11) and will print your label at stamp size in the top-left corner of a phantom full page.
Step 3 — Load your label stock correctly
For a thermal roll printer: Feed the roll so the printable side (the side that darkens when you scratch it with a fingernail) faces up toward the print head. Thread it through the label guides and adjust the guides until they sit flush against the label edges with no gap and no pinching.
For fanfold (Z-fold) labels: Stack them behind the printer, feed the leading edge through the input slot, and run a test print before loading a full stack.
For inkjet/laser with sheet labels: Load one sheet at a time, printable side face-down on most laser printers, face-up on most inkjets. Check your printer's paper path diagram if unsure.
After loading, run a test print from the driver utility (most thermal drivers have a "self-test" button that prints a configuration label). Confirm the label feeds straight and stops at the correct length. If it overruns or underruns, calibrate the label sensor — most Godex printers do this by holding the Feed button for 3 seconds during power-on.
Common mistake: Loading the label roll backward. The result is a blank label with no printing. The scratch test (drag a fingernail firmly across the surface — the heat-sensitive side turns dark) identifies the correct side in under 5 seconds.
Step 4 — Generate your shipping label
Log into your carrier or shipping platform and create a shipment as normal. At the label format/download step:
- USPS Click-N-Ship: Select "4×6 label" from the print format dropdown. Download as PDF.
- UPS.com: Under print options, choose "Thermal (4×6)". Download ZPL or PDF depending on your printer.
- FedEx Ship Manager: Select "Thermal" label format. Download as PDF or EPL/ZPL.
- Shippo / ShipStation / Shopify Shipping: All three default to 4×6 PDF when a thermal printer is detected. Confirm in account settings under "Label Format."
If you can choose between PDF and ZPL/EPL: PDF is universal and works with any printer. ZPL/EPL are raw thermal commands that produce sharper barcodes on compatible Godex and similar printers — use them when available.
Common mistake: Downloading the letter-size (8.5×11) PDF version and printing it scaled to fit a 4×6 label. Scaling compresses the barcode and causes scan failures at carrier facilities. Always select the 4×6 format at the source.
Step 5 — Configure print settings and send to printer
Open the downloaded label file. Before clicking Print:
- Set paper/page size to 4.00 × 6.00 inches (or 101.6 × 152.4 mm).
- Set scaling to 100% / Actual Size — never "Fit to page."
- Set orientation to Portrait.
- Set print quality to 203 DPI minimum (300 DPI if your printer supports it — barcodes scan faster at higher resolution).
- Disable any margins if using Adobe Acrobat Reader: File → Print → Page Sizing → Actual Size.
Send the job. A properly configured label exits the printer in under 3 seconds and fills the full 4×6 surface with no white border wider than 0.125 inches on any edge.
Common mistake: Printing from a browser's built-in PDF viewer, which adds default margins and rescales the label. Always use Adobe Acrobat Reader or the printer manufacturer's utility for label PDFs.
Step 6 — Verify and apply the label
Before applying the label, scan the barcode with your phone's camera. Every major carrier app (USPS Mobile, UPS Mobile, FedEx Mobile) will read the tracking number directly from a photo. If the camera hesitates more than 2 seconds to lock on, the print quality is too low — reprint at higher DPI or clean the print head.
Apply the label to the largest flat surface of the package. No part of the label should wrap around a corner or edge. Press firmly from center outward to eliminate air bubbles. If shipping in a poly mailer, place the label on the widest face and avoid placing it over the seam.
Common mistake: Covering part of the barcode with tape. Clear tape over the barcode is fine; opaque tape is not. If you need to protect the label from moisture, use a full-label clear pouch or ensure your label stock is water-resistant.
Step 7 — Test the full workflow before your first real shipment
Print one test label using a voided or sample tracking number from your carrier's developer tools, or simply reprint a recent label on plain paper. Run through the entire workflow: generate, download, print, scan, apply. Confirm the label dimensions are exactly 4×6 inches by measuring with a ruler. Confirm the barcode scans in under 1 second.
Once verified, your setup is repeatable in 2026 and beyond with no further adjustment unless you switch carriers or label stock.
Troubleshooting
Label prints too small / appears in the corner of a large page The driver paper size is set to Letter. Go to printer properties, change the paper size to 4×6, and reprint.
Blank label exits the printer Label stock is loaded backward. Flip the roll so the heat-sensitive side faces the print head, reload, and reprint.
Barcode fails carrier scan Either the PDF was scaled (fix: reprint at 100% actual size) or print resolution is below 203 DPI (fix: increase DPI in driver settings).
Label jams mid-print Label guides are too tight or the roll core is binding. Loosen guides to just-touching the label edge, and ensure the roll spins freely on the spindle.
Label adhesive won't stick to the package Package surface is dusty, oily, or below 40°F. Wipe the surface clean with a dry cloth and apply the label at room temperature. If shipping in cold environments, use a label stock rated for low-temperature adhesion.
First few labels in a new roll are faint The beginning of most thermal rolls has a protective coating layer. Feed through 2–3 blank labels before printing real shipment labels from a new roll.
Tools and Resources
- Printer: A 4x6 direct thermal printer handles 4x6 natively at 203 DPI, requires no ink or ribbon, and is the fastest route to consistent results. McAuley Labels' 4x6 thermal label printer is built for exactly this use case.
- Label stock: 4x6 shipping labels for direct thermal printing — no ribbon needed, compatible with UPS, USPS, and FedEx.
- Carrier platforms: USPS Click-N-Ship, UPS.com, FedEx Ship Manager, Shippo, ShipStation, Shopify Shipping, Pirateship
- Driver software: GoLabel (Godex printers), ZDesigner (Zebra), Niimbot app (Niimbot printers)
- PDF viewer for printing: Adobe Acrobat Reader (free) — use this, not a browser viewer
FAQ
What's the best printer for printing 4x6 shipping labels at home? A direct thermal printer with a 4-inch print width is the best choice in 2026. It requires no ink or ribbon, prints a label in under 3 seconds, and costs roughly $0.03–$0.06 per label in stock. Inkjet works but costs more per label and the print is vulnerable to moisture.
Can I print a 4x6 shipping label on a regular printer? Yes. Set a custom paper size of 4×6 inches in your printer driver, load 4x6 adhesive label sheets, and print at 100% scale with no margins. The result works, but you'll need to repeat the paper size setup each session on most inkjet printers.
Does a shipping label have to be 4x6? Major carriers accept labels smaller than 4x6 in some cases, but 4×6 is the standard. Labels narrower than 4 inches can cause barcode truncation. For a detailed answer, see does a shipping label have to be 4x6.
What DPI do I need to print a shipping label that scans correctly? 203 DPI is the minimum for a readable barcode in 2026. 300 DPI produces faster, more reliable scans, especially for 1D barcodes with narrow bars. Never print a shipping barcode below 203 DPI.
Can I print a 4x6 label from my phone? Yes, if your printer supports Bluetooth or Wi-Fi. Download the carrier app, generate the label, and print directly from the app. Confirm the app sends the correct 4×6 paper size — some mobile print dialogs default to Letter.
Why does my 4x6 label have a white border when it prints? The PDF viewer is adding margins or scaling the image down. Open the PDF in Adobe Acrobat Reader, go to File → Print → Page Sizing, and select "Actual Size." The label should fill the full 4×6 surface.
Is direct thermal or thermal transfer better for shipping labels? Direct thermal is better for shipping labels. Labels are in transit for days to weeks, not years, so longevity is not a factor. Direct thermal eliminates ribbon cost and ribbon replacement time. Thermal transfer is the right choice for labels that need to last 2–5+ years outdoors or in harsh environments.
How much does it cost to print 4x6 shipping labels at home in 2026? Direct thermal label stock runs approximately $0.03–$0.07 per label at volume. Inkjet labels cost $0.15–$0.30 per label once ink is factored in. A dedicated direct thermal printer typically pays back its cost in label savings within 300–600 labels.
One Last Thing
The single most common reason home-based sellers reprint labels is not printer hardware — it's using a browser's built-in PDF viewer instead of Adobe Acrobat Reader. Browser PDF viewers add invisible margins and rescale the document to fit the screen, which shrinks the barcode. Switching to Acrobat Reader eliminates this failure mode entirely, costs nothing, and takes 2 minutes to install. If you do one thing after reading this guide, do that.