
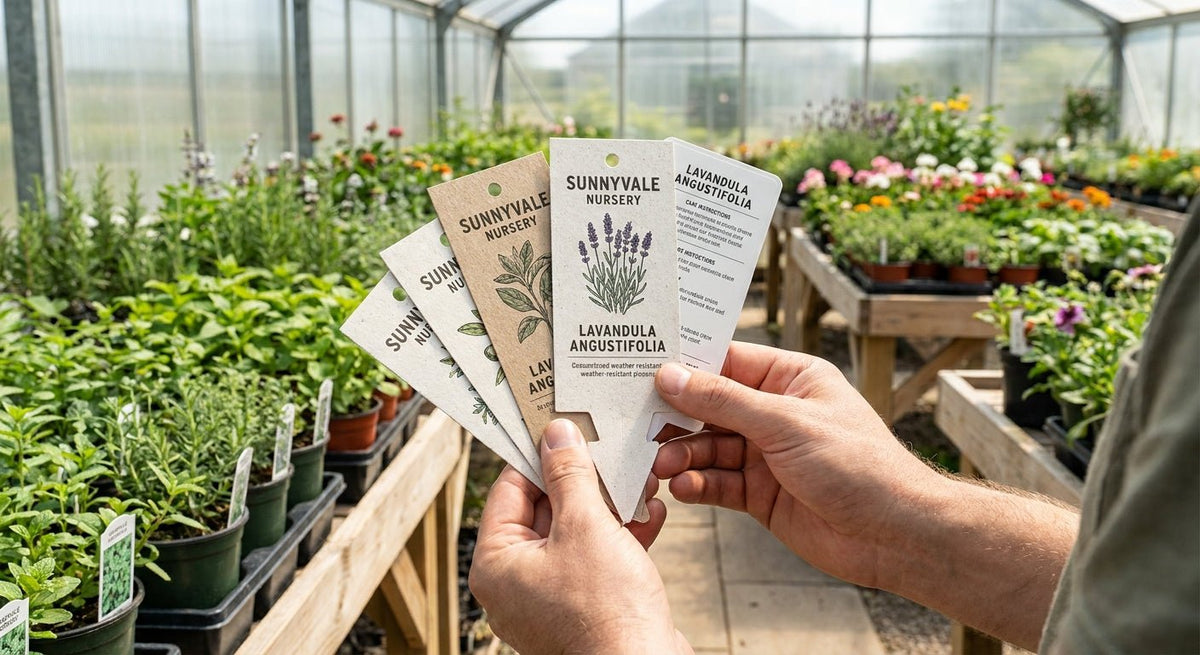
Designing plant tags that survive irrigation cycles, UV exposure, and outdoor handling starts with getting the label material, data fields, and print method right — this guide covers all three for commercial nursery operations in 2026.
TL;DR: For commercial nursery use in 2026, a durable plant tag needs waterproof label stock (polypropylene or polyester), a thermal transfer printer running at minimum 300 DPI, and a layout that fits botanical name, common name, care instructions, and a scannable barcode or QR code in that priority order. Direct thermal prints fade outdoors within weeks. Thermal transfer on the right stock lasts a full growing season and beyond.
Why This Matters for Commercial Operations
A failed plant tag does more damage than no tag at all — a customer reads wrong care instructions, your staff mis-picks an order, or a wholesale buyer gets a pallet with unreadable SKUs. Commercial nurseries running 500 to 50,000+ SKUs in 2026 need tags that stay legible from potting bench to point of sale, often 6 to 18 months later. The design decisions you make before printing determine whether the tag survives that window.
What You'll Need
- Label stock: Waterproof polypropylene or polyester labels — not paper. Paper disintegrates in 2–4 weeks under regular irrigation.
- Printer: Thermal transfer printer at 300 DPI minimum. 203 DPI is marginal for small text; 600 DPI is ideal if your tags include fine-print care icons or dense barcodes.
- Ribbon: Resin or resin-blend thermal transfer ribbon. Wax ribbons smear when wet.
- Label design software: GoLabel, BarTender, or any ZPL-compatible tool.
- Time: 30–60 minutes for initial template setup; 5–10 minutes per new SKU after that.
- Data source: Your plant inventory list with botanical names, common names, care codes, and SKUs.
The Steps
Step 1: Define the Required Data Fields
Decide what every tag must carry before you open any design tool. For a commercial nursery in 2026, the minimum viable field set is: botanical name (genus, species, cultivar), common name, light and water requirements, hardiness zone, pot size or SKU, and a barcode or QR code tied to your inventory system. Optional but useful: country-of-origin for wholesale compliance, price for retail floor, and a QR code linking to a care page. Lock this list before you design anything — adding fields after the template is built forces a full layout rebuild.
Common mistake: designing around the common name in large type and treating the botanical name as secondary. Buyers at the wholesale level search by botanical name; retailers re-tag for consumers. Lead with botanical.
Step 2: Choose Your Label Stock
Polypropylene is the standard for most nursery tags — it resists moisture, handles UV reasonably well for 6–12 months, and accepts thermal transfer ink cleanly. Polyester goes further: it holds up to fertilizer splash, direct sun, and rough handling that destroys polypropylene in high-exposure positions (hanging baskets, outdoor benches in direct sun all day). If your tags sit in a covered greenhouse, polypropylene is sufficient. If they go on outdoor perennials that ship to big-box retailers and sit in a parking lot display for 3 months, use polyester.
Avoid glossy coated paper even when labeled "water-resistant." That coating delays water damage by days, not months. For in-ground stakes, consider a rigid polypropylene stake-style substrate — flat label stock stapled to a wood stake delaminate within one season.
Step 3: Set Label Dimensions and Safe Zones
Standard nursery tag sizes run 1.5" × 4" for pot-clip tags and 2" × 3.5" for flat hang tags. Set your design canvas to the exact die size, then apply a 1/8" (0.125") margin on all four edges as a non-print safe zone. Text or barcodes that bleed into this zone get cut off during die-cutting or obscured by tag holders. Barcodes need a minimum quiet zone of 10× the bar width on the left and right edges — this is the most frequently violated spec that causes scan failures at point of sale.
For pot sizes under 4", keep the tag under 1.5" wide or it catches irrigation spray and tears the tag off the stake.
Step 4: Build the Typography Hierarchy
Your tag is read in under 3 seconds by someone moving through a greenhouse. The hierarchy must do the work instantly:
- Botanical name — largest type, 10–14 pt minimum for readability at arm's length, italicized per taxonomic convention
- Common name — second largest, 8–12 pt, bold
- Care icons or abbreviated care codes — sun/shade/water symbols at 0.25" minimum size
- SKU and barcode — placed at the bottom of the tag away from the imagery zone
- Nursery name or logo — smallest element; never compete with the plant data
Use a sans-serif font (Barlow, Arial, or similar) for all body fields. Serif fonts print poorly at small sizes on thermal transfer. Minimum readable font size on a 300 DPI thermal printer is 6 pt for Latin characters — below that, letters merge.
Step 5: Place the Barcode or QR Code
For inventory scanning and wholesale compliance in 2026, every commercial tag needs a machine-readable code. Barcodes (Code 128 or Code 39) work well for simple SKU lookup. QR codes add capacity for linking to detailed care sheets, propagation certificates, or grower origin pages — useful for premium or specialty lines.
Minimum barcode height for reliable scanning: 0.5" for a Code 128. Minimum QR code module size: 0.015" per module, which means a 21×21-module QR code (the smallest, Version 1) needs to be at least 0.315" × 0.315" to scan reliably. At 300 DPI you have the resolution to hit these specs cleanly; at 203 DPI, add 20% to those minimum dimensions as a buffer. For detailed guidance on printing QR codes at spec, see how to print QR codes on labels.
Place the barcode or QR code in a consistent position across all tag variants — bottom center or bottom right. Staff and scanners build muscle memory around placement.
Step 6: Select Print Resolution and Ribbon Type
A 300 DPI thermal transfer printer handles standard nursery tag work cleanly — readable small text, scannable barcodes, and crisp care icons. If your tags include photographic imagery or very fine plant illustration graphics, step up to 600 DPI. The Godex RT230i thermal printer (300 DPI) covers the 300 DPI use case; for 600 DPI output the Godex RT863i thermal printer (600 DPI) handles fine-detail commercial runs.
Ribbon selection is as important as resolution. Use a resin ribbon for polyester stock and any outdoor application — resin resists water, fertilizer, and UV better than wax or wax-resin blends. Wax-resin is acceptable for indoor greenhouse tags on polypropylene. Pure wax ribbons are for paper stock only — never for nursery tags.
Step 7: Test Before You Run the Full Batch
Print 10 test tags before committing to a full run. Check:
- Barcode scans on the first attempt with your inventory scanner
- Text is legible at arm's length
- No bleed into the safe zone margin
- Ink does not smear when wet (run a tag under water for 30 seconds)
- Tag lies flat and does not curl after 24 hours
If ink smears when wet, switch to resin ribbon. If text blurs, increase DPI or reduce print speed by one step in the printer driver. Calibrate the printer to your specific label stock before the production run — label gap sensors need to be set to the exact die size or you'll get misaligned prints. See the guide on how to calibrate a thermal label printer for step-by-step calibration.
Troubleshooting
Barcode won't scan after printing. The quiet zone is too small or print density is too high, causing bars to fill. Reduce print darkness by 1–2 steps in printer settings and re-measure quiet zones in your template.
Ink rubs off after a few days outdoors. You are using a wax or wax-resin ribbon on a polyester substrate. Switch to full resin ribbon.
Text is blurry at small sizes. Print speed is set too fast for the resolution. Drop print speed from 4 in/sec to 2 in/sec and retest. Also confirm DPI in your software matches the printer's actual hardware resolution.
Tags curl and fall off stakes. The label stock face material and liner have different thermal expansion rates. Let labels acclimatize to ambient temperature for 30 minutes before applying, or switch to a stiffer substrate.
Label adhesive fails in wet soil or high humidity. Permanent acrylic adhesive is minimum spec for nursery use. Rubber-based adhesives fail above 80% humidity. Confirm adhesive type with your label stock supplier.
QR code scans on some phones but not others. Module size is too small for low-resolution phone cameras. Increase QR code physical size by 25% and reprint the test batch.
Tools and Resources
- Thermal transfer printer at 300 DPI: Handles standard plant tag runs with clean small text and barcodes
- Thermal transfer printer at 600 DPI: Required for fine-detail imagery or compliance labels with dense data
- Resin thermal transfer ribbon: Mandatory for outdoor and moisture-exposed tags — thermal transfer ribbon from McAuley Labels
- Waterproof label stock: Polypropylene for covered growing environments; polyester for outdoor exposure — see the waterproof plant label printer buying guide for stock selection
- GoLabel or BarTender: Template-based label design software; GoLabel ships with Godex printers at no additional cost
- Custom quote for volume orders: If you need pre-printed label stock in custom sizes or colors, request a custom quote to spec the right substrate and adhesive for your operation
FAQ
What is the best label material for nursery plant tags? Polyester is the most durable for outdoor nursery use in 2026 — it resists UV, fertilizer, and repeated irrigation better than polypropylene or paper. Polypropylene works for covered greenhouses where direct sun exposure is limited.
Can I use a direct thermal printer for plant tags? No. Direct thermal prints fade within 2–8 weeks under UV and heat exposure. Commercial nursery tags require thermal transfer printing with a resin ribbon to stay legible through a full growing season.
What DPI do I need for plant tag barcodes to scan reliably? 300 DPI is the minimum for Code 128 barcodes at standard nursery tag sizes. If your tags are under 1.5" wide or include QR codes with Version 2 or higher density, 600 DPI eliminates scan failures.
How small can the font be on a thermal-printed plant tag? 6 pt is the practical minimum at 300 DPI for Latin characters in a sans-serif font. Below 6 pt, individual letters merge. At 600 DPI you can push to 4–5 pt for secondary data fields.
How do I include a QR code on a plant tag? Generate the QR code in your label design software (GoLabel supports native QR code objects), set the minimum module size to 0.015", and place it in a consistent position with a clear quiet zone border. Test with at least 3 different phone models before running a full batch.
What ribbon type should I use for outdoor plant tags? Resin ribbon only. Wax and wax-resin blends degrade when exposed to water, fertilizer, and UV. Resin ribbon adds cost per label but the alternative is illegible tags in the field.
How long should a properly printed nursery plant tag last? A thermal transfer print on polyester stock with resin ribbon lasts 2–3 years outdoors under normal nursery conditions. Polypropylene with resin ribbon lasts 12–18 months in covered or semi-exposed settings.
Do I need a different printer for large batch nursery label runs? Not necessarily. A desktop thermal transfer printer handles continuous runs of several thousand labels per day. Industrial-grade units add higher-speed feeds (up to 10 in/sec) and larger media rolls, which reduce changeover time on operations printing 20,000+ tags per week.
One Last Thing
The single most common failure mode in commercial nursery tag programs in 2026 is not the printer and not the design — it is the ribbon-to-substrate mismatch. Operators buy a good printer, design a clean template, then load wax ribbon because it costs less per roll. The first rain or overhead irrigation run turns every tag into a smeared mess. Resin ribbon costs roughly 2–3× more per linear foot than wax, but on a 2" × 3.5" tag that delta is fractions of a cent per label. Match resin ribbon to outdoor stock and the design work you put in actually survives to the sales floor.