
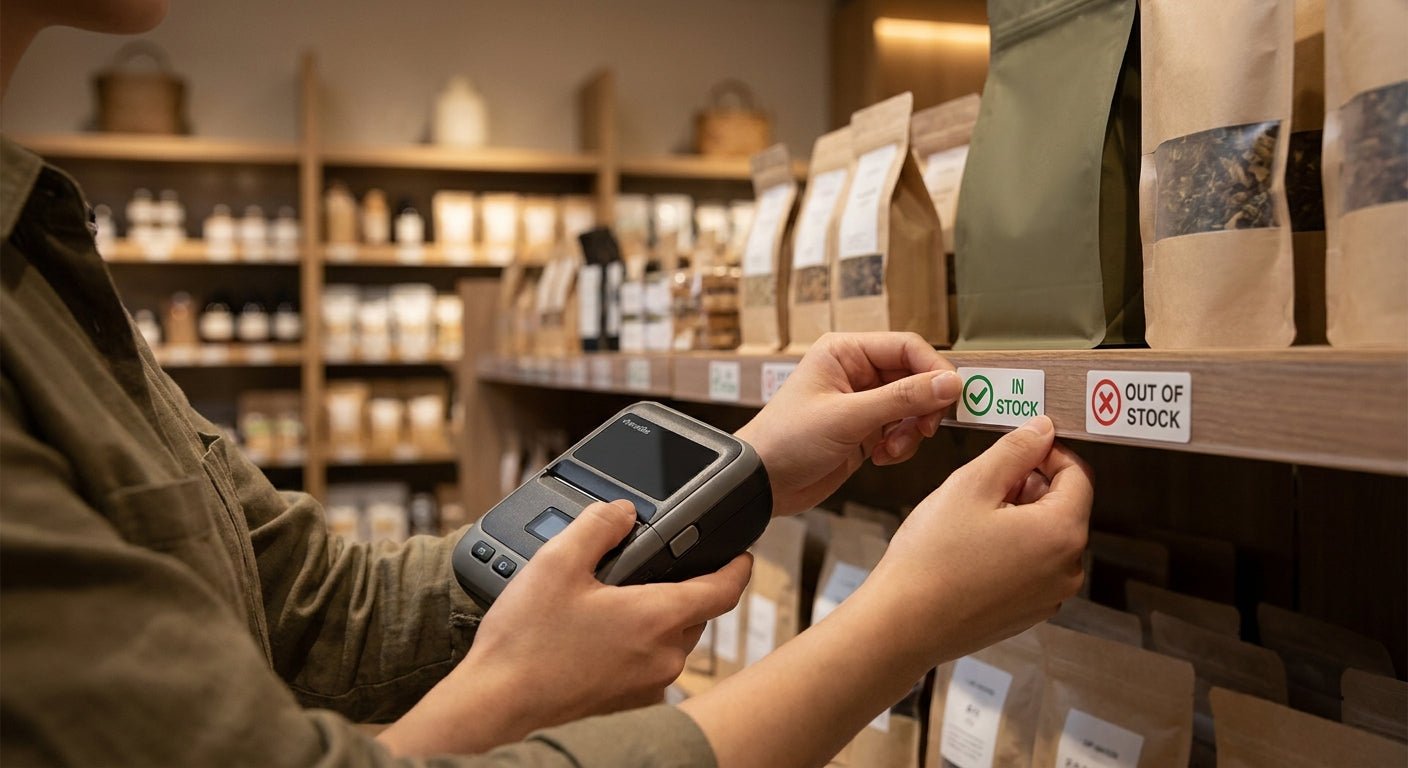
Retail shelves that don't show clear in-stock or out-of-stock status create confusion at checkout, kill conversion at self-serve kiosks, and waste staff time chasing phantom inventory. Printing your own in stock labels in-house fixes that in an afternoon if you set up the template and printer correctly.
- Semi-gloss white or 3M heavy-duty stock with a 300 DPI thermal printer prints scannable in stock labels for under 7 cents each in 2026.
- Color-code status (green for in-stock, red for out-of-stock) instead of relying on text alone — staff scan faster under store lighting.
- GoDEX G500 and GoDEX DT4x printers both handle shelf-edge label runs; the DT4x favors 4x6 formats, the G500 favors small barcode tags.
- Test-scan every batch before it hits the floor — a barcode that fails at 300 DPI usually needs a design fix, not a printer swap.
Why this matters
Shelf-edge labels that show wrong stock status cost more than a bad customer experience. A shopper who scans an "in stock" tag on an empty shelf abandons the visit, and a backroom team that can't tell restocked bins from depleted ones re-counts inventory it already counted. Retailers running their own thermal printers in 2026 cut per-label cost to a fraction of pre-printed roll pricing and can push a status change to the floor in minutes instead of waiting on a print vendor.
The fix isn't complicated. It's a label size, a stock choice, a printer resolution, and a repeatable process — covered in the retail stockroom labeling workflow that most McAuley Labels customers standardize on before they touch a shelf.
What you'll need
- A direct thermal or thermal transfer label printer rated at 300 DPI or higher for crisp barcodes
- Label stock sized for your shelf strip — semi-gloss white for everyday use, 3M heavy-duty for cold storage or high-traffic backrooms
- Design software (GoLabel or similar) to build a template with a status field, barcode, and SKU
- A barcode scanner to verify every batch before it leaves the printer
- A color-coding standard: green for in-stock, red for out-of-stock, yellow for low-stock if your shelf system supports a third state
- Time: roughly 20 minutes to build the template, then 2-3 minutes per 50-label batch to print
The steps
1. Pick a two-state (or three-state) color system
Decide whether shelves need binary in-stock/out-of-stock labels or a third low-stock state. Binary systems are faster to scan and cheaper to print because you're only managing two templates. A three-state system needs tighter process discipline — someone has to update the yellow tag before it goes stale, and stale low-stock tags are worse than no tag at all.
Common mistake: designing five status colors when staff only remember two. Keep it to two unless your inventory system actively flags a third state automatically.
2. Choose label stock and size for the shelf
Semi-gloss white barcode stock works for standard dry-goods shelving and prints clean 300 DPI barcodes at low cost. If shelves sit in coolers, near loading docks, or under direct sun through storefront glass, move to 3M heavy-duty stock — it resists moisture and UV fading that semi-gloss white can't handle past a few months.
Measure your shelf strip before ordering. A label that's a half-inch too wide will curl at the edges and stop scanning within weeks.
3. Set up the printer and load your template software
Connect your thermal printer and open GoLabel or your label design software. Set print resolution to 300 DPI minimum — anything lower and small barcodes on a 1-inch label blur past the point a handheld scanner can read reliably. The GoDEX G500 handles small-format barcode runs well; if you're batching larger 4x6 shelf placards alongside smaller SKU tags, a dual-format setup saves reconfiguring the printer daily.
Common mistake: printing at default 203 DPI because it's faster. It's faster because it's lower resolution — fine for shipping labels, risky for small in-stock/out-of-stock barcodes that need to scan on the first pass.
4. Build the template with status field, barcode, and SKU
Your template needs three fixed elements: a barcode or QR code tied to the SKU, a human-readable status word ("IN STOCK" / "OUT OF STOCK"), and the color block behind it. Keep the barcode at least 0.75 inches wide even on a small label — undersized barcodes are the single most common scan failure in retail shelf printing.
Semi-gloss white QR code inventory labels work well here because the numbered sequence links directly to a SKU lookup without a separate barcode field, which simplifies the template to two elements instead of three.
5. Print a test batch and scan every label
Print 10-20 labels before running a full batch of 500. Scan each one with the same handheld scanner your floor staff uses — not a phone camera, which reads codes a warehouse scanner can't. A test batch catches ribbon smudging, DPI mismatches, and alignment drift before you've wasted a full roll.
Expected outcome: a clean test batch scans on the first pass, every time, in under a second per label. If more than 1 in 20 fails, stop and check step 3's resolution setting before printing the full run.
6. Apply labels and set a re-tag cadence
Apply to clean, dry shelf strips — adhesive that meets dust or residue fails within days, not months. Set a fixed cadence for status updates: end-of-shift for high-turnover SKUs, weekly for slow movers. Retailers that skip this step end up with green "in stock" tags sitting on empty shelves for weeks, which is worse for customer trust than no label at all.


“If a shelf label doesn't scan in under a second, it isn't doing its job — check the barcode width before you blame the scanner.”
Troubleshooting
- Barcode won't scan on the first try. Check that the barcode is at least 0.75 inches wide and your printer is set to 300 DPI, not 203. Undersized barcodes at low resolution are the top cause of first-scan failures in 2026 shelf-label setups.
- Ribbon smearing across the label. This happens on thermal transfer stock with the wrong ribbon type. Match wax ribbon to paper stock and wax/resin to polyester — mismatched pairs smear within days of shelf handling.
- Labels peeling off shelf strips. Semi-gloss white adhesive isn't rated for cold storage or high-moisture backrooms. Move to 3M heavy-duty stock for those zones.
- Color coding looks wrong under store lighting. Fluorescent and LED shelf lighting shift red and green differently. Test your color template under actual store lights, not office lighting, before printing a full run.
- Status labels going stale. No cadence means no updates. Assign a specific shift or day for re-tagging, not "whenever someone notices."
- Print jobs stall mid-batch. Usually a ribbon or stock mismatch triggering a printer error. Reseat the ribbon and confirm stock width matches the printer's sensor calibration.
Tools and resources
- 300 DPI thermal printer (GoDEX G500 or similar) for crisp small-format barcodes
- Semi-gloss white or 3M heavy-duty label stock sized to your shelf strip
- GoLabel or comparable label design software for building the status template
- A dedicated handheld barcode scanner for test-scanning every printed batch
- A written re-tag cadence so status labels don't go stale between shifts
What to do next
Once your in stock and out-of-stock templates are locked, the next problem is usually backroom-to-shelf handoff — matching what the stockroom system says against what the shelf tag shows. The best barcode label printer for retail backrooms guide covers matching backroom printer output to shelf-edge formats so both systems read the same barcode without a manual reprint step.
FAQ
What's the best label printer for in stock labels?
A 300 DPI direct thermal printer like the GoDEX G500 handles small-format in stock and out-of-stock barcodes cleanly in 2026. Anything below 300 DPI risks blurred barcodes on labels under 1.5 inches wide.
Is thermal transfer or direct thermal better for shelf labels?
Direct thermal is fine for indoor shelves that rotate stock within a few months since the print doesn't need to survive long-term UV exposure. Thermal transfer with a ribbon holds up longer in coolers, near loading docks, or under storefront sun.
How much does it cost to print in stock labels in 2026?
Semi-gloss white stock runs a few cents per label when printed in-house at volume, well under pre-printed roll pricing. 3M heavy-duty stock costs more per label but avoids reprint costs from peeling or fading.
Can I use the same template for in-stock and out-of-stock labels?
Yes, build one template with a variable status field and color block rather than two separate designs. It cuts setup time and keeps the barcode position consistent across both states.
What size should shelf-edge in stock labels be?
Most retail shelf strips take a 1 to 2 inch label. Measure the strip before ordering stock since an oversized label curls at the edges and stops scanning within weeks.
Do I need a barcode or is a color block enough?
Color alone works for a quick visual check but fails at checkout or inventory audit. Pair the color block with a barcode or QR code so scanners can confirm status against the inventory system.
How often should out-of-stock labels be updated?
High-turnover SKUs need an end-of-shift check; slow movers can go weekly. Skipping a fixed cadence is the most common reason stale status labels sit on shelves for weeks.
What DPI do I need for scannable shelf barcodes?
300 DPI is the practical minimum for barcodes under 1.5 inches wide. 203 DPI works for larger shipping labels but blurs small shelf-edge codes enough to cause first-scan failures.
One last thing
Most shelf-label failures in 2026 audits trace back to one setting: printers left at default 203 DPI because nobody changed it after unboxing. Bump the resolution before your first test batch, and the barcode scan-rate problem usually disappears without touching the label stock at all.