
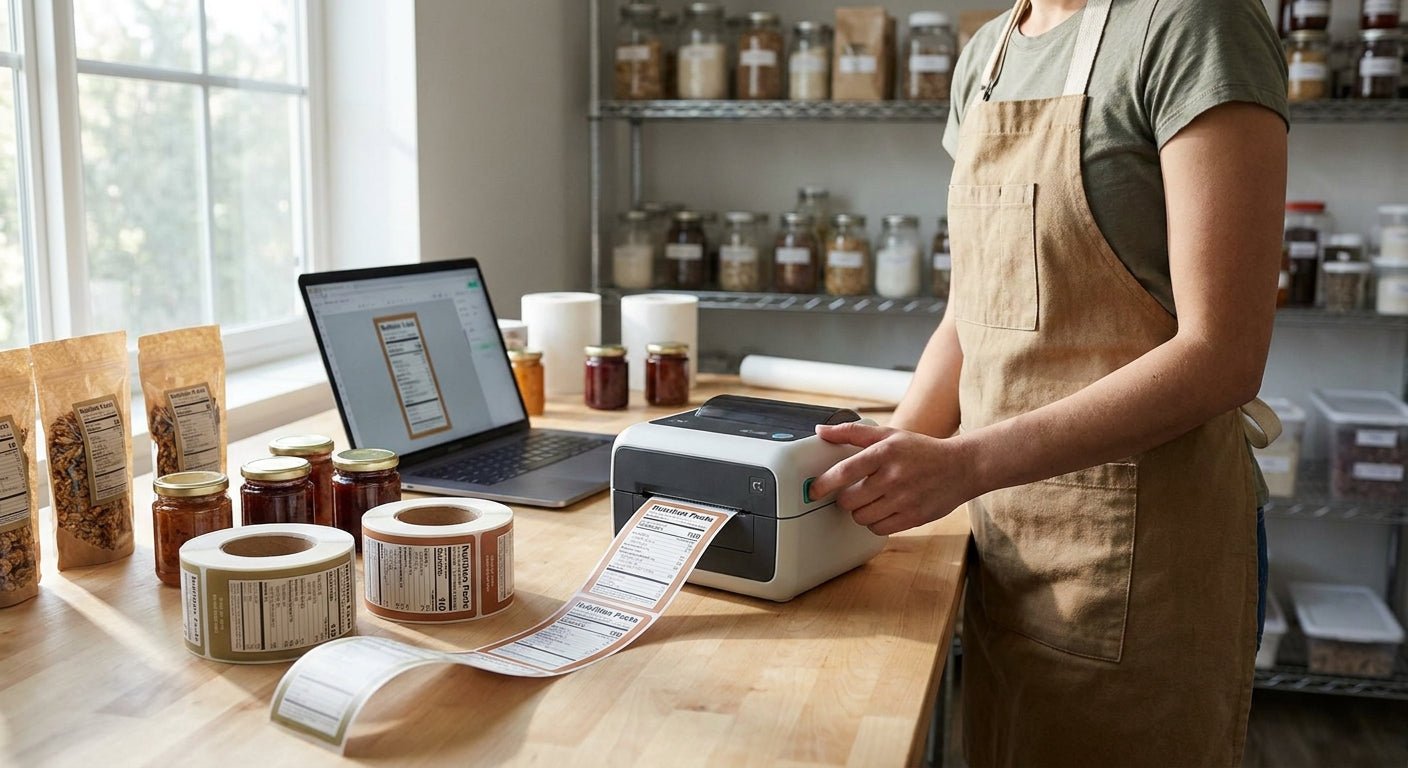
Printing your own nutrition facts labels means matching print resolution to the smallest legally required type size, then picking label stock that survives however your product gets stored — jar shelf, cooler case, or chest freezer. This guide walks through both, plus the six other steps between a finished design file and a shelf-ready product.
- GoDEX G530 at 600 DPI prints FDA-required 6-point Nutrition Facts type cleanly in 2026 — buy it for small-batch food labeling.
- Thermal transfer with polyester stock survives freezer and cooler storage; direct thermal paper labels don't hold up past a few months cold.
- FDA exempts food businesses under $500,000 in annual food sales and under 100,000 units from mandatory nutrition labeling, but most retailers require the panel anyway.
- 203 DPI printers blur Nutrition Facts panels once type drops to 6 or 8 point — skip them for this job.
Why this matters
Most small food brands don't print their first nutrition facts label until a retailer, co-packer, or wholesale buyer asks for one. At that point, ordering pre-printed rolls from a print shop takes two to three weeks and locks you into a minimum order you may not need yet. Printing in-house on a label printer for food products gets a compliant panel on the shelf same-day, and it lets you update serving sizes or ingredient lists the moment your recipe changes.
The catch is resolution and material. A Nutrition Facts panel packs a full ingredient statement, allergen line, and 14 nutrient values into two square inches — most of it in 6 to 8 point type. Get the DPI or the label stock wrong and the panel either blurs or peels off the product before it reaches a shopper's cart.
What you'll need
- Finalized nutrition data from lab analysis or an FDA-recognized nutrient database calculator
- Label design software (GoLabel or your printer's bundled design tool works for most small runs)
- A thermal printer rated for at least 300 DPI — 600 DPI for panels with dense small type
- Label stock matched to storage conditions: direct thermal paper for ambient dry goods, thermal transfer polyester for cold or wet-contact packaging
- Ribbon, if you're running thermal transfer
- A short test batch of blank labels for calibration before the real print run
The steps
1. Confirm what the FDA actually requires
Before you design anything, find out if your brand is exempt. FDA rules under 21 CFR 101.9 exempt food businesses with under $500,000 in annual food sales and under 100,000 units sold per year from mandatory nutrition labeling in 2026 — but almost every grocery chain, Whole Foods included, requires a compliant panel regardless of exemption status. The regulation also sets a hard floor on type size: 8 point for the "Nutrition Facts" header, 6 point minimum for nutrient values underneath. That single number decides whether a 203 DPI printer can do this job at all.
2. Lock your nutrition data before you touch the design file
Guessing serving sizes or rounding nutrient values is the single most common reason a co-packer or retailer bounces a label back. Get lab-analyzed data or run your recipe through a validated nutrient calculator, then treat that data as final. Redesigning the panel after a print run is already loaded onto product costs more time than getting it right once.
3. Pick label stock for how the product is actually stored
Direct thermal paper is the cheaper option and fine for shelf-stable dry goods stored at room temperature — spice blends, snack pouches, dry mixes. It's a poor fit for anything that sees a cooler, a freezer, or condensation, because the print image and the adhesive both degrade faster in moisture. Thermal transfer printing onto polyester stock handles frozen meals, cold-pressed juice, sauces, and anything with condensation contact without the print smearing or the label lifting at the corner.
4. Match printer resolution to your smallest type
This is where most home-printed nutrition labels fail inspection. A 203 DPI printer renders roughly 8 dots per millimeter — fine for a shipping label barcode, not fine for 6-point nutrient values that need clean edges on every digit. Step up to 300 DPI for panels using the standard vertical format, and go to 600 DPI if you're running the tabular or linear format on a narrower label where type gets packed tighter. The 203, 300, and 600 DPI resolution guide breaks down which resolution tier fits which label size.
5. Build the layout in an approved Nutrition Facts format
FDA recognizes three formats: standard (vertical, the one on most cereal boxes), tabular (side-by-side columns, common on narrow labels), and linear (a run-on paragraph format reserved for packages too small for either of the other two). Pick the format that fits your label footprint before you lay out type — don't shrink a standard-format panel to fit a small label, since that's how type size drops below the legal 6-point floor.
6. Calibrate and run a test batch
Print 10 to 20 labels before committing to a full run. Check darkness setting first — thermal print that looks fine at factory default often prints too light once ribbon wear sets in. Hold a test label at arm's length and check whether the smallest nutrient values are still legible; if they blur, that's a resolution problem, not a darkness problem, and no amount of darkness adjustment fixes it.
If the smallest number on your nutrition panel prints below legible 6-point type, the FDA can flag it regardless of what DPI the printer claims to support.
“If the smallest number on your nutrition panel prints below legible 6-point type, the FDA can flag it regardless of what DPI the printer claims to support.”
7. Apply, inspect, and set a reorder point
Apply labels to a handful of finished products and check adhesion after 24 hours in actual storage conditions — not room temperature if the product ships cold. Set a reorder trigger at 20% of stock remaining on both label rolls and ribbon so a production run never stalls mid-batch waiting on supplies.
Troubleshooting
- Nutrient values blur at small sizes — the printer is under-resolved for the type size. Move from 203 to 300 or 600 DPI rather than adjusting darkness.
- Labels lift off cold or wet packaging within days — direct thermal paper adhesive isn't rated for that environment. Switch to thermal transfer polyester stock.
- Barcode below the panel won't scan at checkout — check for a clear quiet zone around the barcode and confirm print contrast; thermal print that's too light drops scan rates fast.
- Panel technically fits but type reads under 6 point — switch from standard to tabular or linear format instead of shrinking type further.
- Ribbon wrinkles or streaks on thermal transfer prints — lower the print speed setting; wrinkling is almost always a speed-versus-ribbon-tension mismatch, not a ribbon defect.
- Print looks fine on-screen but faint off the printer — recalibrate darkness after every new roll or ribbon change, since factory defaults drift with use.
Tools and resources
- GoDEX G530 600 DPI printer — the resolution tier that handles 6-point nutrient type without a magnifying glass
- Thermal transfer ribbon — required for any polyester or freezer-rated label run
- Direct thermal label stock in multiple sizes for dry, ambient-stored products
- Thermal transfer polyester label stock for cold or wet-contact packaging


What to do next
Once the panel is compliant and printing clean, the next label most small food brands need is a lot code or expiry date next to it. The FDA lot number label compliance guide covers what a lot code needs to include and how to print it alongside your Nutrition Facts panel without a second print run.
FAQ
What DPI do I need to print nutrition facts labels?
300 DPI is the minimum for legible 6 to 8 point Nutrition Facts type in 2026; 600 DPI is safer for tabular or linear formats on narrower labels. 203 DPI printers blur small nutrient values and aren't a fit for this job.
Is direct thermal or thermal transfer better for food labels?
Direct thermal paper works for dry, shelf-stable products stored at room temperature. Thermal transfer onto polyester stock is the better call for anything refrigerated, frozen, or exposed to moisture, since the print and adhesive both hold up longer.
Is it legal to print my own nutrition facts labels at home?
Yes, as long as the panel meets FDA formatting and type-size rules under 21 CFR 101.9. There's no requirement that labels come from a commercial print shop, only that the finished label is accurate and legible.
Do small food brands have to include a nutrition facts panel?
FDA exempts food businesses with under $500,000 in annual food sales and under 100,000 units sold per year, but most retailers require the panel regardless of exemption status to stock the product.
What's the minimum type size for nutrition facts labels?
The FDA sets an 8-point minimum for the Nutrition Facts header and a 6-point minimum for the nutrient values beneath it. Printers under 300 DPI typically can't render 6-point type without blurring.
How much does it cost to print nutrition facts labels in-house?
Direct thermal label rolls run a few dollars per roll for small sizes, while thermal transfer polyester stock costs more per roll due to the ribbon requirement. A 600 DPI printer capable of the job runs a few hundred dollars, a one-time cost against ongoing pre-printed label orders.
Can one printer handle both nutrition labels and shipping labels?
A 600 DPI thermal printer handles both, since shipping labels need far less resolution than a nutrition panel. Buying for the harder job of small nutrient type covers the easier one of barcodes and addresses automatically.
Do nutrition facts labels need to be waterproof?
Only if the product is stored cold, wet, or outdoors. Thermal transfer polyester labels hold up in coolers and freezers; direct thermal paper is fine for dry ambient storage but isn't rated for long-term moisture exposure.
One last thing
The FDA doesn't grade nutrition facts labels on DPI spec sheets — it grades them on whether an inspector can read the smallest number without a magnifier. A label printed at 600 DPI on the wrong material still fails if it peels off a frozen product in the first 24 hours. Match the printer to the type size and the material to the storage condition, in that order, and the compliance question mostly answers itself.