
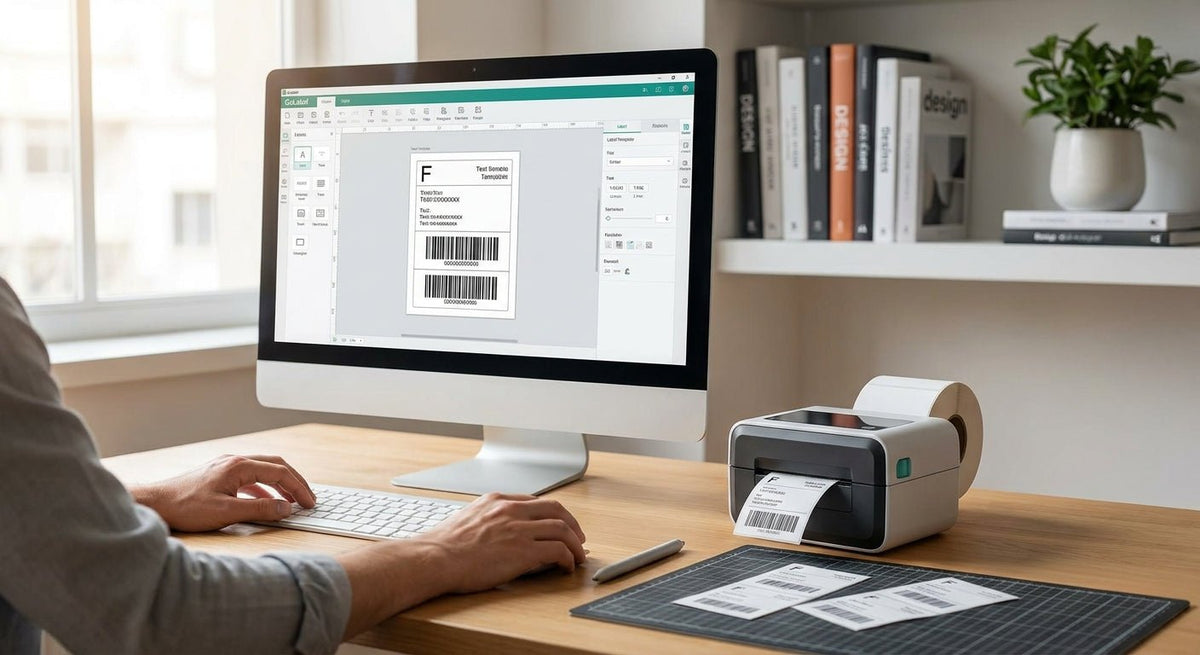
GoLabel is the free design software bundled with every Godex thermal printer, and learning it correctly cuts label setup time from hours to minutes.
TL;DR: GoLabel software lets you design, edit, and print labels for any Godex thermal printer — including barcodes, QR codes, text fields, logos, and serialized sequences. Install it free from Godex, set your label size first, build your design in layers, then send directly to the printer. In 2026, GoLabel remains the fastest zero-cost path to production-ready label design for businesses running Godex hardware from McAuley Labels.
Why this matters
Most label design errors happen before printing starts — wrong label size, misconfigured DPI, or a barcode placed too close to the edge to scan. GoLabel gives you a live preview tied directly to your printer's settings, so what you design is what prints. For businesses printing asset tags, inventory labels, or oil change stickers in-house, that accuracy is the difference between a functional label system and a pile of wasted stock.
What you'll need
- A Windows PC (GoLabel runs on Windows 7 through Windows 11; no native Mac version as of 2026)
- A Godex thermal printer connected via USB, serial, or Ethernet
- The correct printer driver installed for your model
- GoLabel software — downloaded free from the official Godex website
- Your label roll loaded and calibrated in the printer
- Label dimensions: width, height, and gap size in millimeters or inches
- Any logo or image file saved as BMP, JPG, or PNG at 300 DPI or higher
- Approximately 30–45 minutes for a first-time setup
The steps
Step 1: Download and install GoLabel
Go to the Godex official website and navigate to Support > Downloads. Select your printer model, download the GoLabel installer (typically 80–120 MB), and run it with administrator privileges. Accept the default installation path. GoLabel installs its own internal font library and printer communication layer — do not skip any component during setup. When installation finishes, restart your PC before launching the software. A full walkthrough of the installation process is covered in McAuley Labels' guide on how to install GoLabel software on a Godex printer.
Expected outcome: GoLabel icon appears on your desktop; software opens without error.
Common mistake: Downloading GoLabel for the wrong printer series (e.g., GE-series installer for an RT-series printer). Each series has a distinct GoLabel build. Match your model number exactly.
Step 2: Configure your printer and label size
Open GoLabel and go to File > New. A setup wizard launches. Select your printer model from the dropdown — every Godex model McAuley Labels carries is listed, from the DT200 to the RT863i. Set the print method: Direct Thermal (no ribbon) or Thermal Transfer (with ribbon). Then enter your label dimensions:
- Label width (the horizontal measure of the printable area)
- Label height (top-to-bottom measure)
- Gap/mark size (the space between labels on the roll, typically 3 mm for standard gap labels)
If you skip this step or enter wrong dimensions, every label will print misaligned. GoLabel will not auto-detect label size from the roll.
Expected outcome: A blank white canvas appears at the exact proportions of your physical label.
Common mistake: Entering the total roll width instead of the printable label width. These are different measurements.
Step 3: Set print speed and darkness
Before placing any design elements, go to File > Printer Setup (or press F5). Set print speed in inches per second — 4 ips is a reliable default for most Godex desktop models. Set darkness (heat intensity) between 8 and 12 for direct thermal; between 10 and 15 for thermal transfer with a wax ribbon. These settings are embedded into the label file and travel with it when you send the job to print.
Expected outcome: Test print produces sharp, fully opaque text with no fading or smearing.
Common mistake: Leaving darkness at the factory default (often too low), which produces faint barcodes that scanners reject.
Step 4: Add text fields
Click the A (Text) tool in the left toolbar. Click anywhere on the canvas to drop a text box. Double-click it to open the text properties panel. Set font, point size, and rotation. GoLabel includes built-in scalable fonts; TrueType fonts installed on your Windows system are also available. For asset tags and inventory labels where text must survive scanning at a distance, use a minimum of 10-point bold. For small labels (under 1" × 2"), use 8-point minimum and test scan before a full run.
To create serialized sequences — auto-incrementing numbers for asset tags — click the Sequence checkbox in the text properties panel. Enter the starting number, increment value, and number of digits. GoLabel will step the number automatically across each printed label.
Expected outcome: Static text prints exactly as previewed; serialized text increments correctly across the run.
Common mistake: Setting a sequence start number but forgetting to set the print quantity to match the sequence range, causing the job to stop early.
Step 5: Add barcodes and QR codes
Click the Barcode tool. Click the canvas to place it. In the barcode properties panel, select your symbology: Code 128 and Code 39 handle alphanumeric data; EAN-13 and UPC-A are required for retail; QR Code handles URLs, plain text, or structured data up to ~4,000 characters. Enter your data string in the content field. Set the barcode height — for handheld scanner readability, Code 128 should be at least 0.25" tall. Enable the human-readable text option to print the value below the barcode bars.
For QR codes, set the error correction level to M (15% recovery) as a baseline. Use H (30%) if the label will be exposed to surface abrasion.
Expected outcome: Scan the printed barcode with a phone camera or Godex GS220 scanner — first-read rate should be 100% on a clean print.
Common mistake: Scaling the barcode object smaller than the minimum quiet zone (the blank margin around it). GoLabel will display a warning, but many users dismiss it. The barcode will not scan reliably if the quiet zone is under 10× the bar width.
Step 6: Insert a logo or image
Go to Insert > Bitmap or click the image icon in the toolbar. Browse to your BMP, JPG, or PNG file. GoLabel converts the image to a dithered bitmap on import — this is normal. For best results, import logos as 1-bit (pure black and white) BMP files at the native DPI of your printer. A 300 DPI printer needs a 300 DPI source image. A 203 DPI source image on a 300 DPI printer will print blurry. Resize the image object by dragging corner handles while holding Shift to maintain aspect ratio.
Expected outcome: Logo prints with clean edges and no pixelation visible to the naked eye.
Common mistake: Importing a low-resolution JPEG logo exported from a Word document. These almost always print with visible artifacts.
Step 7: Print and validate
Press F7 or click File > Print to open the print dialog. Set the quantity. Click Print. After the first label exits, scan every barcode element and confirm serialization is correct before committing to a full run. For labels going onto equipment or rolling stock, run a 10-label proof before printing hundreds.
If the label prints misaligned — text cut off at one edge — return to Step 2 and re-check the gap size setting. Misalignment is almost always a gap misconfiguration, not a hardware fault.
Expected outcome: Labels print centered, fully opaque, with scannable barcodes and legible text.
Common mistake: Printing a full batch before validating the first label. GoLabel does not stop a run if a setting is wrong.
Step 8: Save your label template
Go to File > Save As and save your label as a .lab file. Store templates by label size and purpose — one file per label type. When you need to reprint the same label with updated data, open the template, change the data fields, and print. You do not need to rebuild the design. For businesses printing multiple label types (asset tags, shipping labels, inventory stickers), organized template folders reduce per-label setup to under 2 minutes.
Expected outcome: Template reopens correctly with all design elements intact.
Common mistake: Saving over a template with a one-time batch. Keep template files read-only or back them up to a shared drive.
Troubleshooting
Labels print with a black stripe across the top or bottom: The label gap setting is wrong. The printer is detecting the gap in the wrong position. Recalibrate the printer (hold the FEED button for 3 seconds on most Godex desktop models) and re-enter the correct gap size in GoLabel.
Barcode scans on screen but not when printed: Darkness is too low. Raise the darkness setting by 2 units and reprint a test. Alternatively, the barcode is sized below the minimum specification — increase height.
Text appears jagged or pixelated: You are using a rasterized font at a small size. Switch to a scalable TrueType or OpenType font in the text properties panel.
GoLabel cannot find the printer: Confirm the USB driver is installed for your specific Godex model. Open Windows Device Manager — the printer should appear under "Printers" or "Other Devices" without an error flag. Reinstall the driver if the flag is present. The Godex label printer troubleshooting guide covers driver conflicts in detail.
Logo prints as a solid black rectangle: The imported image has a transparent background that GoLabel is rendering as black. Export the logo as a flattened BMP with a white background before importing.
Serialized numbers are not incrementing: The sequence counter is set but the "Use Counter" checkbox in the text object properties is not enabled. Enable it and verify the increment is set to 1 (or your target step value).
Tools and resources
- GoLabel software — free download from the Godex official website
- Godex thermal printer (any model stocked by McAuley Labels, from the Godex RT230i 300 DPI for desktop work to industrial models)
- Compatible label stock matched to your print method — direct thermal labels (no ribbon needed) for short-duration labels, polyester thermal transfer stock for durable asset tags
- Godex GS220 USB barcode scanner for post-print validation
- A 300 DPI or higher source file for any logo or image element
What to do next
Once your template is printing correctly, the logical next step is calibrating print alignment for non-standard label gaps. The McAuley Labels guide on how to calibrate a Godex printer for label alignment covers the full calibration sequence, including media type settings for polyester and polypropylene stocks that behave differently from standard paper labels.
FAQ
Is GoLabel software free? Yes. GoLabel is distributed free by Godex and is included on the driver disc shipped with every Godex printer. As of 2026, the current version is available for direct download from the Godex support portal at no cost.
What operating systems does GoLabel support? GoLabel runs on Windows 7, 8, 10, and 11. There is no native macOS or Linux version. Users on Mac can run GoLabel through a Windows virtual machine (Parallels or VMware), though Godex does not officially support this configuration.
Can GoLabel print QR codes? Yes. GoLabel supports QR Code, Code 128, Code 39, EAN-13, UPC-A, Data Matrix, and over 30 other symbologies. QR code data can be a URL, plain text, phone number, or structured data string up to approximately 4,000 characters.
How do I connect GoLabel to my Godex printer? In GoLabel, go to File > Printer Setup and select your printer model and port (USB, COM, or TCP/IP for Ethernet models). For USB connections, the Godex Windows driver must be installed first. For Ethernet, enter the printer's IP address in the port field.
Can I design serialized barcode labels in GoLabel? Yes. The sequence counter in GoLabel auto-increments numbers or letters across a print run. Set the start value, end value, and step increment in the text or barcode object properties. This is the standard method for printing numbered asset tags in 2026 without needing external database software.
Does GoLabel work with third-party labels, not just Godex stock? Yes, as long as you enter the correct label dimensions. GoLabel is not locked to McAuley Labels stock or any specific label brand. The software only requires that your label dimensions are configured accurately.
What is the difference between GoLabel and ZPL or EPL programming? GoLabel is a visual WYSIWYG designer — you drag and drop objects and preview output before printing. ZPL and EPL are text-based command languages for programmatic label generation from databases or applications. GoLabel can export labels as ZPL or EPL code, which is useful for integrating a manually designed template into an automated print system.
Why does my barcode print fine in GoLabel but fail to scan? The three most common causes are: darkness set too low (faint bars), barcode scaled below the minimum quiet zone, or a mismatch between the barcode symbology and the scanner's supported symbologies. Raise darkness by 2 units, verify the quiet zone is at least 10× the narrow bar width, and confirm your scanner supports the symbology you selected.
One last thing
GoLabel includes a command-line print mode that most users never find. By calling golabel.exe /p [template.lab] /c [quantity] from a Windows batch script or task scheduler, you can trigger automated label prints from inventory or asset management software without opening the GoLabel interface at all. For businesses printing the same label format on a fixed schedule — daily asset tag runs, end-of-shift inventory labels — this cuts operator time to zero after the initial template is built.