
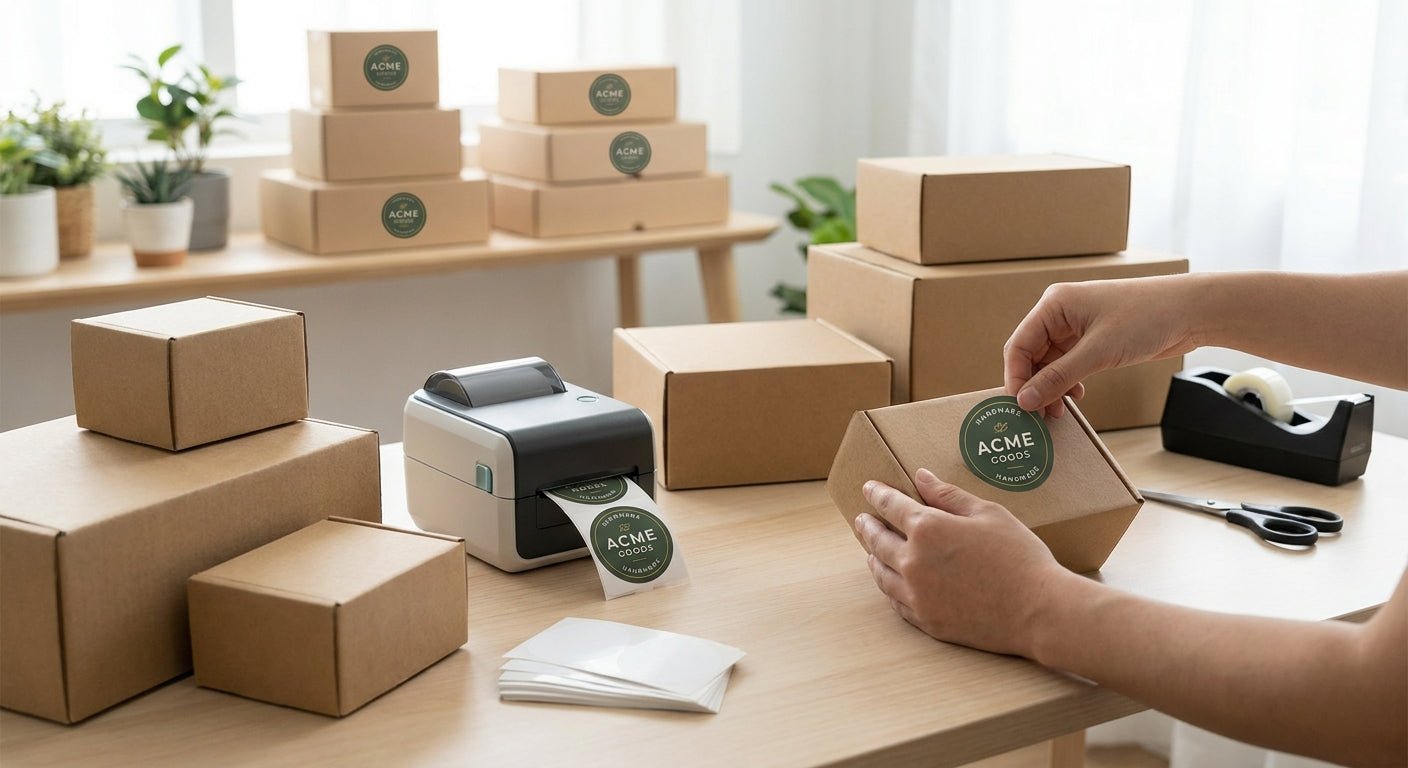
Custom stickers on product boxes work as free advertising every time a package moves through a warehouse, a delivery van, or a customer's hallway — and printing them in-house with the right printer setup costs less per unit than ordering from a print shop once you clear a few hundred units a month.
TL;DR
Printing custom stickers for product boxes in 2026 comes down to three decisions: label material (paper for indoor use, polyester or semi-gloss white for anything that touches moisture or handling), print resolution (300 DPI covers most logos and text; 600 DPI is for fine barcodes or small type), and printer type (direct thermal for short runs, thermal transfer for labels that need to survive months on a shelf). A desktop thermal printer like the GoDEX GE300 (203 DPI) handles standard box labels at low cost, while a 300 DPI unit is the safer buy if your artwork includes small text or a QR code. Verdict: buy a thermal label printer and print in-house if you're running more than 200 boxes a month — outsourcing only makes sense below that volume.
Why this matters
Most businesses start by ordering printed stickers from a third-party print shop, then hit a wall when volume climbs and turnaround times stretch to 7-10 days. Printing in-house removes that lag entirely — you print the batch the same day you need it, adjust the design without a reorder, and stop paying per-sticker markup once your printer and label stock are paid for.
The tradeoff is setup. Getting sticker output that looks clean on a product box — not smudged, not misaligned, not peeling after two days in a truck — takes the right combination of printer resolution, label stock, and calibration. Skip a step and you end up with faded logos or stickers that lift at the corners before the box reaches the customer.
What you'll need
- A thermal label printer (direct thermal for short-term labels, thermal transfer plus ribbon for labels that need to last)
- Label stock sized to your box format — paper, semi-gloss white, or polyester depending on exposure
- Design software or a label design tool that exports at your printer's native DPI
- A ribbon cartridge if you're running thermal transfer
- 15-20 minutes for initial calibration before your first full batch
- A test box or flat surface to check adhesion and alignment before committing to a full print run
If you're starting from zero, custom stickers for business logo labels are built for exactly this use case — printed branding on a roll, ready to feed straight into a desktop printer.
The steps
1. Pick your label material based on how the box will be handled
Paper labels work fine for boxes that stay indoors and ship once. If your boxes sit in a warehouse, get rained on during last-mile delivery, or get handled repeatedly before sale, semi-gloss white or polyester stock resists smudging and moisture in a way plain paper doesn't. Mistake to avoid: using standard paper labels on anything that spends time outdoors — they start curling at the edges within a week of humidity exposure.
2. Match print resolution to your artwork detail
203 DPI handles bold logos and large text cleanly and keeps per-label cost lower. Step up to 300 DPI if your design includes a barcode, a QR code, or type smaller than 8-point — the extra resolution keeps scan rates high and edges crisp. The GoDEX GE300 (203 DPI) is the standard choice for basic box branding; move to a 300 DPI model once fine detail enters the design.
3. Set up your artwork file at the correct size and bleed
Design your sticker at the exact final dimensions with a small bleed margin — most box stickers run between 2x2 inches and 4x6 inches. Export as a PDF or PNG at your printer's native resolution rather than scaling up from a low-res logo file, which is the single most common cause of blurry print output. Common mistake: designing at 72 DPI screen resolution and expecting a sharp print — always export at 203, 300, or 600 DPI to match your printer.
4. Load labels and calibrate the printer
Feed your label roll through the printer's sensor path and run the built-in calibration sequence before your first print — this teaches the printer where each label starts and stops so text doesn't drift between labels. Calibration takes under two minutes on most desktop thermal printers and needs to be repeated any time you switch label stock size or roll width.
5. Run a test batch of 10-15 labels
Print a short run before committing to a full batch of 500 or 1,000. Check three things: alignment (is the design centered on the label), contrast (is black print solid, not gray or streaky), and adhesion (does the label stay flat when pressed onto a box corner for 30 seconds). Expected outcome: clean, consistent output across all 10-15 test labels with no drift or fading by the last one.
6. Print the full batch and apply immediately
Once the test batch checks out, print your full run in one session rather than stopping and restarting, which can shift calibration slightly. Apply stickers to boxes at room temperature — cold surfaces reduce adhesive tack and increase peeling risk within the first 24 hours.
Troubleshooting
- Labels print faded or gray instead of solid black — increase print darkness in the printer driver settings; this is a heat-setting issue, not a printer defect.
- Text or logo looks blurry despite correct DPI setting — check that your source artwork was exported at full resolution, not scaled up from a smaller file.
- Labels shift position between prints — recalibrate the printer; this typically happens after a label roll change or a paper jam.
- Stickers peel off boxes within a day or two — switch from paper stock to semi-gloss white or polyester, especially for boxes stored outdoors or in a cold warehouse.
- Barcode or QR code won't scan after printing — bump resolution from 203 to 300 DPI; fine barcode lines need the extra pixel density to stay readable.
- Ribbon runs out mid-batch on a thermal transfer printer — keep a spare thermal transfer ribbon on hand for any run over 300 labels.
Tools and resources
- Direct thermal or thermal transfer label printer, matched to your monthly sticker volume
- Label stock in the material that fits your box's handling conditions
- Design software that exports to your printer's native DPI
- A custom quote request if you need a size or material not listed on the standard product pages
- A packaging-specific breakdown of custom business stickers for product packaging if you're weighing paper against polyester for the first time
What to do next
Once your first batch prints clean, the next decision is whether your current printer can keep up as order volume grows — a desktop unit rated for short runs will bottleneck fast once you're printing 500+ labels a week. Read best label printer for product packaging before you outgrow the printer you just set up.
FAQ
What's the best printer for custom stickers on product boxes? A 203 DPI direct thermal printer covers most logo and text-based box stickers; step up to 300 DPI if your design includes a barcode or fine detail. Match the printer to your monthly volume, not just the label size.
Is thermal transfer better than direct thermal for box stickers? Thermal transfer, which uses a ribbon, resists fading and scuffing far longer than direct thermal, which relies on heat-sensitive paper that darkens over months of light exposure. Use thermal transfer for anything the box will carry for more than a few weeks.
How much does it cost to print custom stickers in-house vs ordering from a print shop? In-house printing carries an upfront printer cost but drops the per-label price sharply at volume, while a print shop charges a flat markup per order regardless of quantity. The breakeven point is typically around 200-300 labels a month.
What size should a product box sticker be? Most box stickers run 2x2 to 4x6 inches, sized to match the visible face of the box without covering shipping barcodes or handling labels. Check your box supplier's dimensions before finalizing artwork.
Can I print QR codes on product box stickers? Yes — a QR code prints cleanly at 300 DPI on most label stock, and scans reliably as long as the printer is calibrated and the label material isn't glossy enough to cause glare under a scanner.
Do custom stickers need to be waterproof for shipping? Only if the box will be exposed to rain, condensation, or refrigeration — semi-gloss white or polyester stock handles moisture; standard paper labels do not.
How long do thermal-printed stickers last before fading? Direct thermal labels start fading under direct sunlight within a few months in 2026-grade paper stock; thermal transfer labels with ribbon hold color for a year or more under the same conditions.
What software do I use to design box stickers for a thermal printer? Most thermal printers ship with label design software that exports directly at the printer's native DPI — check your printer's included software before buying a separate design tool.
One last thing
The detail most first-time buyers miss: direct thermal labels fade from heat and UV exposure even indoors, near a window or a warehouse skylight, not just outdoors. If your boxes sit in storage for more than a few weeks before shipping, thermal transfer with a ribbon is the only option that keeps branding legible by the time the box reaches the customer.