
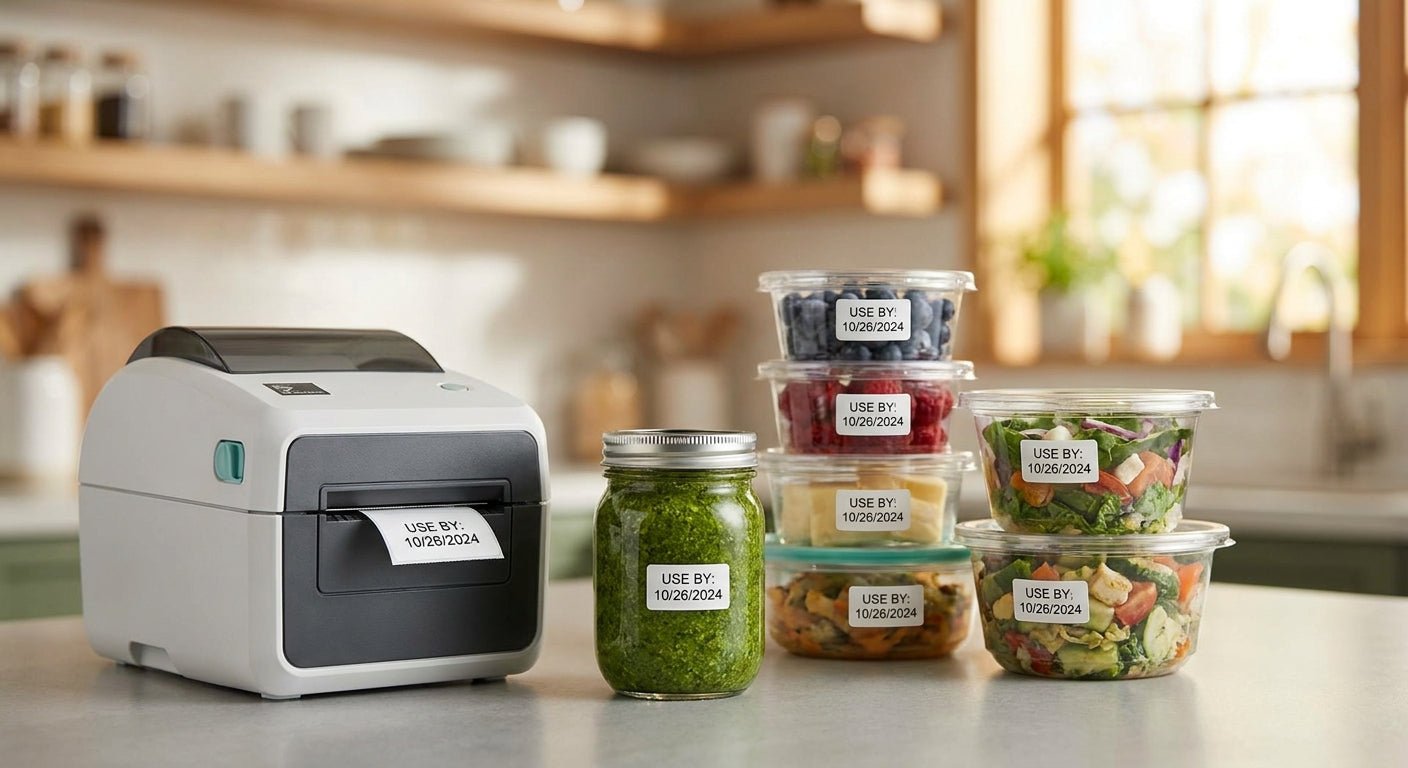
Perishable goods need a date code that survives refrigeration, handling, and a scanner gun at 5am - not just a printed line that looks right on day one. This guide covers the exact printer settings, label stock, and workflow for printing date-coded labels for perishable goods that stay legible through cold storage and shelf life.
TL;DR
Date coded labels for perishable goods require direct thermal or thermal transfer printing at 300 DPI minimum, a label stock rated for refrigeration or freezer temperatures, and a printer that can auto-increment pack dates, sell-by dates, and lot numbers without manual retyping. Verdict: a 300 DPI direct thermal printer like the 300 DPI thermal printer paired with freezer-grade label stock is the correct 2026 setup for most food producers - skip inkjet and skip 203 DPI if you're printing small barcodes or lot codes under 8pt. Batch code software matters as much as the hardware.
Why this matters
A date code that fades in the cooler isn't a labeling problem - it's a recall liability. FDA and USDA traceability rules increasingly expect legible pack dates, use-by dates, and lot numbers that can be read by a human and scanned by a machine, even after 30 days in cold storage. Cheap thermal paper and low-resolution printers fail exactly where it counts: condensation, freezer burn, and repeated handling.
The fix isn't complicated. It's matching label material to storage condition, print resolution to barcode density, and software to your production volume. Get those three things right in 2026 and date coding stops being a daily fire drill.
What you'll need
- A thermal printer rated for at least 300 DPI if you're printing small barcodes, lot numbers, or dense text
- Direct thermal or thermal transfer label stock rated for the storage temperature (refrigerated, frozen, or ambient)
- Label design software that supports variable date fields and auto-incrementing batch counters
- A ribbon (for thermal transfer only) matched to the label facestock
- A flat, stable surface near the packing line for the printer
- 15-20 minutes for initial setup and calibration
The steps
1. Decide between direct thermal and thermal transfer
Direct thermal print heats the label itself - no ribbon required - and works fine for labels that ship within a few weeks. Thermal transfer uses a ribbon to bond ink onto the label and holds up far longer in cold, wet, or abrasive conditions.
For perishable goods going into a refrigerated case or freezer for more than a week, thermal transfer resists smearing and fading better than direct thermal. If your product turns over in under 10 days, direct thermal saves the ribbon cost. Read the full breakdown in direct thermal vs thermal transfer before you commit to stock.
Common mistake: using cheap direct thermal paper on a product bound for the freezer. It frosts over and the print goes gray within 48 hours.
2. Match printer resolution to your barcode density
203 DPI is fine for large text and simple UPC barcodes. If your date code includes a GS1-128 barcode, a lot number, and a use-by date all on a 2x1 label, you need 300 DPI minimum - 600 DPI if the label is under 1 inch.
Low resolution on a crowded label means the scanner misreads the barcode about as often as a cashier squints at it. That's a returned pallet, not a minor annoyance.
Common mistake: buying a 203 DPI printer because it's cheaper, then discovering the barcode fails scan verification at the distribution center.
3. Set your date coding format before you print a single label
Decide now whether you're printing pack date, sell-by date, use-by date, or all three, plus a lot/batch number. Most perishable food labels carry at minimum a pack date and a use-by date, and many retailers require a scannable lot code for recall traceability.
Write the format down: MM/DD/YYYY or the Julian date format some processors still use. Consistency here prevents mismatched dates across shifts.
Common mistake: letting different shifts use different date formats on the same product line - this creates traceability gaps auditors flag immediately.
4. Configure variable fields and auto-incrementing batch numbers
Manually retyping a date on every label run is how typos happen. Label design software with variable date fields pulls the current date automatically and can auto-increment lot or batch numbers each time you start a new run.
Set the use-by date as a calculated offset from the pack date - for example, pack date plus 14 days - so the software does the math instead of a line worker. For a full walkthrough of setting up batch fields, see how to print batch codes on food packaging labels.
Common mistake: hardcoding a fixed date into a template and forgetting to update it - labels print with yesterday's date for an entire shift.
5. Calibrate the printer and run a test batch
Before committing to a full production run, print 10-20 test labels and check three things: barcode scan rate, print darkness, and label alignment on the die-cut. A printer that's off by even 1mm on alignment will cut text off at the label edge.
Run the test labels through your actual scanner, not just a visual check. A barcode that looks fine to the eye can still fail a scan.
Common mistake: skipping calibration after a ribbon or label roll change - print darkness drifts and nobody notices until half a shift's labels are too light to scan.
6. Print in production batches and apply immediately
Once calibration checks out, print in batches sized to your packing run - not one giant roll sitting exposed to humidity. Apply labels to product as close to the print step as possible; labels that sit loose in a cold, damp environment for hours before application lose adhesion.
For high-volume lines, printer speed matters as much as resolution - a slow printer becomes the bottleneck on a fast packing line.
Common mistake: printing a full day's labels at the start of a shift, then storing them in a humid back room where adhesive backing degrades before application.
7. Keep a lot record for traceability
Log which batch numbers went on which production run and when. If a recall ever hits, you need to trace a lot number back to a specific date, shift, and ingredient lot within minutes, not hours.
This record can be as simple as a spreadsheet tied to your batch counter settings - the point is that it exists and someone checks it weekly.
Troubleshooting
- Barcode won't scan: check print darkness first - most scan failures trace back to a print head set too light, not a bad barcode design.
- Print fades within days: you're likely on direct thermal paper in a cold, humid environment - switch to thermal transfer with a wax-resin ribbon.
- Label peels off in the cooler: the adhesive isn't rated for refrigerated or frozen surfaces - freezer-grade adhesive stock resists this.
- Date field doesn't update automatically: the variable field is likely mapped to a static value instead of the system date - recheck the template settings.
- Ribbon wrinkles mid-print: ribbon width doesn't match label width, or ribbon tension needs adjustment - a mismatch here causes streaking across the date code.
- Batch number repeats across runs: the auto-increment counter reset - confirm it's set to persist between print jobs, not reset on printer restart.
Tools and resources
- A 300 DPI or higher thermal printer for dense date-and-barcode labels
- Freezer- or refrigeration-rated label stock in the sizes your packaging requires - see label stock in multiple sizes for common formats
- Wax-resin ribbon for thermal transfer printing on cold-storage labels
- Label design software supporting variable dates and auto-incrementing lot numbers
- A traceability log tying batch numbers to production dates
If you're weighing printer options specifically for food production, best label printer for food products breaks down resolution and durability tradeoffs by product type.
What to do next
Once your date coding workflow is stable, the next bottleneck is usually barcode format compliance - GS1-128 codes are increasingly required by grocery and distribution partners in 2026. Review your barcode structure against retailer requirements before your next print run, not after a rejected shipment.
FAQ
What's the best printer for date coded labels for perishable goods? A 300 DPI thermal transfer printer is the best fit for most perishable food labels in 2026 because it handles dense barcodes and resists cold-storage fading better than 203 DPI direct thermal.
Is thermal transfer better than direct thermal for cold storage? Yes, for anything stored longer than 7-10 days in a refrigerator or freezer. Thermal transfer's ribbon-bonded ink resists moisture and abrasion far better than direct thermal, which can gray out under condensation.
How much does a date-coding printer setup cost? Costs vary by printer model, resolution, and label volume - check current pricing for specific printer and label stock combinations rather than assuming a flat number.
Do perishable food labels need a barcode? Most retail and distribution partners require a scannable barcode alongside the date code for inventory and recall traceability, especially GS1-128 formats.
Can I use a regular office printer for date coding? No - inkjet and laser printers aren't built for the adhesive-backed, moisture-resistant stock perishable labels need, and most can't handle roll-fed labels at production speed.
What resolution do I need for a small date code label? If the label is under 1.5 inches or carries a dense barcode, use 300 DPI minimum - 600 DPI for labels under 1 inch with fine text.
How do I stop date codes from fading in the freezer? Switch to thermal transfer printing with a wax-resin ribbon on freezer-rated label stock - direct thermal alone typically fades within days in freezing, humid conditions.
What's the difference between pack date and use-by date on a label? Pack date marks when the product was packaged; use-by date is the calculated point after which the product shouldn't be sold or consumed, usually set as a fixed offset from the pack date.
One last thing
Most date-coding failures in 2026 trace back to one overlooked detail: nobody re-tests scan rate after switching ribbon or label suppliers. A ribbon swap that looks identical on the shelf can shift print darkness enough to drop a barcode's first-scan success rate without anyone noticing until a distribution center rejects a pallet.