
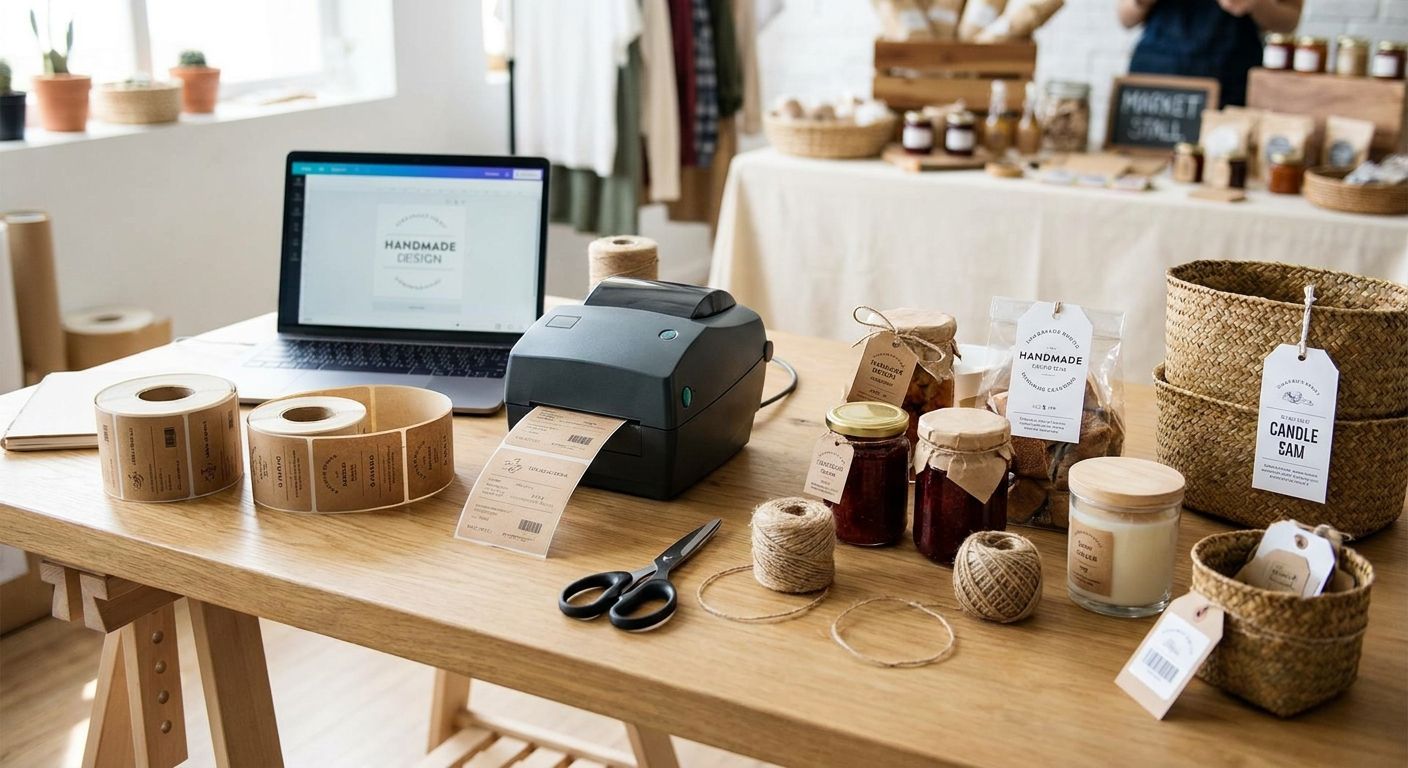
Craft fair and market vendors need price tags, product labels, and packaging stickers that survive folding tables, glass jars, and a hot afternoon under a pop-up tent. Printing them yourself with a thermal printer costs less per label than pre-printed rolls and lets you fix pricing the night before a show instead of scrambling with a Sharpie.
- Printing labels for craft fair vendors starts with direct thermal stock — no ribbon, about $6 a roll in 2026.
- A 203 DPI printer like the GoDEX RT200i handles price tags and logo stickers without an ink cartridge.
- Custom logo stickers run $24 a roll and brand packaging better than handwritten tags.
- Batch-print the night before every show — most booths have no reliable outlet or Wi-Fi.
Why this matters
A vendor selling 40 items across three weekend markets in 2026 needs price tags, care cards, and sometimes ingredient labels — that's three different label types printed on demand, not ordered from a print shop two weeks out. Handwritten tags look amateur next to a booth with clean, consistent labels, and a pre-printed batch from an online print run can't adjust when you sell out of the $18 mugs and need new tags for the $22 restock.
McAuley Labels sells the printers and label stock that solve this without a subscription or a print-shop turnaround. The setup pays for itself across a season of markets, not a single show.
What you'll need
- A direct thermal or thermal transfer label printer — small enough to fit under a booth table
- Custom stickers for business logo for packaging, thank-you cards, or brand seals
- Blank direct thermal label rolls sized for price tags (1x2 in or 2x3 in are common booth sizes)
- A laptop or phone with your product list, so pricing prints in one batch instead of one tag at a time
- Painter's tape or a hand-held tagging gun for attaching tags to fabric or wood items
- A backup battery pack or car charger if the venue doesn't guarantee power at every table
The steps
1. Sort your labels into three categories
Most vendors need price tags, product/ingredient labels, and packaging seals — treat each as a separate print job instead of designing on the fly. Price tags need only a name and price; ingredient or care labels need more text and sometimes a QR code linking to your shop.
Sorting first means you print each batch once instead of re-running the same roll three times because you forgot the allergen line. Common mistake: designing tags item-by-item at the booth the morning of a show instead of batching the whole inventory list at home.
2. Pick the right label stock for the material
Glass jars, wood cutting boards, ceramic mugs, and folded fabric all take adhesive differently — a label that sticks to glass can peel off unfinished wood within an hour in summer heat. Direct thermal printer labels need no ribbon and print in one pass, which makes them the fastest option for price tags you'll swap out between shows.
For labels that need to survive handling, moisture, or a longer shelf life — jam jars, candles, soap bars — a thermal transfer label with a wax or resin ribbon holds up longer than direct thermal stock, which can fade with heat or sunlight over several weeks.
3. Set up a printer built for booth conditions, not an office
Booths rarely have a reliable outlet, so the printer matters as much as the labels. A 203 DPI desktop printer prints clean text and barcodes for price tags without the setup complexity of a 600 DPI industrial machine meant for micro-detail labeling.
Before the first show, test the printer at home on battery power if you plan to run it cordless — confirm the label roll size loads correctly and the print head doesn't skip lines. Common mistake: showing up to a market assuming the venue has outlets near your table; always plan for battery power as the default, not the backup.
4. Design price tags with your logo, not just a number
A plain "$15" sticker looks like a garage sale; a tag with your logo and price looks like a brand. Print your shop name and a small logo onto price tags using the same design file for every product, so switching from a $12 item to a $28 item takes 30 seconds, not a redesign.
Keep the font size legible at arm's length — shoppers browsing a table read price tags from 18 inches away, not up close. Cramped 6-point text on a 1x2 label forces customers to pick items up just to check the price, which slows down your table during a busy Saturday rush.
5. Print packaging and thank-you stickers in the same run
Booth vendors who sell in bags or boxes often add a branded seal or thank-you sticker on top of the price tag. Custom stickers for business logo work for both — a seal across a bag flap or a small circle sticker on the bottom of a box.
Print these in the same session as your price tags so you're not running the printer twice the night before a show. Batching both jobs together also means you catch color or alignment issues once instead of during two separate print runs.
6. Add a QR code for repeat customers
A small QR code on a packaging label or care card linking to your online shop or Instagram turns a one-time market sale into a repeat customer. This works especially well on higher-priced items where a buyer wants to browse your full catalog later instead of deciding on the spot.
Test every QR code on two different phones before printing 100 labels — a code generated at low resolution or printed too small can fail to scan under booth lighting. Common mistake: shrinking a QR code below half an inch to fit a small label; most phone cameras need roughly a half-inch minimum to read it reliably.
7. Pack backups before you leave for the show
Bring a spare label roll, a spare ribbon if you're running thermal transfer stock, and a phone charger for the printer if it's battery-powered. A printer that runs out of labels mid-show with no backup roll means handwritten tags for the rest of the day — exactly what batch printing was supposed to avoid.
Troubleshooting
- Labels smear or fade within a day: direct thermal stock reacts to heat and sunlight; switch to thermal transfer labels with a ribbon for anything displayed outdoors for hours.
- Adhesive won't stick to unfinished wood or fabric: use a stronger adhesive backing or attach tags with a hand tagging gun instead of relying on the sticker alone.
- QR code won't scan under booth lighting: increase the label size or print resolution — a code under a half-inch square is the most common failure point.
- Printer won't power on without an outlet: confirm the model supports battery operation before the show, not the morning of; not every desktop printer ships with battery support.
- Price tags print blurry or with white streaks: the print head likely needs cleaning, or the label stock doesn't match the printer's recommended width.
- You run out of a specific price tag mid-show: keep a laptop or tablet with your design file loaded so you can reprint a single tag without redesigning from scratch.
Tools and resources
- A 203 DPI thermal printer for everyday price tags and product labels
- Direct thermal label rolls for fast, ribbon-free printing between shows
- Custom logo stickers for packaging seals and thank-you cards
- A tagging gun or painter's tape for attaching labels to wood, fabric, and uneven surfaces
- A charged laptop or tablet with your product list ready to batch-print the night before
For a side-by-side look at printers built for mobile selling — food trucks, pop-up shops, and weekend markets alike — see the guide on label printers for pop-up shops and mobile retail.
What to do next
Once your booth labeling is dialed in, the same printer setup carries over to online sales if you also list items on Etsy between markets. Check the McAuley Labels guide on choosing a printer for online sellers before you scale past weekend markets into full-time e-commerce fulfillment.


FAQ
What's the best printer for craft fair price tags?
A 203 DPI direct thermal printer is the best fit for craft fair price tags in 2026 because it prints without ink or a ribbon and handles small batch runs fast. Higher-resolution printers exist for detailed barcodes, but most vendors don't need that level of print quality for a $12 price tag.
How much does it cost to print labels for a craft fair booth?
A roll of direct thermal labels runs about $6, and custom logo stickers run about $24 a roll. Printing in-house works out cheaper per label than ordering pre-printed tags from an outside print shop for a one-weekend show.
Is direct thermal or thermal transfer better for market vendors?
Direct thermal is better for short-term price tags since it needs no ribbon and prints fast. Thermal transfer is better for labels that need to survive weeks of handling, moisture, or sunlight, since the ribbon-based print resists fading longer.
Can I print labels without an outlet at my booth?
Yes, if your printer supports battery operation — confirm this before the show, since not every desktop model does. Battery-powered printers let you print or reprint a tag on the spot without hunting for a power strip.
Do I need a QR code on my product labels?
A QR code isn't required, but it helps convert one-time market shoppers into repeat online customers. Keep the code at least a half-inch square so phone cameras can scan it under typical booth lighting.
What size labels work best for craft fair price tags?
1x2 inch or 2x3 inch labels are the most common sizes for booth price tags in 2026, large enough to read from a few feet away without covering the product. Smaller items like jewelry may need a 1x1 inch tag instead.
How many labels should I print before a market?
Print for your full inventory count plus roughly 20% extra to cover reprints for pricing changes or damaged tags. Running out mid-show forces handwritten tags, which undercuts the branded look you built with printed labels.
One last thing
The single biggest labeling mistake at craft fairs isn't the printer — it's designing tags at the booth the morning of a show. Batch-print every price tag, packaging seal, and QR label the night before, test one QR code on your own phone, and pack a spare label roll. That fifteen-minute routine prevents the handwritten-tag scramble that makes an otherwise polished booth look unfinished by 11am.