
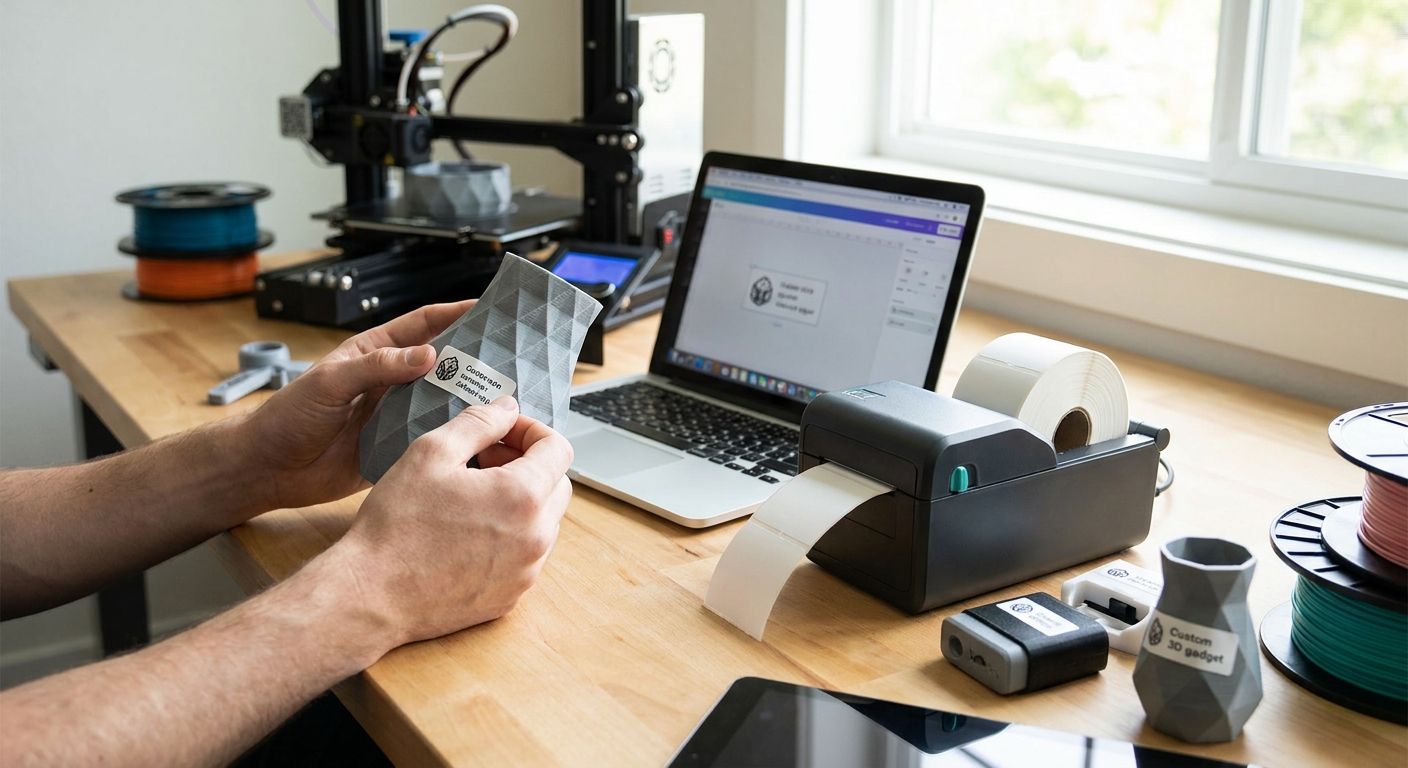
3D printed products need a label that survives shipping, sticks to textured PLA or PETG surfaces, and reads clean under a barcode scanner — a home inkjet won't hold up to any of that. This guide covers how to print labels for 3D printed products step by step: material choice, printer resolution, and the workflow maker businesses run to label every SKU without reprinting half the batch.
- Thermal printing beats inkjet for 3D printed products because ink smears on shiny or textured plastic surfaces.
- Buy: GoDEX ZX430i at 300 DPI for maker businesses printing logos and small text on product labels in 2026.
- Custom logo stickers on polyester survive handling and shipping better than paper labels for shipped 3D prints.
- Thermal transfer needs ribbon and resists fading for years; direct thermal skips ribbon but fades faster in sunlight.
- QR codes for SKU tracking need at least 300 DPI to scan reliably at small label sizes.
Why this matters
A 3D printed product's label is often the only branding a customer sees before they open the package. If it peels in transit or blurs after a week on a shelf, it reads as a hobby operation, not a business.
Maker businesses selling on Etsy, Shopify, or at in-person markets in 2026 compete on presentation as much as print quality. Labels also carry more weight than decoration — batch numbers, care instructions, and QR codes tied to a SKU let you track which print run a return came from.
Getting the printer and material right the first time saves you from reprinting a 200-unit batch because the ink rubbed off in a tote bag.
What you'll need
- A thermal label printer — direct thermal or thermal transfer, not a home inkjet
- Label stock matched to the surface: polyester for handled or shipped items, paper for interior-only use
- Ribbon, if you're running thermal transfer for long-term durability
- Design software or a label template tool for logo, batch number, and QR code layout
- A barcode or QR system if you're tracking SKUs across multiple print runs
For branding, custom logo stickers printed on durable stock work as the outward-facing label while a separate barcode or QR label handles internal tracking — most maker businesses run both.
The steps
1. Decide direct thermal vs. thermal transfer
This decision drives everything else. Direct thermal prints without ribbon and costs less per label, but the image fades under heat or direct sunlight — fine for interior packing slips, risky for a label that sits on a windowsill display. Thermal transfer uses a ribbon to fuse ink into the label, and it holds up for years without fading. If the label ships on the outside of a box or sits in a retail display, use thermal transfer.
2. Match the label material to the surface
PLA and PETG surfaces are smoother than resin prints but still grip adhesive differently depending on layer lines and finish. Polyester labels handle curved or slightly textured surfaces better than paper, and they don't tear when a customer peels back a corner to check ingredients or care instructions. Paper labels work fine for interior use, like a packing insert or a QR code tucked inside a box.
3. Pick your printer resolution
Resolution determines whether small text and QR codes come out sharp or smeared. 203 DPI is the floor for basic barcodes and shipping labels. 300 DPI is the standard for product labels with a logo and small text — most maker businesses print here. 600 DPI is for fine detail branding work, like a multi-color logo or tight typography. The GoDEX ZX430i runs at 300 DPI and covers logo printing plus barcode work on the same machine. Buy the 300 DPI tier if your label includes a logo — skip 203 DPI for anything beyond a plain barcode.
4. Design the label layout
Include your brand name, a batch or lot code if you run multiple production cycles, and a QR code if you're tracking service history or linking to a product page. Keep text off the very edge of the label — thermal printheads lose a few millimeters of clean print at the border, and that's where smudging shows up first.
5. Load ribbon and calibrate
If you're running thermal transfer, load the ribbon so the coated side faces the label stock, not the printhead. Run a calibration print before your first full batch — this syncs the printer's gap sensor to your specific label size so it doesn't drift mid-roll. Direct thermal and thermal transfer printing work on different hardware paths, so don't assume a calibration from one method carries over to the other.
6. Test print a small batch
Print 10-20 labels before committing a full roll. Check the QR code with a phone scanner, check the logo edges under a light, and flex the label to confirm the adhesive holds on your actual 3D printed surface — not just a flat test sheet.
7. Apply labels correctly
Apply to a clean, dust-free surface. 3D prints can carry a light layer of print dust or mold-release residue that keeps adhesive from bonding fully. Press labels flat rather than smoothing from one edge, which traps air and creates lift points that peel over time.
8. Track batches with a QR or barcode system
Once labeling is routine, tie each SKU to a QR code or barcode so returns and reorders map back to a specific print run. This matters more as your catalog grows past a handful of SKUs — reprinting a batch number by hand doesn't scale past a few dozen units a week.
Common mistake: printing at 203 DPI to save on ribbon, then finding the QR code won't scan because the modules are too coarse at small sizes. Bump to 300 DPI before you print 500 labels you can't use.
Troubleshooting
- Label peels off a textured print surface. Switch to polyester stock with a stronger acrylic adhesive — paper labels don't grip textured PLA well.
- Ribbon wrinkles during thermal transfer printing. Mismatched ribbon width or printhead pressure is the usual cause; confirm the ribbon matches your label width exactly.
- Print looks faded or thin. Increase the darkness setting on the printer or check that you're not running direct thermal media through a thermal transfer setting.
- Labels feed unevenly or skip. Recalibrate the gap sensor — this drifts when you switch between label sizes without resetting it.
- QR code won't scan. Almost always a resolution issue. Reprint at 300 DPI instead of 203 DPI and retest before running the full batch.
- Logo edges look jagged. Check your design file resolution matches the printer DPI — a 150 DPI logo file prints jagged even on a 300 DPI printer.
Tools and resources
- A thermal transfer printer for anything shipped or displayed long-term
- Thermal transfer ribbon sized to match your label width
- Polyester label stock for handled products, paper for interior-only labels
- A barcode or QR scanner to verify prints before a full run
- Label design software with DPI-accurate file export


What to do next
Once your labeling workflow is running, the next decision is printer volume — if you're selling on Etsy alongside your own site, the printer that handles daily order labels plus product branding is worth comparing before you outgrow a desktop unit.
FAQ
What's the best label printer for 3D printed products in 2026?
A 300 DPI thermal transfer printer like the GoDEX ZX430i covers most maker businesses in 2026, handling logos, small text, and barcodes on the same machine. Step up to 600 DPI only if your branding includes fine multi-color detail.
Do I need thermal transfer or direct thermal labels for 3D prints?
Use thermal transfer for anything shipped outside a box or displayed long-term, since it resists fading for years. Direct thermal works fine for interior-only labels like packing slips, but it fades under heat and sunlight.
What label material sticks to PLA and PETG surfaces?
Polyester label stock grips textured or slightly curved PLA and PETG surfaces better than paper. Paper labels tend to lift at the edges on anything handled repeatedly.
How much does it cost to label 3D printed products?
Custom logo stickers start around $24 for a small run and direct thermal label rolls start around $6, depending on size and quantity. Cost scales with label material and whether you're running ribbon-based thermal transfer.
Can I put a QR code on a 3D printed product label?
Yes, and it's the fastest way to tie a product to its batch number or a service page. Print QR codes at 300 DPI minimum — anything lower and small modules blur enough to fail a scan.
What DPI do I need for small text on product labels?
300 DPI is the standard for labels with a logo and small text; 203 DPI is only reliable for plain barcodes. Text under 6-point size needs 300 DPI or higher to stay legible.
Is direct thermal printing durable enough for shipping labels?
Direct thermal works well for shipping labels because they're only handled briefly before delivery, not displayed long-term. It's a poor choice for a product label meant to survive months of handling or sun exposure.
How do I calibrate a thermal printer for label alignment?
Run the printer's built-in calibration cycle every time you switch label sizes, which resets the gap sensor to the new roll. Skipping this step is the most common cause of skipped or misaligned prints.
One last thing
The detail most maker businesses skip: test the label on an actual finished print, not a flat scrap of plastic. Layer lines, mold-release residue, and curved surfaces all change how adhesive bonds, and a label that holds on a test sheet can still lift off a real product within a week.