
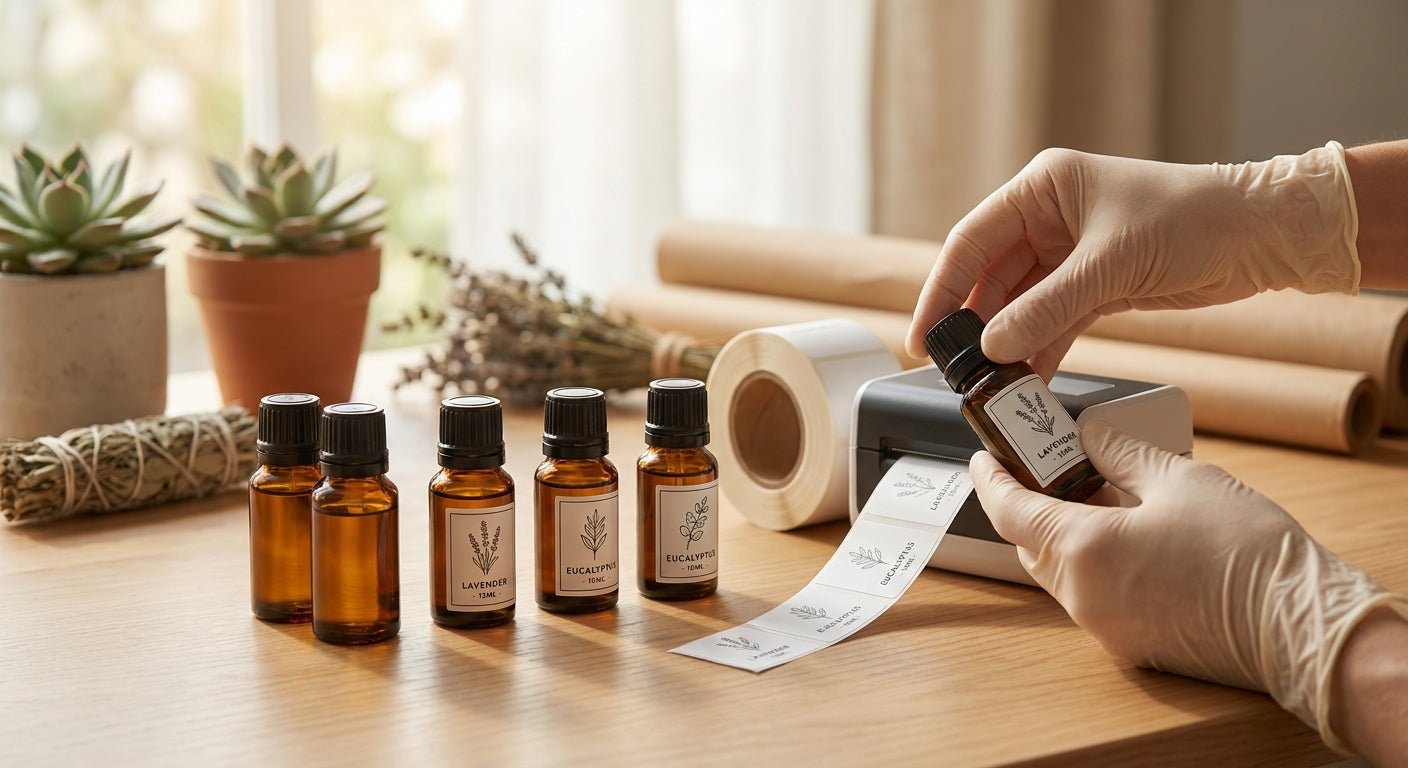
Essential oil bottles are small, glossy, and often stored near heat or sunlight — three things that wreck a cheap label fast. This guide covers the printer settings, label stock, and print steps that keep text legible on a 10ml amber bottle for the life of the product.
TL;DR
Printing labels for essential oil bottles in 2026 comes down to two decisions: resolution and adhesive. Use a 300 DPI or 600 DPI thermal printer so ingredient lists and lot numbers stay readable at 8-point type, and pair it with a polyester or semi-gloss label stock rated for oil contact. The GoDEX RT863i (600 DPI) is the Buy for anyone printing dropper-bottle text under 1/4 inch tall; a 203 DPI desktop unit is a Skip for this specific job. Thermal transfer with a resin ribbon beats direct thermal here because essential oils off-gas and direct thermal coatings fade under that exposure within months.
Why this matters
A 15ml essential oil bottle gives you roughly 1.5 x 2.5 inches of usable label real estate. Cram a brand name, ingredient list, batch code, and a warning statement into that space and any resolution below 300 DPI turns small serifs into mush. Add oil residue on the fingers of anyone handling the bottle and a standard paper label starts lifting at the corners within weeks.
McAuley Labels builds thermal transfer printers specifically for jobs where the label has to survive contact with liquid, oil, or repeated handling — the same durability profile that oil change stickers and lab specimen labels need. Essential oil bottle labels sit in that same category: small format, chemical exposure, long shelf life expectation.
What you'll need
- A thermal transfer printer with 300 DPI or 600 DPI resolution — direct thermal print heads work but fade faster under UV and oil exposure
- Polyester label stock rated for oil and moisture contact, cut to your bottle's panel size
- A resin or wax-resin thermal transfer ribbon matched to your label material
- Label design software (GoLabel or a design template with your ingredient list, batch code, and brand name)
- A digital scale or bottle template to confirm label dimensions before the first print run
- 20-30 minutes for setup and a test print run of 10-15 labels
The steps
1. Measure the bottle panel, not the bottle
Most 10ml and 15ml amber bottles have a flat or slightly curved panel that's smaller than the bottle's total circumference. Measure that flat area specifically — wrapping a label around a curve distorts barcodes and small text. A typical 15ml bottle takes a label no larger than 1.5 x 2.75 inches; going bigger means the label edges won't sit flush.
Common mistake: designing the label to the bottle's diameter instead of the flat panel, which leaves the label puckering at the seams once applied.
2. Pick resolution based on your smallest text
If your label includes an ingredient list or safety statement under 8-point font, 300 DPI is the floor and 600 DPI is safer. At 203 DPI, small serif fonts start losing their counters (the closed part of letters like e and a), which makes labels look blurry even when the printer itself is functioning correctly. The GoDEX RT863i prints at 600 DPI and 4 inches wide, which covers the smallest oil bottle formats without cropping.
Expected outcome: text at 6-point size reads clean under normal lighting, no jagged edges on curves or numerals.
3. Choose thermal transfer over direct thermal for this application
Direct thermal labels use heat-sensitive coating with no ribbon — cheaper upfront, but the coating darkens with UV exposure and heat, which is exactly what essential oil storage conditions provide. Thermal transfer uses a ribbon to fuse ink onto the label, and that ink doesn't degrade from ambient light the way direct thermal coating does. For labels expected to last 12+ months on a shelf-stored bottle, thermal transfer is the only reasonable choice.
Common mistake: choosing direct thermal to save on ribbon costs, then reprinting the whole batch six months later when labels have yellowed and faded.
4. Load the ribbon and calibrate the sensor
Thread the ribbon so the coated side faces the label stock, not the print head — reversed ribbon prints nothing and looks like a hardware failure when it's actually an installation error. Run the printer's auto-calibration sequence after loading new stock so the sensor reads the gap between labels correctly. Skipping calibration on a fresh roll is the single most common reason a first print run comes out shifted or blank.
Expected outcome: the calibration test print lands centered on the label with no drift after five consecutive labels.
5. Set print speed and darkness for your label material
Polyester stock generally prints best at 2-4 inches per second with darkness settings in the middle of the printer's range — pushing speed too high on a small dropper-bottle label causes smearing on curved characters and barcode elements. Print a batch of 10 test labels at your chosen settings before running the full order. Check the batch code and any barcode under a scanner before committing to a production run.
Common mistake: copying settings from a paper shipping label job onto a polyester bottle label job — the two materials need different darkness and speed profiles.
6. Apply and cure before packing
Apply labels to bottles at room temperature, not straight out of cold storage — condensation under the label causes lifting within days. Press firmly across the full label surface, working from center outward to avoid trapped air bubbles. Let applied labels sit for at least an hour before boxing for shipment, especially if the packaging seals bottles tightly against each other.
Expected outcome: labels stay flat and adhered with no lifted corners after 24 hours at room temperature.
Troubleshooting
- Label edges lift within a week — the adhesive isn't rated for oil contact, or the bottle was cold when the label was applied. Switch to polyester stock rated for oil exposure and apply at room temperature.
- Small text looks blurry even at 300 DPI — check that print darkness isn't set too high, which causes ink bleed on fine details. Drop darkness by 2-3 points and reprint a test batch.
- Ribbon wrinkles mid-print — usually a tension mismatch between ribbon width and label width. Match ribbon width within a quarter inch of the label stock width.
- Barcode won't scan after printing — resolution below 300 DPI on a small barcode module width is the usual cause. Increase to 600 DPI or widen the barcode's module size in your design software.
- Labels print faded after a few months on the shelf — this points to direct thermal stock used for a job that needed thermal transfer. Reprint the batch on thermal transfer with resin ribbon.
- Print output is shifted or partially blank on a fresh roll — the sensor wasn't recalibrated after the last stock change. Run calibration before every new roll, not just at first setup.
Tools and resources
- 300-600 DPI thermal transfer printer (GoDEX RT863i or similar 600 DPI model for the smallest bottle text)
- Thermal transfer ribbon matched to your label material width
- Polyester label stock rated for oil and moisture exposure
- Digital calipers or a bottle template for accurate panel measurement
- Reference on direct thermal versus thermal transfer if you're still deciding which print method fits your run volume
What to do next
Once the essential oil bottle labels are dialed in, the same printer and stock combination handles adjacent product lines — candle jars, tincture bottles, and cosmetic packaging all share the small-format, oil-or-wax-exposure profile. The jar and food/beauty label guide walks through sizing and stock choices for those formats using the same 2026 print settings covered here.
FAQ
What's the best printer for essential oil bottle labels? A 300 DPI or 600 DPI thermal transfer printer, like the GoDEX RT863i at 600 DPI, handles the small font sizes and curved-panel printing that dropper bottles require. A 203 DPI desktop printer works for larger bottles with simple text but struggles with ingredient lists under 8-point font.
Is thermal transfer better than direct thermal for oil bottles? Yes — thermal transfer ink doesn't fade from UV or heat exposure the way direct thermal coating does. Essential oil bottles stored near light or heat sources will show visible direct thermal fading within 3-6 months, while thermal transfer labels hold their print for a year or more.
How much does it cost to print labels in-house for essential oils? Costs run on ribbon, label stock, and the printer itself rather than per-label vendor fees once you're set up. Check current pricing for polyester stock and matched ribbon before estimating your per-bottle cost.
What DPI do I need for small essential oil bottle text? 300 DPI is the minimum for text under 8-point font; 600 DPI is safer for ingredient lists, batch codes, or fine barcode modules on a 10ml or 15ml bottle panel.
Can I use paper labels on essential oil bottles? Standard paper labels aren't a fit — oil residue and moisture cause lifting and smearing within days. Polyester or vinyl label stock rated for oil contact is the standard choice for this application in 2026.
Do essential oil labels need to be waterproof? Yes, if the bottle will see any handling with oily fingers or bathroom/kitchen storage with humidity. Polyester stock handles both oil and moisture exposure without lifting.
How long do thermal transfer labels last on essential oil bottles? Expect 12 months or more of clean legibility on polyester stock with resin ribbon, versus a few months for direct thermal under the same storage conditions.
What size should an essential oil bottle label be? Measure the bottle's flat panel, not its full circumference — most 10ml and 15ml bottles take a label between 1.25 x 2 inches and 1.5 x 2.75 inches without wrapping around curves.
One last thing
The detail most people skip is ribbon-to-label width matching. A ribbon that's more than a quarter inch wider than the label stock wastes coating and increases wrinkle risk on small-format runs — on a bottle label that's only 1.5 inches wide, that mismatch shows up as visible print defects far more often than it does on a 4x6 shipping label.
Matching ribbon width tightly to label width is a five-second check before a production run, and it's the difference between a clean batch of 200 essential oil bottle labels and a reprint.