
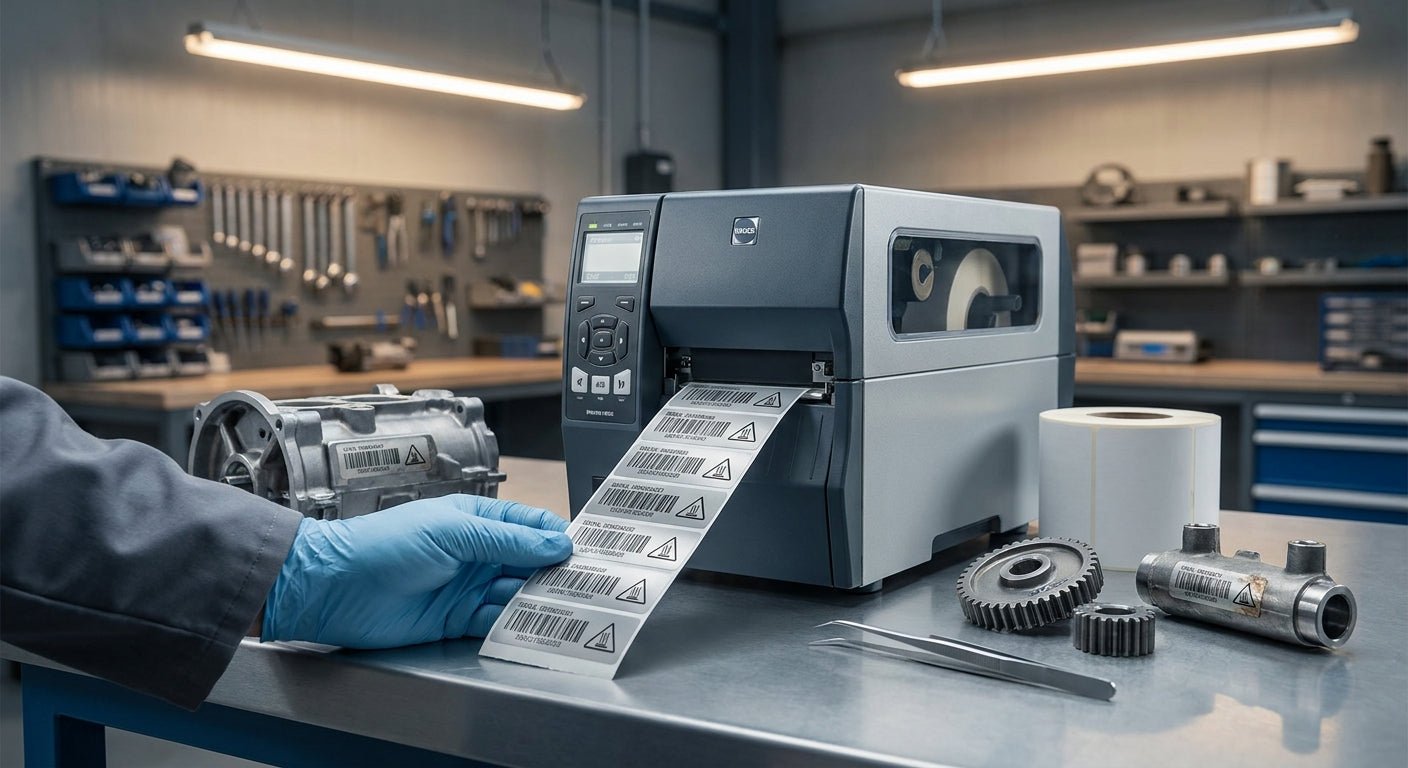
Industrial parts that see engine heat, autoclaves, or outdoor sun need labels that survive temperatures standard thermal stock can't handle — this guide walks through the exact process for printing labels that hold up past 300°F without curling, fading, or peeling off.
TL;DR
Heat resistant labels for industrial parts require thermal transfer printing (not direct thermal) paired with a polyester or polyimide face stock and a resin ribbon rated for high-heat exposure. For most manufacturing and automotive parts, 3M heavy-duty barcode labels printed on a resin ribbon system are the Buy — they're rated to withstand sustained heat and chemical exposure that direct thermal paper can't touch. In 2026, most shops printing these in-house use a 4-inch thermal transfer printer running at 203 or 300 DPI with a full-resin ribbon.
Why this matters
Direct thermal labels darken and fade on their own without any heat exposure — leave one near an engine bay or a curing oven and it's unreadable within days. Thermal transfer labels use a ribbon that melts ink into the label face, which is the only method that produces marks stable enough for sustained heat. Get the printer, ribbon, and stock combination wrong and you'll reprint the same batch of asset tags three times in a year — that's a real cost in labor and downtime, not a hypothetical.
What you'll need
- A thermal transfer printer (not direct thermal only) — the GoDEX GE330 prints at 203 DPI and handles resin ribbon reliably for industrial runs
- Resin thermal transfer ribbon rated for high heat and chemical resistance — wax ribbons won't hold up past moderate temperatures
- Polyester or metalized polyester label stock, not paper — paper labels char and delaminate above 200°F
- Label design software (GoLabel or similar) for barcode, text, or logo layout
- A flat, clean, oil-free surface for application — adhesive won't bond to a greasy part
- 15-30 minutes for a first test run before committing to a full batch
The steps
1. Choose thermal transfer, not direct thermal
Direct thermal labels use heat-sensitive coating that reacts to the printhead — no ribbon involved. That coating is also what makes them fail near actual heat sources, since the same chemical reaction that prints the label keeps reacting after it leaves the printer. Thermal transfer solves this because the image is resin, not a heat-reactive dye. Skip this step and every other fix in this guide is wasted effort — the printer type is the single biggest variable. Common mistake: buying a direct thermal printer because it's cheaper, then discovering the labels fade in storage before they're even applied.
2. Match the ribbon to the stock
Full-resin ribbons are built for polyester and vinyl, and they're the only ribbon type rated for sustained heat above 250°F. Wax-resin blends work for general warehouse labels but degrade faster under thermal stress. Run a resin-grade ribbon with a polyester label — that pairing is what most automotive and manufacturing shops standardize on in 2026. Common mistake: using wax-resin ribbon on polyester stock because it's what's already loaded — the print smears the first time the part gets warm.
3. Set printhead temperature and print speed
Higher printhead temperature and slower print speed produce denser, more durable ink transfer — critical for labels that need to survive years of heat cycling. Start at a mid-range darkness setting (12-15 on most GoDEX models) and a print speed of 2-3 inches per second, then adjust based on print quality. Faster speeds save time but produce thinner ink coverage that fades sooner under heat. Common mistake: running default factory speed settings meant for shipping labels, not heat-rated industrial tags.
4. Calibrate before the full run
A miscalibrated printer produces inconsistent darkness across a batch, and inconsistent darkness means inconsistent heat resistance — some labels will fail before others even in the same box. Run the printer's calibration sequence with the actual stock and ribbon you'll use for the job, not a generic test roll. This takes under five minutes and prevents reprinting an entire batch after field failures. Common mistake: calibrating once when the printer is new and never again after switching ribbon lots.
5. Print a test batch of 10-20 labels
Before committing to hundreds of labels, print a small batch and expose a few to a heat gun, oven, or the actual application environment for 24 hours. Check for fading, curling at the edges, and adhesive lift. This step catches ribbon-stock mismatches before they cost you a full production run. Common mistake: skipping the test and discovering the failure only after labels are already on 200 parts in the field.
6. Apply to a clean, prepped surface
Adhesive bond strength drops sharply on oily or dusty metal — wipe the part with isopropyl alcohol and let it dry fully before applying the label. Press the label down with firm, even pressure across the full surface, not just the center, to avoid trapped air pockets that lift at the edges under heat expansion. Common mistake: applying labels straight after machining, when residual cutting fluid is still on the surface.
7. Let the adhesive cure before heat exposure
Most industrial adhesives need 24-48 hours at room temperature to reach full bond strength. Exposing a freshly applied label to high heat before that cure window closes weakens the adhesive permanently, even if the label looks fine at first glance. Schedule labeling before parts go into ovens or engine assembly, not after. Common mistake: applying and immediately heat-testing on the same day, then blaming the label stock for a curing problem.
Troubleshooting
- Labels fade within weeks even indoors — you're likely running direct thermal stock. Switch to thermal transfer with resin ribbon; direct thermal isn't rated for this use case regardless of print settings.
- Print looks fine but smears under light heat — wax or wax-resin ribbon on polyester stock. Move to a full-resin ribbon rated for the temperature range you're hitting.
- Labels curl at the corners after application — adhesive hasn't cured, or the surface wasn't clean. Check the 24-48 hour cure window and re-clean the part with isopropyl alcohol.
- Barcode won't scan after heat exposure — printhead darkness was too low for the ribbon-stock combination. Increase darkness setting by 2-3 points and slow print speed by 0.5 inches per second.
- Ink transfer looks streaky across the label width — printhead may need cleaning, or ribbon tension is off. Clean the printhead with an alcohol swab and check ribbon alignment before the next run.
- Labels lift entirely off curved or textured metal — flat-stock adhesive isn't formulated for irregular surfaces. Confirm the stock is rated for the surface type before ordering a full run.
Tools and resources
- 3M heavy-duty barcode inventory labels — the standard choice for heat and chemical exposure on manufacturing floors
- GoDEX GE330 thermal transfer printer — 203 DPI, built for resin ribbon runs
- Thermal transfer ribbon — match to full-resin grade for heat-rated jobs
- GoLabel design software for barcode and text layout before printing
- Isopropyl alcohol wipes for surface prep before application
What to do next
Once heat resistance is dialed in, the next decision is print technology in general — direct thermal vs. thermal transfer covers when each makes sense beyond just heat-rated parts, including cost per label and printer lifespan.
FAQ
What's the best label material for heat resistant industrial parts? Metalized polyester or polyimide face stock printed with a full-resin thermal transfer ribbon is the standard for 2026 industrial applications — it holds up past 300°F without fading or delaminating, unlike paper or direct thermal stock.
Is thermal transfer better than direct thermal for heat exposure? Yes, definitively — direct thermal coating is heat-reactive by design, so it degrades on its own near heat sources regardless of print quality. Thermal transfer uses resin ink that's chemically stable once applied.
How much does a heat resistant label printer cost? Thermal transfer printers like the GoDEX GE330 run in the low-to-mid hundreds for a 4-inch, 203 DPI desktop unit as of 2026 — check current pricing on the site for exact figures, since configurations vary by ribbon and stock bundle.
Can direct thermal labels ever work for industrial parts? Only for short-term, low-heat uses like temporary shelf tags — they're not rated for sustained heat, engine bays, or autoclave cycles, and they'll fade even in normal indoor storage over months.
What temperature can heat resistant labels withstand? Full-resin thermal transfer labels on polyester stock typically handle continuous exposure in the 250-300°F range, though exact ratings depend on the specific stock and adhesive formulation.
Do heat resistant labels need a special adhesive? Yes — standard adhesives soften and lift under sustained heat. Industrial-grade acrylic adhesives rated for high-temperature bonding are what hold labels to metal parts through heat cycling.
How long does the adhesive take to cure before heat exposure? Most industrial adhesives need 24-48 hours at room temperature before reaching full bond strength — labeling parts right before they go into an oven or engine assembly skips this window and weakens the bond.
Why do my barcode labels fail to scan after heat exposure? Printhead darkness was likely set too low for the ribbon-stock pairing, producing thin ink coverage that degrades under heat. Increasing darkness and slowing print speed usually fixes it on the next run.
One last thing
Most heat-resistant label failures in 2026 trace back to one overlooked step: the adhesive cure window, not the ribbon or stock. A shop can have the right thermal transfer printer, the right resin ribbon, and the right polyester stock, and still see labels lift off parts because they got heat-exposed within hours of application instead of after the 24-48 hour cure period. Build that wait time into your production schedule before blaming the materials.