
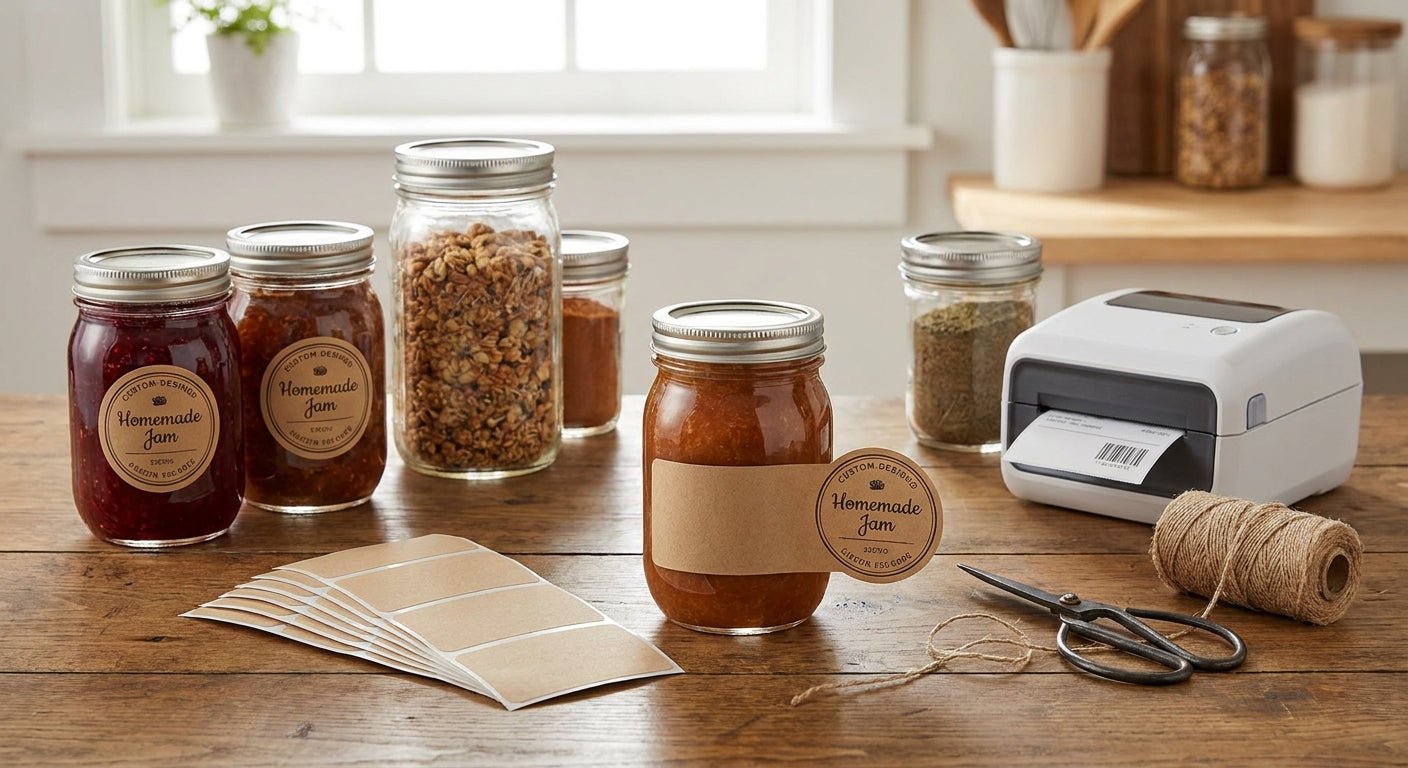
Printing your own mason jar and food packaging labels cuts per-unit cost once volume passes a few hundred jars a month, and it lets you fix a recipe change or price update the same afternoon instead of waiting on a print run.
TL;DR
Print mason jar and food packaging labels at home or in-shop with a direct thermal or thermal transfer desktop printer, semi-gloss white or polyester label stock, and free label design software. A GoDEX GE300 (203 DPI) handles most small-batch food label jobs in 2026, while thermal transfer with polyester stock is the move if labels touch moisture, oil, or a refrigerator. Verdict: buy a 203 DPI direct thermal printer for dry-goods jars, upgrade to thermal transfer polyester for anything wet, cold, or handled a lot. Expect $0.03-$0.08 per label in materials once you're printing in-house instead of ordering pre-printed rolls.
Why this matters
Pre-printed labels from a print shop usually carry a minimum order of 250-1,000 units and a 5-10 business day turnaround. That kills small-batch food brands that change flavors, sizes, or ingredient lists every season.
An in-house thermal printer removes the minimum order problem entirely. You print 12 labels for a farmers market Saturday or 1,200 for a wholesale account with the same machine, same software, same day. The tradeoff is you now own the calibration, the stock selection, and the durability testing that a print shop used to handle for you.
What you'll need
- A direct thermal or thermal transfer label printer (203 DPI is fine for most jar labels; 300 DPI if you're printing small nutrition-panel text)
- Label stock rated for your use case: semi-gloss white for dry pantry goods, polyester for anything refrigerated, frozen, or exposed to oil and condensation
- Thermal transfer ribbon if you're running a thermal transfer printer (skip this for direct thermal)
- Free label design software (GoLabel works with GoDEX printers) or a design file exported as PDF/PNG
- A roll holder or external spool if your printer doesn't have one built in
- 15-20 minutes for first-time setup and calibration
For the printer itself, the GoDEX GE300 4" thermal printer at 203 DPI is a common starting point for small food brands in 2026 because it handles both label widths typical of mason jar wraps (2" to 4") and doesn't require a ribbon if you're running direct thermal stock.
The steps
1. Pick your label material based on how the jar will be used
This decision drives everything downstream, so do it first. Dry goods sitting on a pantry shelf at room temperature can run on semi-gloss white paper stock and hold up fine for 12+ months. Jars going in a fridge, freezer, or getting handled with wet or oily hands need polyester thermal transfer label stock instead.
Common mistake: using standard paper labels on refrigerated jars. The adhesive softens within days of condensation exposure and the label peels or the ink smears. If your product touches moisture at any point in its life, skip paper.
2. Match your printer method to the stock
Direct thermal printers burn the image directly into heat-sensitive paper — no ribbon, cheaper media, but the image fades if exposed to sunlight or heat over months. Thermal transfer printers melt a ribbon onto the label, producing an image that resists UV, heat, and moisture far better.
For food packaging that sits on a store shelf under lighting for weeks, thermal transfer is the safer call. For jars you're labeling and shipping out same-week, direct thermal at 203 DPI works and skips the ribbon cost entirely.
3. Design the label at actual print size
Open your label software and set the canvas to the exact label dimensions, not a scaled-down preview. A 2" x 3" jar label designed at the wrong aspect ratio prints stretched or gets auto-cropped, and you won't catch it until the roll is already printing.
Include required food labeling elements if you're selling commercially: product name, net weight, ingredient list, and any state cottage food disclosures that apply to your business. Leave at least 1/8" margin from every edge — thermal printheads don't print reliably all the way to the edge of the stock.
4. Load and calibrate the printer before your first real run
Load the label roll so the sensor gap on the underside of the stock lines up with the printer's gap sensor, then run the auto-calibration routine before printing anything. Skipping calibration is the single most common cause of labels printing shifted, cut mid-label, or with blank gaps between prints.
Most desktop thermal printers complete calibration in under 60 seconds once the stock is loaded correctly. Run a test print on 3-5 blank labels first to confirm the gap sensor tracked properly before committing a full design run to the roll.
5. Print a short test batch and check adhesion
Print 10-20 labels and apply them to actual jars, not a flat test surface. Mason jar curvature and moisture from cold contents change how adhesive performs versus a lab-flat test strip.
Let the applied test labels sit for 24 hours in the actual storage condition — fridge, pantry, or freezer — before running a full production batch. If edges lift or ink smudges when wiped, that's your signal to switch stock before you waste a full roll.
6. Set print speed and darkness for consistent output
Most thermal printers default to a mid-range speed and darkness setting that's fine for basic text but can under-render small barcodes or fine nutrition-panel type. Increase darkness incrementally (most software steps in units of 1-15) until barcode edges are crisp and small text doesn't smear or bleed.
Common mistake: cranking darkness to maximum by default. Over-darkened labels burn through direct thermal stock faster and can jam the printhead over hundreds of prints. Find the lowest darkness setting that still prints clean.
7. Run the production batch and log your settings
Once your test batch checks out, print the full run. Write down the darkness level, speed, and stock type you used — you'll need it again next month, and thermal printer settings don't always save automatically across software updates.
A logged settings sheet turns a 20-minute recalibration into a 2-minute reload every time you reorder the same label.
Troubleshooting
Labels print faded or streaky: darkness setting is too low, or the printhead needs cleaning with an isopropyl swab. Clean first, then adjust darkness.
Label peels off the jar within a week: wrong adhesive-to-surface match. Cold, condensation-prone jars need a stock rated for refrigeration, not standard paper adhesive.
Barcode won't scan: print resolution is too low for the barcode density, or darkness is under-set. Move to 300 DPI if you're printing small barcodes on a compact jar label.
Printer cuts labels mid-design: gap sensor wasn't calibrated to the actual stock loaded. Re-run calibration with the exact roll you're using, not a generic default.
Ink smudges when the jar sweats (cold contents): direct thermal image isn't holding up to moisture. Switch to thermal transfer with polyester stock.
Labels jam feeding through the printer: roll tension is off, or the stock width doesn't match the printer's sensor range. Check the roll holder alignment before blaming the printer itself.
Tools and resources
- GoDEX GE300 thermal printer, 203 DPI — 4" print width, common baseline for jar and packaging label runs
- Polyester thermal transfer label stock — the moisture and cold-resistant option for refrigerated or frozen jars
- Label design software (GoLabel or equivalent) for setting canvas size and running calibration
- A roll of test labels for the adhesion check in step 5 before committing to a full batch
What to do next
Once your jar labels are dialed in, the next question most food brands run into is durability for anything stored outside — market displays, delivery totes, or outdoor pop-ups. The guide on how to make waterproof labels for jars covers stock and lamination choices specifically for that scenario.
FAQ
What's the best printer for mason jar labels in 2026? A 203 DPI direct thermal or thermal transfer desktop printer, such as the GoDEX GE300, covers most small-batch jar labeling needs without the cost of a 600 DPI industrial machine.
Is direct thermal or thermal transfer better for food packaging? Direct thermal works for dry, room-temperature products with a shorter shelf life. Thermal transfer with polyester stock holds up better against refrigeration, freezing, and oily handling.
How much does it cost to print labels for mason jars at home? Once you own the printer, in-house label materials typically run $0.03-$0.08 per label depending on stock type, versus per-unit costs that climb fast with small pre-printed print-shop orders.
Can I use a regular inkjet printer for jar labels? Inkjet labels smear when they get wet or handled with damp hands, which makes them a poor fit for food jars that see condensation or refrigeration. Thermal printing holds up better under those conditions.
What label material works best for jars going in the fridge? Polyester thermal transfer stock resists the condensation and cold-handling that causes paper labels to lift or blur within days.
Do I need special software to design mason jar labels? Free label design software such as GoLabel handles most jar and food packaging label layouts, including barcode and text elements, without a paid design subscription.
What DPI do I need for a barcode on a small jar label? 300 DPI renders small barcodes and fine nutrition-panel text more reliably than 203 DPI, especially on labels under 2 inches wide.
How do I know if my labels are food-safe compliant? Check your state's cottage food or packaging disclosure requirements before finalizing your label design — requirements for net weight and ingredient lists vary by state as of 2026.
One last thing
Most jar label failures in 2026 trace back to one overlooked step: nobody tested the label against the actual storage condition before running the full batch. A 24-hour fridge or freezer test on 10 labels costs you a few minutes and saves an entire roll of wasted stock.