
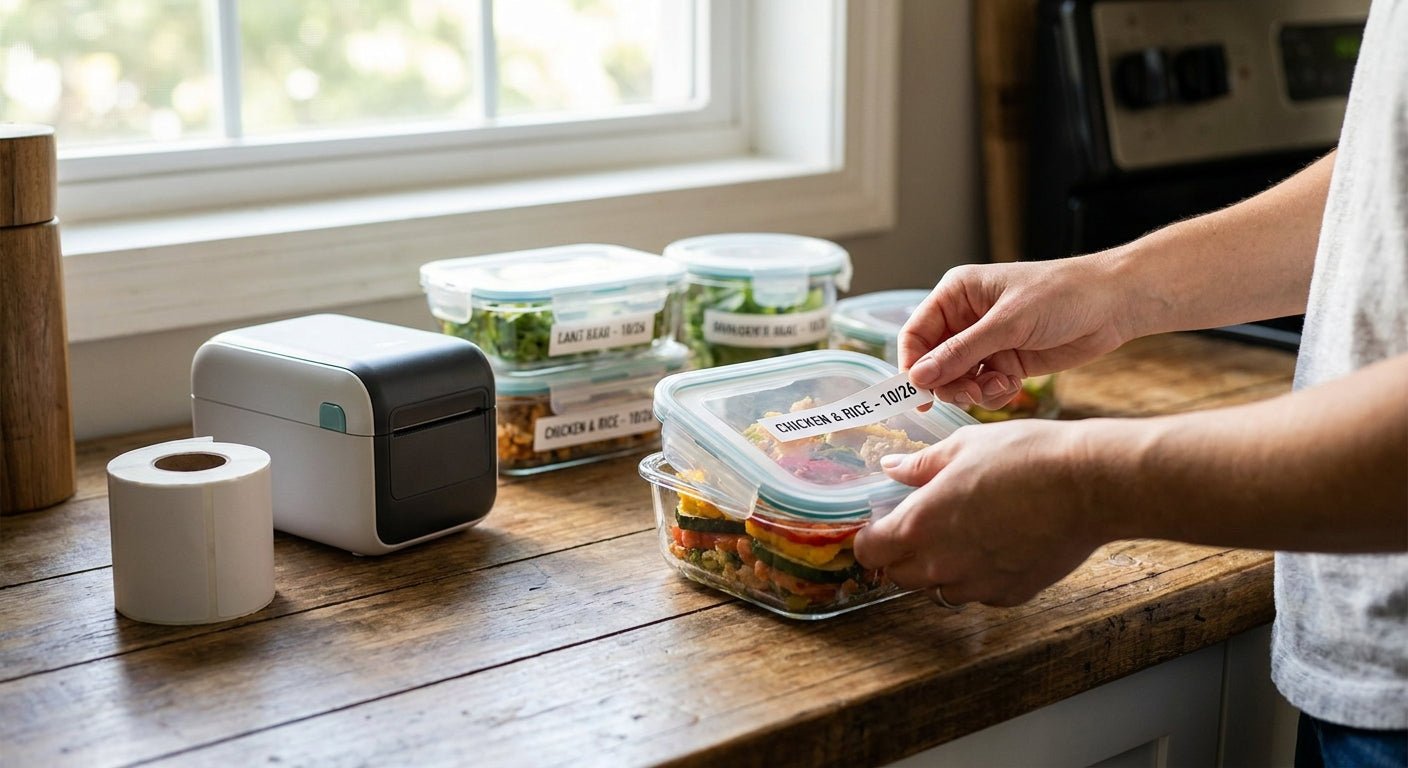
Meal prep containers and food delivery bags spend time in three brutal environments — a warm kitchen counter, a wet refrigerator, and sometimes a subzero freezer — and a label that can't survive all three ends up as a smudged mess by the time the customer opens the lid. Printing labels for meal prep containers in 2026 comes down to picking the right printer technology, the right stock, and a repeatable process for date coding.
- Direct thermal labels for meal prep containers hold sharp print for 5-7 days refrigerated — the right pick for weekly rotation, skip it for anything frozen past a week.
- Thermal transfer with polyester stock survives freezer storage and condensation; buy it for meal prep businesses running 30+ day frozen inventory.
- Custom logo stickers turn plain delivery containers into branded packaging without adding a second production step.
- 300 dpi print resolution is the minimum for legible allergen text and small ingredient lists on 2 x 3 inch container labels.
Why this matters
A meal prep label carries more responsibility than a shipping label. It has to list ingredients, flag allergens, show a prep or expiry date, and often needs a logo the customer associates with the brand. If that label peels off in the fridge or the print rubs away in transit, you've got a food safety problem and a customer service problem in the same box.
Most meal prep operations print in batches — 50 to 500 containers at a time, several days a week. That volume rules out inkjet and rules out hand-writing dates. A direct thermal or thermal transfer setup prints a full batch of container labels for meal prep and food delivery in the time it takes to portion the next tray.
What you'll need
- A direct thermal or thermal transfer label printer (203 or 300 dpi is enough for most container sizes)
- Label stock matched to the container's environment — direct thermal paper for fridge-only rotation, polyester with a ribbon for freezer runs
- A design file or label software with your logo, ingredient list, and date field set up
- A ribbon, if you're running thermal transfer stock
- A flat, clean, dry container surface for application (moisture kills adhesion before the ink ever matters)
- A batch or lot numbering system if you're tracking recalls or reorders
Custom stickers for business logo cover the branding piece without a separate print run — the same printer that handles your ingredient labels can pull double duty on logo stickers for delivery bags.
The steps
1. Match the printer to your storage window
Direct thermal printers burn the image straight into heat-sensitive paper — no ribbon, no ink, lower cost per label. That's the right call for meal prep containers moving through the fridge in under a week. Push past that window, especially into a freezer, and the heat-sensitive coating fades and the print goes soft. Thermal transfer, which melts a ribbon onto a more durable label face, is the fix for anything frozen or held longer than 5-7 days.
Common mistake: buying a direct thermal printer because it's cheaper, then complaining six months later that frozen meal labels turn blank in the freezer case.
2. Pick label material for the container surface
Plastic clamshells, glass jars, and foil delivery containers all take adhesive differently. A semi-gloss paper label works fine on a dry plastic clamshell held in the fridge. Condensation-heavy freezer containers need white polyester thermal transfer labels — the polyester face resists moisture and the ribbon-printed text won't smear when it's pulled cold and wet straight out of a freezer bag.
3. Build the label layout once, reuse it every batch
Set a fixed template: logo top-left, meal name and prep date center, allergen and calorie info bottom. Lock the layout in your label software so every operator prints from the same file — this is what keeps a 300-label batch consistent instead of hand-adjusted label by label.
4. Add date coding before you print, not after
Expiry and prep dates belong in the print job, not on a sticker slapped on afterward. A variable date field pulls from your system clock or a spreadsheet import, so every label in a run of 200 gets an accurate date without a second pass. Skipping this step is the single most common reason meal prep operations fail a health inspection on labeling.
5. Run a test batch of 10-20 before full production
Print a short run, refrigerate half and freeze half overnight, then check for fading, smudging, and adhesive lift the next morning. This 10-minute test catches a wrong stock choice before it's on 300 containers headed to customers.
6. Apply labels to a dry, room-temperature surface
Adhesive bonds weakest on a cold, wet container. Apply the label before the container goes into the fridge or freezer, not after — giving the adhesive a few minutes at room temperature before chilling improves hold significantly. Common mistake: labeling containers straight out of a walk-in cooler, then wondering why the corners lift within a day.
7. Track reorders with sequential or QR-coded labels
If you're running the same meal prep menu weekly, a QR code linking to a nutrition page or a sequential batch number tied to your inventory system saves reprinting a new template every cycle. This step is optional for small kitchens but standard for delivery operations shipping more than a few hundred meals a week.


“If a label smudges before the food does, you bought the wrong stock.”
Troubleshooting
- Print fades within a day in the freezer — the stock is direct thermal paper, not rated for cold storage. Switch to thermal transfer polyester with a ribbon.
- Labels won't stick to the container — the surface was wet or cold at application. Apply at room temperature and let the container come up from cold storage first.
- Barcode or QR code won't scan after a week in the fridge — condensation clouded a paper label. Move to a polyester or laminate-rated stock for anything held more than a few days.
- Ink smears when handled with wet or gloved hands — direct thermal print is sensitive to friction and moisture; thermal transfer ribbon print resists this far better.
- Adhesive residue left behind on reusable containers — a permanent adhesive was used on a container meant to be washed and reused. Switch to a removable adhesive label for that line.
- Date field prints blank or wrong — the variable field wasn't mapped correctly in the label software before the batch ran; always run the 10-20 label test in step 5 before a full print job.
Tools and resources
- A direct thermal or thermal transfer printer sized to your daily container count
- Ribbon stock if running thermal transfer, matched to your label material
- Label design software with a saved template and a variable date field
- A dedicated area for the 10-20 label test batch before full production runs
- A logbook or spreadsheet tying batch numbers to prep dates for recall tracing
What to do next
Once the printer and stock are dialed in, the next decision is picking the actual printer model for your daily volume — a kitchen doing 50 containers a day has different needs than a delivery operation running 1,000. The best label printer for food products guide breaks down resolution, speed, and stock compatibility by volume tier.
FAQ
What's the best label printer for meal prep containers?
A direct thermal printer at 300 dpi covers most fridge-based meal prep in 2026; switch to a thermal transfer printer with polyester stock if any containers go into the freezer. Resolution matters most for small allergen and ingredient text.
Are direct thermal labels good for meal prep containers?
Direct thermal labels work well for meal prep containers held in the fridge for 5-7 days but fade and smear in freezer storage. For anything held longer or frozen, thermal transfer with polyester stock holds up better.
How much does it cost to print labels for food delivery containers?
Direct thermal label rolls typically run a few cents per label depending on size and quantity, with thermal transfer polyester stock costing more per label due to the ribbon. Printer hardware is a separate one-time cost.
Can I use regular sticker paper in a thermal printer for meal prep labels?
No — standard sticker paper isn't heat-sensitive and won't print in a direct thermal printer, and it won't bond with thermal transfer ribbon correctly either. Use label stock rated for the specific printer type.
Do meal prep labels need to be waterproof?
Any container going into a fridge, freezer, or delivery cooler needs a moisture-resistant label, since condensation is constant in all three environments. Polyester or laminate-rated stock resists smearing where paper stock fails.
How do I add expiry dates to meal prep labels automatically?
Set a variable date field in your label design software tied to a spreadsheet or system clock so every label in a batch prints with the correct date without manual entry. This removes the most common labeling error in food prep operations.
What size label works best for meal prep containers?
Most meal prep containers use a 2 x 3 inch or 3 x 4 inch label, sized to fit the lid or side panel without covering vents. Smaller labels demand higher print resolution to keep allergen text legible.
Is thermal transfer or direct thermal better for food delivery labels?
Direct thermal is cheaper and faster for short-turnaround food delivery labels used within days, while thermal transfer is the better call for frozen or long-hold inventory. Match the choice to how long the label needs to survive, not just print cost.
One last thing
The detail that trips up most first-time meal prep label buyers isn't the printer — it's applying the label to a cold, wet container straight from the walk-in. Adhesive bonds weakest right at that moment, and it's the single most preventable cause of labels peeling off mid-delivery in 2026. Label at room temperature, chill after, and the same $6 roll of direct thermal stock holds for the full week it's rated for.