
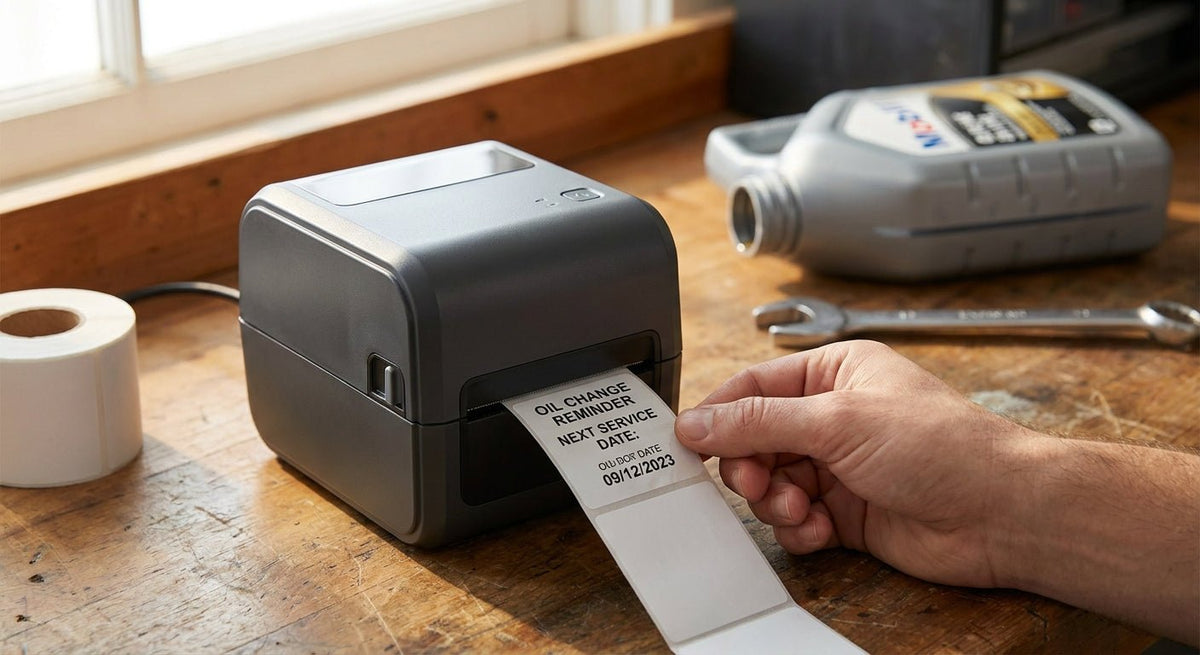
Standalone oil change sticker printers let a quick lube bay print a windshield reminder in under 4 seconds without touching a laptop, a POS terminal, or a network cable — here's the exact setup and print workflow for 2026.
TL;DR
A standalone thermal printer prints oil change stickers directly from a built-in keypad or keyboard, no computer required — load the ribbon, key in mileage and date, hit print, and the sticker comes out in about 3-5 seconds. The oil change sticker printer system from McAuley Labels is built for exactly this use case: 203 DPI direct thermal output, standalone keypad entry, and compatibility with static cling or adhesive stock. Verdict: Buy if your shop does 15+ oil changes a day and wants a bay-side printer with zero IT dependency. Skip it only if you already run a full POS integration that handles stickers automatically.
Why this matters
Most oil change stickers still get filled out by hand with a paint pen, and handwritten mileage numbers fade, smear, or get misread by the next tech. A standalone printer removes that variable — the mileage, date, and next-service interval print in clean thermal text every time, and the sticker holds up through a Wisconsin winter or a Phoenix summer without smudging. In 2026, the shops still hand-writing stickers are the ones losing repeat-visit reminders to smudged ink nobody can read six months later.
Standalone units matter specifically because bay technicians don't want to walk to a front-desk PC between every car. A printer sitting on the service cart, wired to nothing but power, keeps the workflow inside the bay.
What you'll need
- A standalone thermal printer with a built-in keypad or attachable keyboard (no PC required)
- Thermal transfer ribbon sized to your print width — direct thermal stock skips the ribbon entirely, but transfer-printed stickers last longer under UV exposure
- Oil change sticker stock — static cling for interior glass or adhesive for exterior mounting
- A flat, dust-free surface near the service bay for the printer
- 10-15 minutes for first-time setup; under 1 minute per sticker after that
- Your shop's mileage interval standard (3,000 / 5,000 / 7,500 miles) programmed once and reused
The steps
1. Unbox and seat the printer on a stable surface
Set the unit somewhere within arm's reach of the service bay, not the front office — the entire point of a standalone printer is skipping the walk to a computer. Plug in the power cord and let the printer complete its self-test cycle, which usually takes under 10 seconds. Common mistake: placing the printer near a coolant or oil drip station, where thermal print heads pick up residue and start streaking labels within weeks.
2. Load the ribbon and stock
Open the printer's top cover, drop in the ribbon roll so the coated side faces the label stock, and thread it across the print head per the diagram inside the lid. Load your sticker roll — static cling or adhesive — so the leading edge sits flush against the sensor. Close the cover until it clicks. Why it matters: a ribbon loaded backward prints blank stickers, which is the single most common support call on standalone units.
3. Calibrate the sensor
Run the printer's built-in calibration cycle (usually a button combo held for 3 seconds on power-up) so the sensor learns the exact gap between stickers on your roll. Skipping this step causes stickers to print off-center or skip a label entirely every third or fourth print. Expect the calibration feed to burn 2-3 blank stickers — that's normal and only happens once per roll change.
4. Set your default fields
Using the keypad, program your shop's default fields: current date, next-service mileage interval, and shop name if your stock includes a logo field. Most standalone units store these defaults so the tech only has to key in the actual odometer reading per car, cutting entry time to under 15 seconds. Common mistake: leaving the interval on the factory default of 3,000 miles when your shop standard is 5,000 — check this before your first real print run.
5. Print a test sticker
Key in a sample mileage and press print. Check the sticker for clean edges, no ribbon wrinkle streaks, and legible text at normal reading distance. If the print looks light or patchy, the print head density setting is too low — bump it up one or two levels and reprint.
6. Run the live workflow
For each vehicle: key in the odometer reading, confirm the auto-calculated next-service mileage, and hit print. The sticker should feed and cut (or perforate) in 3-5 seconds. Hand it to the tech to apply while the car's still on the lift — that's the whole point of standalone speed.
7. Restock proactively
Keep a spare ribbon and sticker roll on the shelf next to the printer at all times. Running dry mid-shift means either handwriting stickers again or stopping the bay to order more stock — both cost more time than the $0 it takes to check inventory weekly.
Troubleshooting
- Sticker prints blank or faint: Ribbon loaded backward, or print head density set too low — reload the ribbon coated-side-down and raise density by 1-2 levels.
- Printer skips every other label: Sensor wasn't calibrated after the last roll change — run the calibration cycle again.
- Text is crisp but crooked on the sticker: Stock loaded off-center in the guide rails — realign the roll against the width guides before the next print.
- Ribbon wrinkles mid-print: Ribbon tension is too loose — check that both ribbon spindles are seated fully and the take-up spool is spinning freely.
- Static cling stickers won't stay on glass: Surface wasn't cleaned before application — wipe the windshield with glass cleaner and let it dry fully before applying.
- Printer won't power on: Check the outlet with another device first; standalone units draw steady power and a flickering circuit can cause false shutdowns. Full setup detail lives in how to load ribbon in an oil change sticker printer if the ribbon path is giving you trouble beyond a quick reload.
Tools and resources
- Thermal transfer ribbon sized for your printer's print width
- Oil change stickers with custom logo if your shop wants branded stock instead of blank rolls
- A soft, lint-free cloth for wiping the print head between roll changes
- Backup ribbon and sticker stock kept on-site, never ordered on the day you run out
What to do next
Once the standalone printer is running clean stickers every time, the next upgrade most shops make in 2026 is adding QR codes that link each sticker to a digital service record — useful for fleet accounts and multi-visit customers who want their history pulled up instantly. If your printer uses GoLabel software for custom field layouts, the full walkthrough is in how to set up a Godex printer with GoLabel software.
FAQ
What's the best standalone printer for oil change stickers in 2026? A 203 DPI direct thermal or thermal transfer unit with a built-in keypad and no PC dependency is the standard setup for quick lube bays — the McAuley Labels oil change sticker printer system covers that spec directly.
Is a standalone printer better than a PC-connected one? For a single-bay or multi-bay shop where techs work at the car, yes — standalone units skip the walk to a front-desk computer and print in 3-5 seconds from a bay-side cart.
How much does it cost to print oil change stickers in-house? Costs run per-roll for stock and ribbon rather than per-sticker outsourcing fees; check current stock and ribbon pricing on the product pages before budgeting a monthly run rate.
Do I need a ribbon for every oil change sticker printer? Only thermal transfer printers need ribbon — direct thermal units print without one, but the sticker fades faster under prolonged sun exposure than a ribbon-printed label.
Can I print stickers with a shop logo on a standalone unit? Yes, most standalone printers store a logo field in memory once it's loaded, so techs only enter mileage and date per vehicle after initial setup.
How long does a roll of oil change stickers last? That depends entirely on your roll count and daily car volume — a shop doing 20 oil changes a day burns through stock faster than one doing 5, so match roll size to your actual daily count.
What's the difference between static cling and adhesive oil change stickers? Static cling sits on the interior glass without residue and peels off cleanly, while adhesive stock bonds permanently and suits exterior or non-glass mounting.
Do standalone oil change sticker printers need Wi-Fi? No — that's the core advantage. Standalone units run entirely from the keypad and internal memory, with zero network or PC connection required to print.
One last thing
The detail most shops miss in 2026: recalibrating the sensor after every roll change, not just at first setup. A printer that ran perfectly for 400 stickers can suddenly skip labels the moment a new roll goes in with a slightly different gap width — a 10-second recalibration avoids an entire afternoon of crooked or skipped stickers.