
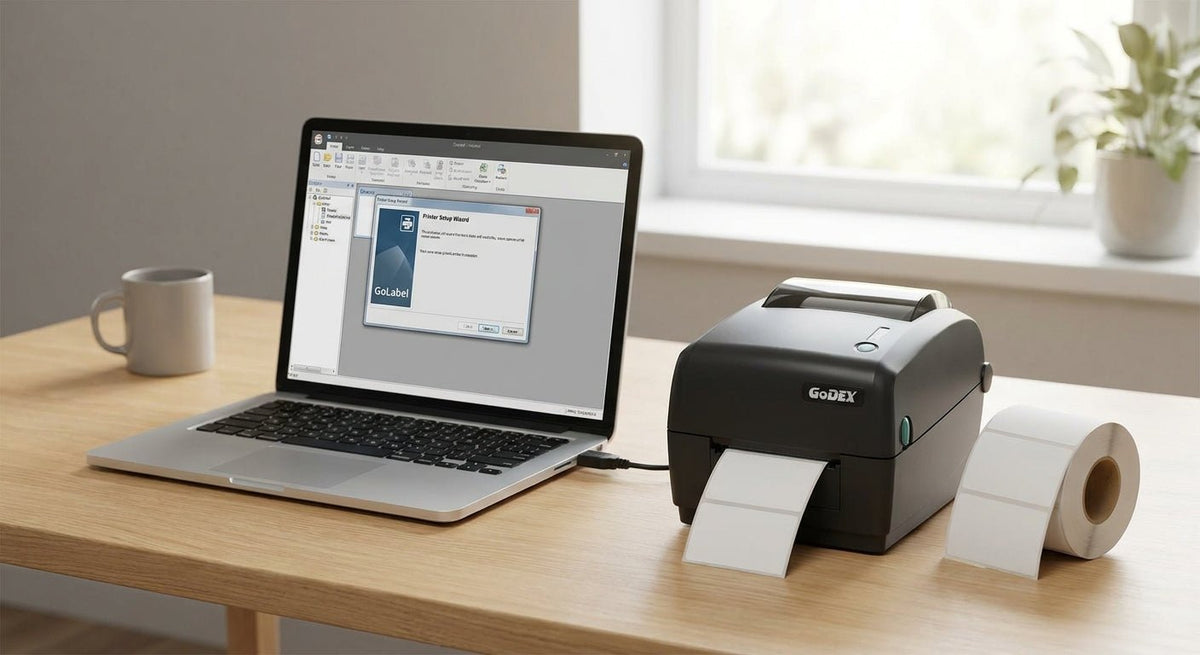
GoDEX printers pair with GoLabel software to give you full control over label design, printer settings, and batch printing — all without a subscription or cloud dependency. This guide covers every step from driver installation to printing your first label in 2026.
TL;DR: To set up a GoDEX printer with GoLabel software in 2026, install the Windows driver from GoDEX's site, connect via USB or Ethernet, open GoLabel, select your printer model and port, set label dimensions and print speed, load media, calibrate, and print a test label. The entire process takes under 20 minutes. GoLabel is free, model-specific drivers are required, and skipping calibration is the single most common cause of misaligned prints.
Why This Matters
GoLabel is GoDEX's native design-and-print software. It handles barcodes (Code 128, QR, GS1-128), sequential numbering, database imports, and printer configuration from one interface. Third-party alternatives exist, but GoLabel gives you direct access to GoDEX-specific parameters — darkness, print speed, gap detection mode — that generic drivers often hide. Getting the setup right the first time saves an hour of troubleshooting later.
What You'll Need
- A GoDEX thermal printer (RT200, RT230i, GE300, GE330, RT700i, RT863i, or any current model)
- A Windows PC (Windows 10 or Windows 11; GoLabel 2026 release does not have a native macOS build)
- USB cable or Ethernet cable (depending on your connection preference)
- The correct Windows driver for your specific GoDEX model — downloaded from godexintl.com
- GoLabel software installer — also free from godexintl.com
- Label stock loaded and ready (direct thermal or thermal transfer, depending on your printer model)
- For thermal transfer models: ribbon installed before calibration
Estimated setup time: 15–20 minutes on a clean Windows install.
The Steps
Step 1: Download the Correct Driver and GoLabel Installer
Go to godexintl.com, navigate to Support > Downloads, and filter by your exact model number. Download two files: the Windows printer driver and the GoLabel installer. Driver packages are model-specific — a GE330 driver will not correctly configure an RT230i. Save both files to your desktop before starting. Running the wrong driver is the root cause of port detection failures in step 3.
Expected outcome: Two installer files on your desktop, named something like GoDEX_RT230i_Driver_vX.X.exe and GoLabel_vX.X_Setup.exe.
Common mistake: Downloading a generic "GoDEX universal driver" from a third-party site. Use only the model-specific package from godexintl.com.
Step 2: Install the Printer Driver
Run the driver installer as Administrator (right-click > Run as administrator). Accept defaults unless your IT environment requires a custom install path. When prompted, connect the printer via USB and power it on — the installer detects the device and completes port assignment automatically. For Ethernet setups, connect the printer to your network first, note the IP address from the printer's front panel (hold the Feed button on most models for 3 seconds to print a configuration label), and select "TCP/IP port" during driver install, entering the printer's static IP.
Expected outcome: The printer appears in Windows Devices and Printers with a green checkmark.
Common mistake: Connecting the USB cable before the installer prompts you to. Early connection on some Windows 11 builds triggers a generic driver install that conflicts with the GoDEX driver.
Step 3: Install GoLabel Software
Run the GoLabel installer as Administrator. The default install path is C:\GoLabel. Keep it — GoLabel stores printer profiles in a subfolder relative to its install directory, and moving the folder later breaks profile loading. Installation takes under 2 minutes. No license key is required; GoLabel is free for all GoDEX printer owners in 2026.
Expected outcome: GoLabel shortcut on the desktop; software opens without errors.
Step 4: Select Your Printer and Port in GoLabel
Open GoLabel. Go to File > Printer Setup (or press Ctrl+P). In the Printer Name dropdown, select your GoDEX model. Under Port, choose the port assigned during driver installation — typically USB001 for USB connections or the TCP/IP address for Ethernet. Click Get Printer Info to confirm GoLabel is talking to the printer: the firmware version and memory size should populate automatically. If they stay blank, the port assignment is wrong — go back to Windows Devices and Printers, right-click your printer, and check the port under Printer Properties > Ports.
Expected outcome: Firmware version and memory fields populated in GoLabel's Printer Setup dialog.
Common mistake: Selecting the right printer name but the wrong port. USB and Ethernet ports have different names; mismatching them gives a "printer not responding" error at print time.
Step 5: Configure Label Dimensions and Media Settings
In GoLabel, go to File > New (or Ctrl+N) to create a new label. Set the label width and height in millimeters or inches to match your physical stock. For gap labels (the most common type), set the gap/space value — typically 3 mm for standard die-cut labels. Set print speed: 4 inches per second (ips) is a safe default for most GoDEX models; drop to 2–3 ips for high-detail prints at 300 or 600 DPI. Set darkness between 8 and 12 on a 0–19 scale — higher values improve readability on metalized silver stock but can cause ribbon smearing on thermal transfer models.
Expected outcome: A blank canvas in GoLabel sized to your label stock, with media settings saved to the label file.
Common mistake: Leaving label size at GoLabel's default (4" x 6") when your stock is 2" x 1". The printer will feed through multiple labels before the image positions correctly.
Step 6: Calibrate the Printer
Before printing, calibrate gap detection so the printer knows exactly where each label starts. In GoLabel, go to Tools > Printer Setup > Calibration, then click Auto Calibration. The printer will feed 2–3 labels while the sensor measures the gap. Alternatively, hold the Feed button on the printer for 5–7 seconds while powered on — the printer performs a standalone auto-calibration and prints a status label showing the gap value detected. Confirm the detected gap matches your label spec. If it does not match, set the gap manually under Tools > Printer Setup > Label Parameters.
For a deeper walkthrough of gap calibration across GoDEX models, see how to calibrate a GoDEX printer for label alignment.
Expected outcome: Printer feeds one label cleanly to the tear bar after calibration.
Common mistake: Skipping calibration and jumping straight to printing. The printer defaults to a generic gap value that is wrong for most label sizes, causing every label to print misaligned by 3–8 mm.
Step 7: Design a Label and Print a Test
In GoLabel, use the toolbar to add a text object, barcode, or image. For a basic test: add a Text object with your company name, add a Code 128 barcode object, and size both to fit your label canvas. Go to File > Print (Ctrl+P), set quantity to 1, and click Print. Inspect the output: text should be sharp, barcode bars should be even-width with no blurring, and the image should be centered on the label within ±0.5 mm. If the barcode fails a scanner test, increase darkness by 2 increments and reprint.
Expected outcome: One properly aligned label with scannable barcode output on the first or second attempt.
Troubleshooting
GoLabel shows "Printer Not Found" after port selection. The driver port and GoLabel port do not match. Open Windows Devices and Printers, right-click your GoDEX printer, select Printer Properties > Ports, and note the exact port name. Re-enter that port in GoLabel's Printer Setup.
Labels feed but nothing prints. On thermal transfer models, ribbon is not loaded or is loaded in the wrong orientation. The ribbon coated side must face the label surface. On direct thermal models, the label stock is loaded print-side down — flip it.
Barcode prints but does not scan. Darkness is too low (bars are faint) or too high (bars bleed together and narrow bars vanish). Set darkness to 10, print a test, and scan. Adjust in increments of 2 until the barcode scans reliably. Also confirm print speed is not above 6 ips for 300 DPI models.
Label image is offset — prints too high or too low on the label. Calibration value is wrong. Run auto-calibration again with the exact label stock loaded. If the issue persists, manually set the gap value under Label Parameters to match the label manufacturer's spec (usually printed on the label roll box).
GoLabel crashes when opening a saved label file. The label file references a printer profile that no longer exists (common after reinstalling drivers). Open GoLabel, go to File > Printer Setup, reselect your printer and port, save the profile, then reopen the label file.
Printer powers on but does not appear in Windows Devices and Printers. Driver did not install correctly. Uninstall the driver from Windows Device Manager, disconnect the printer, reboot, then reinstall the driver with the printer disconnected. Reconnect only when the installer prompts.
Tools and Resources
- GoDEX Windows driver: godexintl.com > Support > Downloads (filter by model)
- GoLabel software installer: same location, free, no license key
- GoDEX RT230i (300 DPI) — GoDEX RT230i thermal printer — good starting point for 2" wide label work
- GoDEX RT863i (600 DPI) — for high-resolution compliance and product labels: GoDEX RT863i thermal printer
- Label design guide: how to use GoLabel software for label design
- Full GoLabel installation walkthrough: how to install GoLabel software on a GoDEX printer
FAQ
Is GoLabel software free? Yes. GoLabel is free for all GoDEX printer owners and has been distributed at no cost since its initial release. As of 2026, no subscription or activation key is required.
Which GoDEX models work with GoLabel? GoLabel supports the full current GoDEX lineup, including the RT200, RT200i, RT230i, GE300, GE330, RT700i, RT730i, RT863i, G500, G530, ZX420i, GX4200i, and DT4x series. Check godexintl.com for the complete compatibility list.
Does GoLabel work on Mac? No native macOS build exists as of 2026. GoLabel is Windows-only. Mac users running a Windows virtual machine (Parallels or VMware) can run GoLabel, but USB printer pass-through must be enabled in the VM settings.
What is the difference between direct thermal and thermal transfer in GoLabel setup? In GoLabel's Printer Setup, you select the print method (direct thermal or thermal transfer) under Media Type. Direct thermal requires no ribbon setting. Thermal transfer requires you to also set ribbon type (wax, wax-resin, or resin) — incorrect ribbon type settings cause darkness calibration to be off.
How do I print sequential barcodes or serial numbers in GoLabel? Use GoLabel's built-in serialization: add a barcode or text object, right-click it, select Properties, and enable Auto-Increment. Set the start value and increment step. GoLabel handles the numbering automatically across the entire print run without needing a database.
Why does my GoDEX printer print a blank label? Four causes account for 95% of blank-label reports: (1) direct thermal stock is loaded upside down, (2) ribbon is not installed on a thermal transfer model, (3) darkness is set to 0, or (4) the wrong media type is selected in GoLabel (thermal transfer selected on a direct thermal-only model).
How do I connect a GoDEX printer to a network in GoLabel? Assign a static IP to the printer via its front-panel menu or by printing a configuration label and using GoDEX's Net Setting utility. In GoLabel Printer Setup, select TCP/IP as the port and enter the printer's static IP address and port 9100. Click Get Printer Info to confirm the connection.
Can GoLabel import data from Excel or a CSV for batch printing? Yes. GoLabel supports database connections via ODBC. Go to Database > Setup Database, select your ODBC source (Excel or CSV files work through the Microsoft ODBC driver), map columns to label fields, and GoLabel prints one label per row automatically.
One Last Thing
GoLabel stores its printer profiles in C:\GoLabel\Printer. Backing up that folder takes 30 seconds and saves you the full re-setup if you ever reinstall Windows or move to a new PC. Copy the folder to a USB drive or cloud storage after you complete setup in 2026 — every setting from step 4 and step 5 is saved there.