
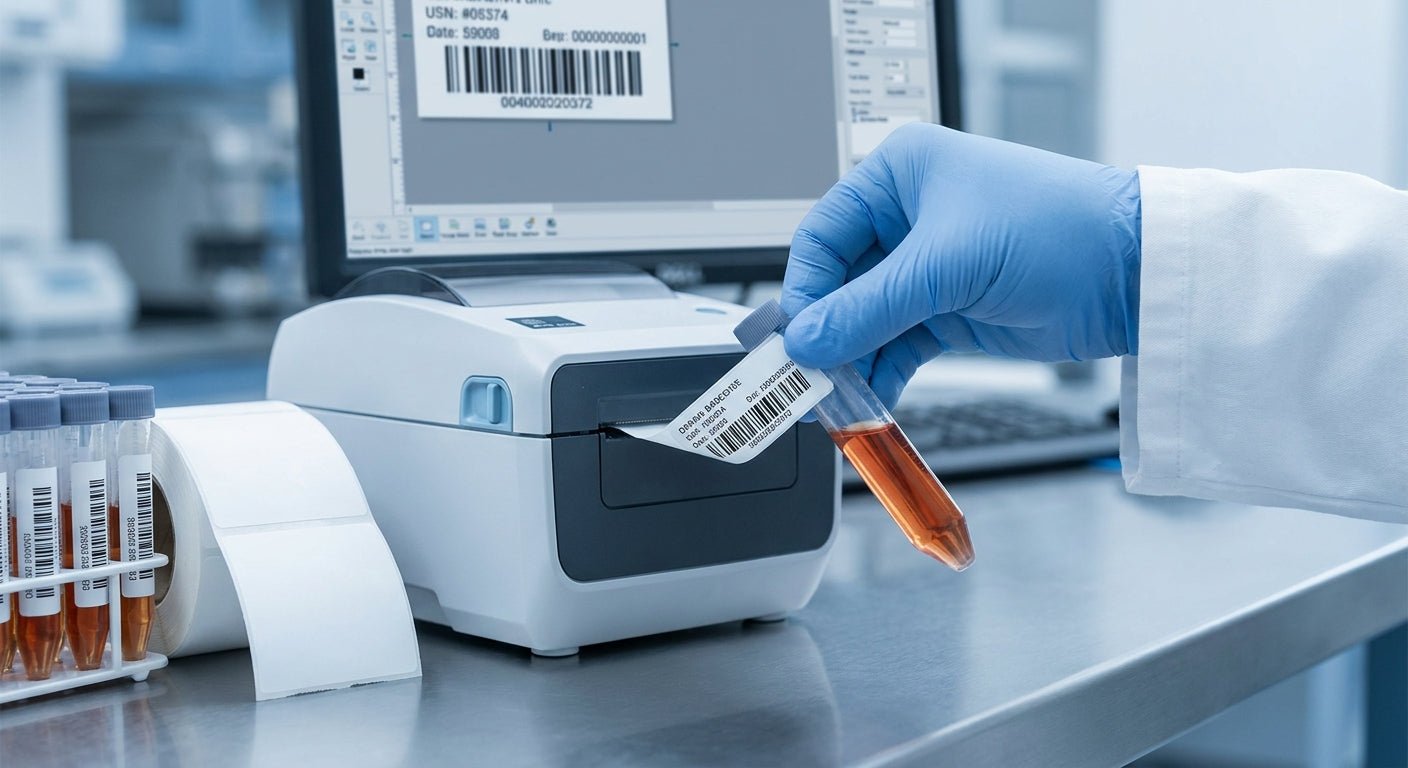
Printing specimen labels in-house cuts turnaround time from the pharmacy or courier and keeps chain-of-custody intact from draw to result. This guide covers the printer, label stock, and software settings a clinical lab needs to do it right in 2026.
TL;DR
Use a 300 DPI direct thermal printer with barcode-verified software, not a general office printer, and the labels stick, scan, and survive centrifuges and freezers. The Godex DT230 direct thermal printer is the Buy for most clinical labs printing specimen labels in 2026: 300 DPI resolution reads small barcodes and 1D/2D codes at sizes that fit a standard tube. Skip inkjet and laser entirely; a smudged barcode on a specimen tube means a rejected sample and a redraw. Get GS1 or your LIS barcode format right before your first print run, not after.
Why this matters
A specimen label that will not scan at the analyzer does not just slow a tech down. It triggers a manual override, a rerun, or in worse cases a mislabeled result. Clinical labs running high volume (50+ specimens a day) lose real time to labels that peel in a centrifuge, smear under alcohol swabs, or print barcodes too small for the scanner to catch on the first pass.
The fix is not a better label. It is matching printer resolution, label material, and label design to how the tube actually gets handled. That is the whole job of this guide.
What you will need
- A 300 DPI (or higher) direct thermal printer. The Godex DT230 direct thermal printer covers barcodes down to 0.5 inches wide without blur.
- Label design software with barcode support (GoLabel or your LIS export module)
- Direct thermal label stock rated for cold storage and centrifuge speeds, sized to your tube diameter (12mm and 16mm are the two common widths)
- A USB or Ethernet connection to the workstation or LIS terminal
- A test batch of tubes to verify scan rate before full production
The steps
1. Match the printer to your barcode density
Small tubes mean small labels, and small labels mean the barcode has to compress into less real estate. A 203 DPI printer prints barcode bars roughly 5 dots wide; a 300 DPI printer prints the same bar with 7-8 dots, which is the difference between a barcode that scans on the first pass and one that needs three attempts. For specimen labels under 1.5 inches, 300 DPI is the floor, not the ceiling.
Common mistake: buying a 203 DPI printer because it is cheaper, then discovering the barcode module in your LIS software cannot shrink far enough to fit the tube without dropping resolution below scannable thresholds.
2. Choose direct thermal, not thermal transfer, for most specimen work
Direct thermal labels do not need ribbon. The heat from the printhead darkens the label coating directly. That is a real advantage in a lab: fewer consumables, faster changeovers, no ribbon jams mid-shift. The tradeoff is UV and heat sensitivity over long storage, which matters for archived samples but not for same-day or same-week specimen tracking.
If your lab archives samples for 90+ days at room temperature, ask about thermal transfer label stock instead. The thermal transfer ribbon option holds up longer under light exposure than direct thermal.
3. Set up your barcode format in software before your first tube
Most clinical labs run GS1-128, Code 128, or a 2D QR/DataMatrix tied to the LIS accession number. Whatever format your lab standard specifies, build the label template with the barcode locked to a fixed size. Do not let auto-scaling shrink it dynamically per label, because that is how you get a batch where half the codes scan and half do not.
Expected outcome: a template that prints identical barcode dimensions every time, regardless of how many characters are in the accession number.
4. Calibrate the printer for your exact label stock
Direct thermal printers need to be calibrated to the gap or black-mark sensor on the label roll you are using. Swap label stock without recalibrating and you get labels that print half on the backing paper. Run the calibration sequence any time you change label vendors or roll widths.
Common mistake: skipping calibration after a stock change because it printed fine last time. Different vendors cut gap spacing slightly differently, and that half-inch difference throws registration off by the second label in the roll.
5. Print a 20-label test batch and scan every one
Before you commit to a full shift of labels, print a small run and scan each one with the actual scanner your techs use at the bench, not a phone camera app. This catches print speed issues (labels printed too fast come out lighter and harder to scan) before they hit a real specimen.
If more than one label in twenty fails to scan clean, drop the print speed setting by one increment and reprint the test batch.
6. Apply labels flat, before the tube goes into the centrifuge
Wrinkled or overlapping labels are the number one cause of scan failures after the printer itself is dialed in. Apply the label with the tube on a flat surface, smooth from one edge to the other, and leave the barcode zone untouched by fingers or gloves. Oil residue on direct thermal coating can dull contrast over time.
Expected outcome: a label that lies flush against the tube curve with no air bubbles under the barcode zone.
Troubleshooting
- Barcode will not scan at the analyzer — check print darkness setting first; direct thermal print quality degrades if the heat setting is too low for the label stock in use.
- Label peels off during centrifuge spin — the adhesive is not rated for the RPM and cold exposure your protocol uses; switch to a cold-chain-rated direct thermal stock.
- Text prints but barcode is blank — the barcode font or module is not installed correctly in the label template; reinstall the barcode driver in your design software.
- Labels print faded within days — direct thermal labels are heat- and light-sensitive by nature; store printed batches away from direct light and heat sources like autoclaves.
- Printer jams on small tube labels — the label gap sensor may be misaligned for narrow rolls; rerun calibration and check the roll guide width.
- Duplicate accession numbers on reprints — the LIS integration is not clearing the print queue between batches; check your batch print settings for a queue-flush step.
Tools and resources
- Godex DT230 direct thermal printer — 300 DPI, the baseline for clinical specimen barcode work in 2026
- Thermal transfer ribbon — for labs archiving samples longer than 90 days
- GoLabel or your LIS barcode module for template design and batch printing
- A dedicated scanner at the bench for pre-shift test scans, separate from the accessioning scanner
For a broader look at which printer fits your lab's volume and tube sizes, the best label printer for laboratory test tubes breakdown compares resolution and throughput across a wider range of clinical settings.
What to do next
Once your specimen labels print clean and scan on the first pass, the next failure point is usually the printer setup itself: driver installs, network configuration, template imports. Walk through the how to set up a Godex printer with GoLabel software guide to get the full software side configured before your next label order arrives.
FAQ
What is the best printer for specimen labels in a clinical lab? A 300 DPI direct thermal printer is the standard for 2026. The resolution handles small barcodes on 12mm and 16mm tubes without blur, and direct thermal skips ribbon changeovers during high-volume shifts.
Is direct thermal better than thermal transfer for specimen tubes? For same-day or same-week specimen tracking, direct thermal wins on speed and cost since there is no ribbon to manage. For archived samples stored 90+ days, thermal transfer labels resist fading better under light and heat.
How small can a barcode print and still scan reliably? At 300 DPI, barcodes down to roughly 0.5 inches wide scan reliably on standard lab scanners. Below that, error rates climb fast regardless of printer quality.
Why do my specimen labels smear during handling? Smearing on direct thermal labels usually means the print darkness setting is too low for the label stock, or the label is being handled before it fully sets after printing.
Can I use a regular office printer for specimen labels? No. Laser and inkjet printers do not produce barcode density or adhesive durability suited to centrifuge speeds, cold storage, or alcohol-based cleaning agents common in clinical settings.
How often should I recalibrate my specimen label printer? Recalibrate any time you switch label stock vendors or roll widths. Gap spacing varies enough between suppliers to throw off registration within a few labels.
What barcode format do most clinical labs use on specimen tubes? Code 128, GS1-128, or a 2D DataMatrix tied to the LIS accession number are the most common formats in labs printing specimen labels in 2026.
How much does it cost to print specimen labels in-house versus ordering pre-printed? In-house printing costs scale with label stock and printer maintenance rather than per-order minimums, and turnaround drops from days to minutes since labels print on demand at accessioning.
One last thing
The printer resolution gets all the attention, but the adhesive is usually where labs actually lose specimens. A barcode that scans perfectly on a dry countertop can still fail after 10 minutes in a -20°C freezer if the adhesive was not rated for cold exposure. Check the cold-chain rating on your label stock before you check the DPI spec on your printer.