
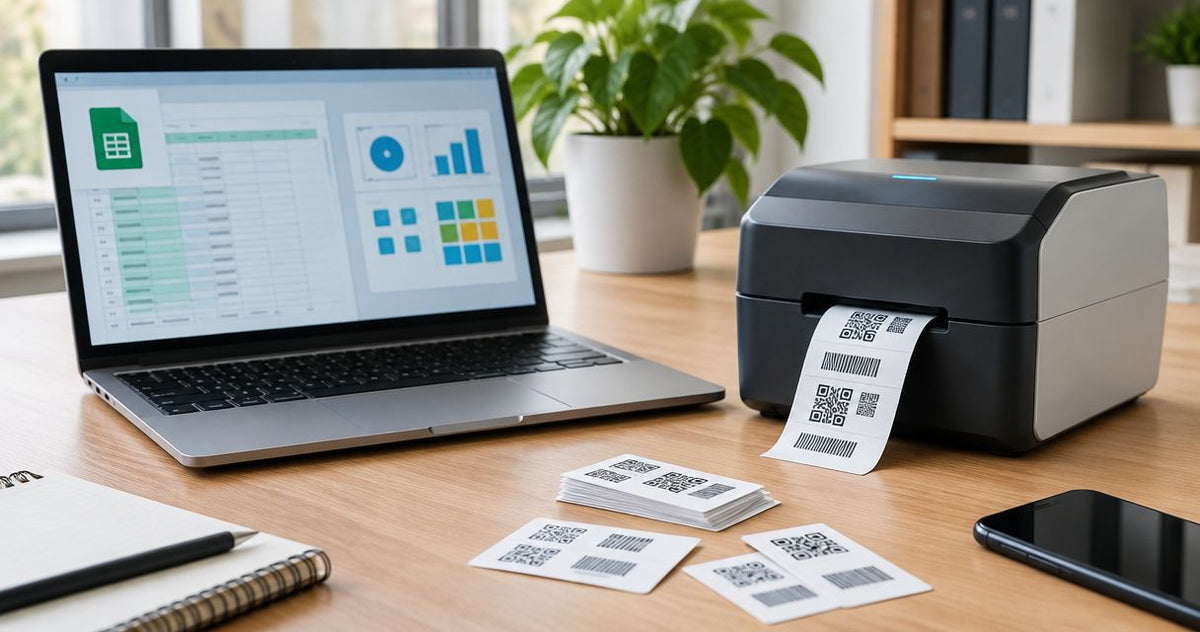
Instead of retyping equipment IDs into individual labels, print asset tags from Google Sheets by exporting a checked CSV file, mapping its columns to a reusable label template, and sending the selected records to your thermal printer. This 2026 workflow keeps the asset register as your source of truth while separating data preparation, label design, and print approval.
- Print asset tags from Google Sheets through CSV export and a label application with record-based printing.
- McAuley Labels asset tag printers suit businesses printing equipment identification labels in-house.
- Store asset IDs as text so leading zeros survive spreadsheet entry and CSV import.
- Encode permanent asset IDs in barcodes; keep changing locations and assignments in your asset register.
- Approve scanned proof labels before releasing the full print batch.
Why this matters
An asset tag connects a physical item to its record. A clean-looking label still fails if its barcode encodes the wrong ID, its leading zeros disappear, or a second asset receives the same identifier.
McAuley Labels asset tag printers are best for businesses that need in-house equipment identification. The benefit is control over printing; the limitation is that you still need compatible label software, media, and a checked asset register. A printer does not resolve duplicate records or decide which equipment needs a tag.
You can review McAuley Labels for the equipment-identification products behind this workflow. Keep printer selection separate from spreadsheet preparation: the same approved asset data should remain usable when you change a layout or printer.
For your 2026 rollout, start with an operator-approved batch rather than automatic printing on every spreadsheet edit. That creates a clear checkpoint between changing a record and producing a physical tag.
Before you start
- Accounts and access: Have access to the Google Sheets asset register, a computer that can print to the installed printer, and label software that supports CSV records and variable barcode or text fields. Confirm those features before building the template.
- Materials and checks: Have blank printable label stock compatible with your printer, the required ribbon for thermal transfer printing, and the scanner your team will actually use. Custom preprinted tags are not automatically blank stock for another print pass.
- Non-obvious gotcha: CSV files carry values, not spreadsheet formatting. Set asset IDs to Plain text before entering them, and configure the importing application to preserve text. Formatting cannot restore zeros already lost.
Do not begin with the full register. Create a small proof dataset containing a short ID, your longest intended ID, and an ID with leading zeros. Those records expose different problems before you commit a production batch.
Asset register configuration
Prepare the source columns
- Create a dedicated worksheet for printable records. Use a single header row, with one asset per row and no merged cells.
- Add columns named
Asset_ID,Asset_Name,Location, andPrint_Status. AddRecord_URLonly when you have an actual asset-record destination to encode. - Select the
Asset_IDcolumn. In Google Sheets, choose Format, Number, then Plain text before entering or pasting identifiers. - Assign each asset a unique, permanent identifier. Do not use the worksheet row number as its identity; sorting and inserting rows change positions.
- Set
Print_Statusto a controlled value such asReady,Printed, orHold. These are values you create, not built-in Google Sheets printing settings. - Review blank IDs, duplicate IDs, and unwanted spaces before marking records
Ready.
Expected result: Every printable row represents an identifiable asset, and the asset ID remains unchanged when you sort the worksheet.
Keep this distinction explicit: Asset_ID identifies the equipment; Location describes where it is now. Moving a laptop between offices should not force you to assign a new identity.
Protect the identifier column through Data and Protect sheets and ranges when other people maintain the register. Grant editing access deliberately. Protection controls editing; it does not establish uniqueness or validate an imported file.
Build the approved batch
- Add a worksheet named
Print_Batch_2026and copy the approved records into it as values, including the header row. - Include only records you intend to print. Do not rely on hidden or filtered rows to define the exported batch.
- Count the records in the batch, excluding its header. Record that expected count beside your print-job notes.
- Open the batch worksheet, choose File, then Download, and select the CSV format.
- Save the export with a batch-specific filename so you can identify the data used for that print run.
Expected result: The CSV contains only approved records, and its record count matches the intended batch.
A CSV export is a snapshot, not a live connection. Changes made in Google Sheets after the download do not update that file. Finish the batch review before exporting, or export it again after a correction.
For a 2026 asset-tagging process, retain the exact exported file with the print-job record. That lets you trace a physical tag back to the data actually sent, rather than the spreadsheet's current contents.
Label template configuration
Connect the CSV fields
- Create a label document in your record-based label application. Enter the actual label width and height, matching the loaded stock and printer configuration.
- Use the application's CSV or text-file data import function. Select the approved batch file and designate its first row as column headers.
- Set
Asset_IDto a text field during import. Inspect the preview before accepting the records. - Place a readable text object on the label and bind it to
Asset_ID. Bind an optional second text object toAsset_Name. - Add a barcode object and bind its encoded content to
Asset_ID, not to a separately typed number. - Select an appropriate barcode format supported by both the application and your scanner. Code 128 is suitable for internal alphanumeric identifiers; QR codes require a scanner capable of reading them.
- Preview different records, including the longest name and the ID containing leading zeros. Save the template after checking the mappings.
Expected result: Advancing through the record preview changes both the readable ID and barcode content to the corresponding CSV values.
CSV import and field-binding controls differ between label applications. Follow their documented controls rather than looking for a Google Sheets connection inside the printer driver. The driver sends the job to the printer; the label application performs the record merge.
For the printer-side setup, use the GoDEX printer and GoLabel setup guide. Confirm your installed application's supported data-import method before treating the template as production-ready.
Choose the encoded content
Encode a stable identifier unless your workflow specifically needs a web destination. A barcode containing an asset ID supports lookup in your register or asset system. It does not automatically create that lookup function.
| Encoded content | Best for | Advantage | Limitation |
|---|---|---|---|
| Asset ID in Code 128 | Scanner-based internal equipment lookup | Keeps the tag focused on an identifier | Your lookup process must accept the scanned ID |
| Asset ID in a QR code | Internal workflows using QR-capable readers | Carries the same stable identifier in a different format | Scanning text alone does not open an asset record |
| Asset-record destination in a QR code | Phone-based access to an existing record | Opens the encoded destination with a suitable reader | Access permissions and destination maintenance remain necessary |
Leave clear space around the barcode. Do not stretch a finished barcode image to make it fit; regenerate the barcode within the label application after changing its size.
Keep sensitive assignments and maintenance details out of the printed code unless the workflow requires them. A tag is visible to anyone who can reach the equipment, even when the underlying asset record requires authentication.
Printer and proof configuration
Match the printer to the layout
Printer resolution affects the detail you can reproduce. It does not fix an overcrowded label or an incorrect data binding.
| Printer | Stated format and resolution | Best for | Advantage | Limitation |
|---|---|---|---|---|
| GoDEX GE300 | 4-inch thermal transfer printer, 203 dpi | Asset ID layouts that pass a physical scan test | Supports in-house thermal transfer barcode printing | Has lower resolution than the GE330; small details need proofing |
| GoDEX GE330 | 4-inch thermal transfer printer, 300 DPI | Asset layouts needing finer printed detail | Provides higher resolution than the GE300 | Higher resolution still requires compatible stock, ribbon, and sizing |
Choose the GoDEX GE300 or GoDEX GE330 by proofing your actual layout, not by resolution alone. Both are relevant McAuley Labels asset tag printer options; neither is a direct Google Sheets integration.
The 4-inch specification describes the printer format, not a required asset-tag width. Check the printer's supported media dimensions against the stock you intend to load.


Approve the physical output
- Load compatible blank label stock and the required ribbon. Set the printer's media sensing and print method according to its manual.
- Calibrate the printer for the loaded stock. Confirm that feeding advances to the correct label boundary.
- Match the template dimensions to the printer settings. Avoid scaling a completed label to fit a different media size.
- Print 3 proof labels from the deliberately varied test records. Use one copy per record.
- Scan each proof into a text field and compare the returned value character-for-character with
Asset_ID. Check leading zeros and spaces. - Inspect text, barcode clearance, alignment, and the label's attachment to a representative equipment surface.
- Print the approved batch. Reconcile its record count, and mark records
Printedonly after the intended tags are produced and checked.
Expected result: The printed identifiers match the approved CSV, scan correctly, and fit the equipment-labeling task.
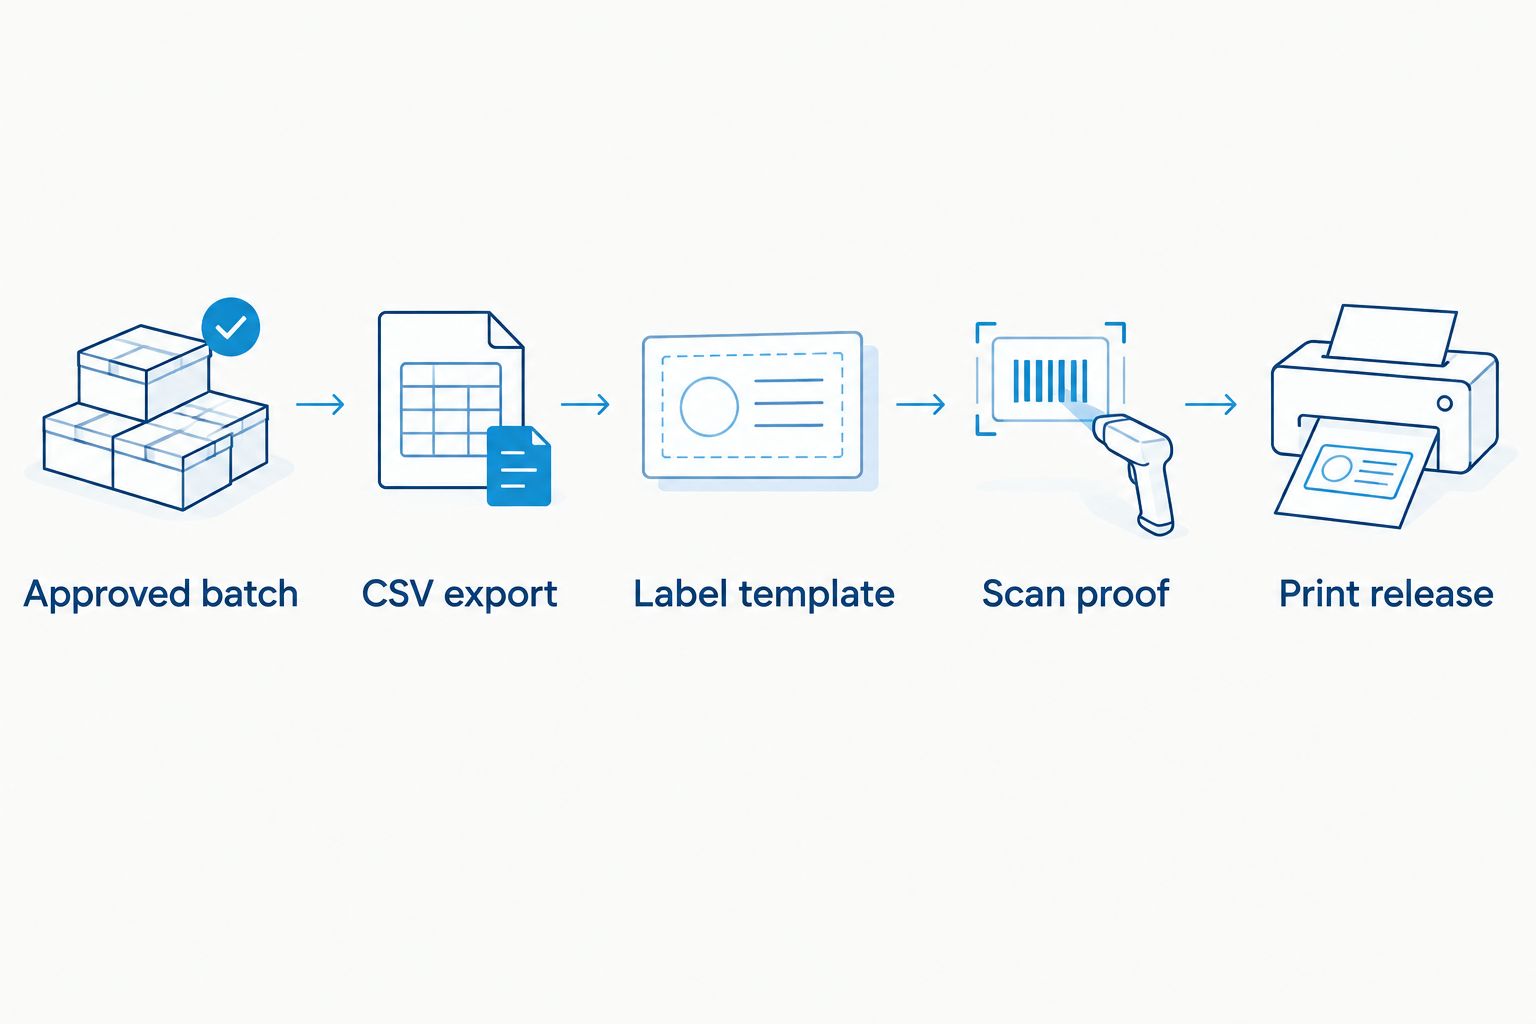
The 2026 release sequence is deliberately simple: Approved batch, CSV export, Label template, Scan proof, Print release. Keep approval ahead of printing, even when the batch is small.
Replacement tags when asset records change
Use the same template for replacement tags, but separate changes to the asset record from changes to the physical label.
- Keep the original
Asset_IDwhen equipment changes location or assignee. - Mark a record for replacement when its tag is damaged or printed information genuinely needs updating.
- Put only those replacement records into a new batch worksheet and export a fresh CSV.
- Confirm that the replacement barcode returns the original asset ID.
- Remove or obscure the superseded tag so the equipment does not present conflicting identifiers.
Expected result: A replacement restores identification without creating a second asset record.
Do not print a new tag for every spreadsheet update. If the tag carries only a stable ID, changing a location in the register needs no replacement. If you print location text, that same change creates a physical maintenance task.
For your 2026 replacement queue, keep a reason and completion status alongside the asset ID. Those fields distinguish a requested replacement from a completed one without changing what the barcode encodes.
Troubleshooting
- Leading zeros disappear: Check the source cell and CSV import preview. Restore the identifier from the authoritative record, store it as text, and export again. Do not guess how many zeros belong there.
-
Every label prints the same barcode: The barcode object contains fixed text or is bound to the wrong field. Bind it to
Asset_ID, then advance through several record previews before printing. - Unexpected records enter the batch: The exported worksheet contains rows outside the approved selection. Rebuild the dedicated batch tab using only approved values and check the imported record count.
- The barcode looks clear but does not scan: Confirm scanner support for the selected format, preserve clear space, and increase the code's usable size. Compare scanned output with the source rather than relying on appearance.
- Labels drift or skip boundaries: Match template dimensions to the loaded stock, check gap or black-mark sensing as applicable, and recalibrate. Do not compensate for feed errors by repeatedly shifting the artwork.
Customize your workflow
Expand the system after the basic batch passes. Add a replacement queue, separate layouts for different equipment categories, or a controlled record destination for QR-based access.
Keep one identifier rule across those variations. A laptop template and a shelving template can look different while using the same asset-register structure.
If you automate later, require an explicit approval status and retain the batch submitted for printing. Also record completion before allowing retries; a repeated submission can otherwise produce duplicate physical tags. Automatic print release needs a connection to the local printer, not just an editable cloud spreadsheet.
FAQ
Can I print asset tags directly from Google Sheets?
Google Sheets can print worksheet contents, but a CSV export and record-based label application give you a reusable asset-tag workflow. The label application maps spreadsheet columns to barcode and text objects before sending the job to the printer.
What's the best way to print asset tags from Google Sheets in 2026?
Use an approved batch worksheet, export it as CSV, and print it through a checked label template. Scan a physical proof before releasing the batch.
Do McAuley Labels asset tag printers connect directly to Google Sheets?
This workflow uses CSV export and a label application rather than a direct Google Sheets connection. Confirm the application's import support and the printer's computer connection before setup.
How do I keep leading zeros in an asset ID?
Store the asset ID as plain text before entering it, and preserve text during CSV import. If zeros have already disappeared, restore the identifier from the authoritative asset record before printing.
Should I use Code 128 or a QR code on asset tags?
Use Code 128 for compatible scanner-based ID lookup and QR codes for QR-capable readers or record destinations. Test the selected format with the devices your team uses.
Will changing a Google Sheets row update an exported CSV?
No, an exported CSV is a snapshot. Export a fresh approved batch after changing any data that needs to appear on the printed tag.
Do thermal transfer asset tags need ribbon?
Thermal transfer printing uses ribbon to transfer the image onto compatible media. Direct thermal printing uses heat-sensitive media without ribbon; match the stock to the printer's print method.
Do I need a new asset tag when equipment moves?
No, not when the tag contains only a stable asset ID or an unchanged record destination. Update the location in your asset register; replace the tag when its printed information becomes incorrect or the tag is damaged.
One last thing
The most useful asset tag is often the one with less information. Print a stable ID and readable fallback, then keep changing details in the register. That reduces replacement work and prevents a location change from becoming an identity change.
Before applying the first production tag, scan it into the actual lookup process. Correct decoded text is necessary; finding the correct equipment record completes the workflow.