

Instead of manually retyping equipment IDs, connect your asset tag printer to an Asset Panda labeling workflow by transferring approved asset identifiers into a label template and printing through your computer’s printer driver. This 2026 guide covers the data handoff, printer setup, barcode checks, and replacement-tag process—not a claimed native printer integration.
- To connect asset tag printer to Asset Panda, match printed identifiers to asset records through a controlled data handoff.
- McAuley Labels supplies asset tag printers; confirm the driver, label stock, and barcode format before choosing hardware.
- Keep asset IDs unchanged when transferring data into label software.
- Approve a scanned sample before releasing a batch of equipment labels.
Why this matters
A working printer connection only proves that your computer can send a print job. Asset tracking also requires the printed code to identify the correct record. A sharp barcode containing the wrong identifier is still a failed tag.
McAuley Labels is best for business buyers sourcing asset tag printers and specialized labels. The GoDEX RT700i+ thermal printer provides a 4-inch format and 203 dpi resolution; those hardware specifications do not establish Asset Panda compatibility.
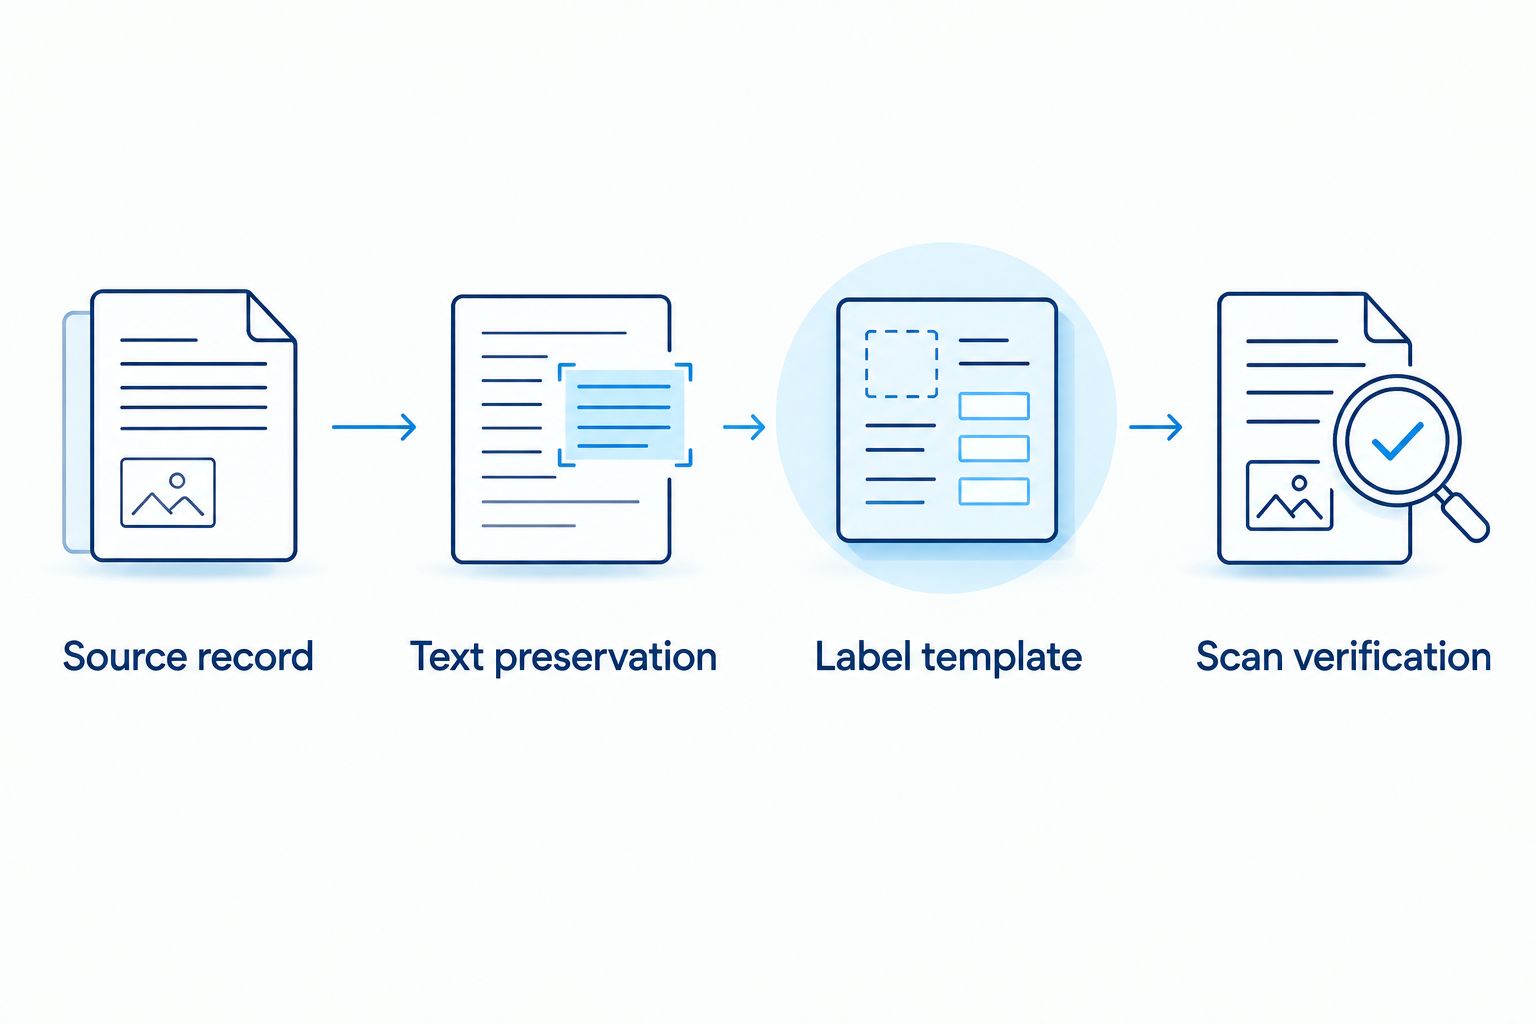
Treat the connection as separate layers: approved asset data, label generation, and physical printing. Test each layer independently. That makes a failed scan easier to diagnose without changing several settings at once.
Before you start
- Account access: Have permission to read the relevant Asset Panda records and obtain the approved identifiers through your account’s documented export or reporting process. Identify the field your team uses for barcode lookup before preparing labels.
- Printing materials: Have a computer supported by your printer’s driver, label software that accepts your data format, suitable label stock, and a compatible ribbon if using thermal transfer. Confirm the printer’s physical connection in its documentation.
- The gotcha: Preserve identifiers as text. Spreadsheet software can remove leading zeros or reformat long numeric strings, changing the value before it reaches the barcode.
Do not begin with an automatic trigger. First prove that a deliberately selected asset record produces a readable tag that retrieves the intended record in your actual lookup process.
For a 2026 deployment, document the operating system, printer model, driver version, label dimensions, and identifier field together. Save that setup record beside the approved template so another operator can reproduce the workflow.
Asset identifier configuration
The first configuration unit is the relationship between an Asset Panda record and the value printed on its tag. Choose that relationship before designing the label.
- Select the lookup identifier. Ask the account administrator which existing field your team uses to identify assets by barcode. Do not substitute an equipment description, location, or owner name for a stable identifier.
- Obtain a controlled data file. Use the export or report procedure documented for your account. Include the lookup identifier and only the additional fields needed on the label, such as a short equipment description.
- Preserve text formatting. Import identifiers as text into any spreadsheet or label-data tool. Inspect leading zeros, punctuation, capitalization, and long values before saving the working file.
- Check uniqueness and completeness. Remove blank identifier rows from the print batch. Resolve repeated identifiers against the source records instead of assigning new numbers in the label software.
- Compare the working file with the source. Confirm that every selected identifier matches its Asset Panda record exactly. Keep the approved source file unchanged and make template adjustments separately.
Expected result: You have an approved list of identifiers that can be mapped into a label template without editing their values.
Use a simple mapping sheet:
| Label element | Data source | Rule |
|---|---|---|
| Barcode payload | Approved lookup identifier | Preserve the exact value |
| Human-readable ID | Same lookup identifier | Match the barcode payload |
| Equipment description | Approved description field | Shorten display text only if needed |
| Organization text | Approved static wording | Keep separate from the identifier |
The human-readable ID is your fallback when scanning fails. It should not be a separately generated sequence that looks similar to the barcode value.
Printer and media configuration
Set up the printer independently of Asset Panda. A local test establishes whether the driver, media path, and label dimensions work before asset data enters the process.
- Install the model-specific driver. Obtain the driver through the manufacturer’s documented support process. Connect the printer using an interface supported by that exact model, then confirm that the operating system recognizes it.
- Select the printer queue. On Windows 11, open Settings, then Bluetooth & devices, then Printers & scanners. Select the installed printer; use Add device if installation requires adding it through Windows.
- Set the label dimensions. Open Printing preferences for the selected printer. Match the physical label width and height in the driver’s media settings; manufacturer-specific field names differ, so follow the installed driver documentation.
- Match the printing method. Use direct thermal media for direct thermal printing. For thermal transfer, install a ribbon compatible with the printer and label material, then select the corresponding method using the model’s documented controls.
- Calibrate and print a local sample. Follow the printer manual’s media-sensor calibration procedure. Print a simple label from the label application before importing asset records.
Expected result: The selected queue prints within the label boundaries and advances correctly to the next label.
Do not assume that a finished custom asset tag is blank printer media. Confirm whether your chosen stock is intended for in-house printing, already carries identifiers, or needs a separate ordering workflow.
Hardware choices for this workflow
Choose the printer around the label layout, not around an assumed Asset Panda connector. These McAuley Labels asset tag printer options have stated resolution and width specifications; neither specification proves a native software integration.
| Printer | Stated specifications | Best for | Advantage | Limitation |
|---|---|---|---|---|
| GoDEX RT700i+ | 4-inch format; 203 dpi; dual thermal | Existing layouts validated at 203 dpi | Supports direct thermal and thermal transfer workflows | Has fewer printing dots per inch than the 300 dpi option |
| GoDEX G530 thermal printer | 4-inch format; 300 dpi; dual thermal | Layouts needing finer printed detail | Provides more printing dots per inch than the 203 dpi option | Higher resolution does not correct bad identifiers or incompatible media |
Choose the GoDEX RT700i+ only after the actual label passes your scan test. Choose the GoDEX G530 when your layout requires the finer detail its 300 dpi resolution provides. Neither choice removes the need for driver installation and data validation.
For 2026 procurement, send the supplier your label dimensions, material, sample barcode payload, and operating system. Ask for confirmation of the complete printer-and-media combination rather than asking whether the printer simply works with asset software.


Label template and batch configuration
Build the template around the approved identifier. Add presentation elements only after the barcode payload is correct.
- Create a label matching the media. Set the document dimensions to the physical label size. Keep the barcode and text inside the printable area rather than compensating for misalignment by shrinking the whole document.
- Connect the approved data file. Use your label application’s documented data-source procedure. Map the barcode object to the lookup identifier column and map the visible ID text to that same column.
- Choose the barcode format deliberately. Use a format supported by your label application and your actual scanning workflow. A QR code containing an identifier and a QR code containing a web address are different payloads; do not treat them as interchangeable.
- Preview different records. Check short and long identifiers, leading zeros, punctuation, and descriptions that approach the available space. Leave the barcode’s required quiet zone clear of borders, logos, and text.
- Print and verify a sample. Open Print in the label application, select the installed printer queue, and inspect the output. Decode the printed code, compare its value with the source, then test the lookup procedure used by your staff.
- Release the approved batch. Print the selected records only after the sample passes. Keep the file, template, and batch record together so replacement tags use the same mapping.
Expected result: The printed barcode and visible ID match the source identifier, and the tag retrieves the intended asset record through your verified lookup process.
In your 2026 acceptance check, test the label after applying it to representative equipment. A scan on the backing sheet does not reproduce curvature, glare, or placement near other labels.
Replacement tags when asset details change
A replacement workflow is the adjacent version of the initial batch workflow. Keep identity stable while updating the printed information that actually needs changing.
| Workflow | Best for | Benefit | Trade-off |
|---|---|---|---|
| Initial batch | New equipment tagging | Uses a controlled list and approved template | Requires checking the equipment-to-tag match during application |
| Replacement batch | Damaged tags or changed printed details | Preserves the existing lookup identifier | Requires removing or voiding obsolete tags |
- Select the affected asset records and confirm their existing lookup identifiers.
- Prepare an approved replacement file using the same text-preservation rules.
- Update only the display fields that need changing; keep the identifier unchanged unless your administrator authorizes a different identity policy.
- Preview, print, and scan the replacements using the approved template.
- Remove or void obsolete tags and record which replacements were applied.
Expected result: Replacement labels identify the same assets without creating a second numbering system.
Do not reprint a physical tag just because an unprinted database field changes. For example, an owner change needs a new label only if owner information appears on the tag under your labeling policy.
Troubleshooting
The printer works locally but the label application cannot print
Confirm that the application selects the same queue used for the successful local test. Check whether the job reaches the operating system’s print queue. If it does not, inspect application output settings before changing printer hardware or Asset Panda data.
The barcode scans but the record lookup fails
Compare the decoded payload with the approved identifier character by character. Check leading zeros, spaces, punctuation, and whether the template encoded a web address instead of an ID. Then confirm that your account’s lookup process searches the intended field.
The label skips, drifts, or prints across an edge
Match the document and driver dimensions to the physical media. Confirm the sensor configuration and recalibrate using the printer manual. Do not mask a feed problem by moving template objects until the printer advances consistently.
The printer produces blank or faint labels
Check that the selected print method matches the loaded stock. For thermal transfer, verify ribbon installation and the correct ink-facing orientation according to the manual. Inspect and clean the printhead using the manufacturer’s maintenance instructions before adjusting darkness.
Several tags contain the same identifier
Check for repeated source rows and a barcode object bound to static text rather than the data column. Also inspect the application’s copies setting. Correct the cause, isolate the affected labels, and reprint only the approved records.
Customize your workflow
Once the basic handoff passes, expand the process without changing the identity rule. Save separate approved templates for different equipment surfaces, label dimensions, or display requirements.
For your 2026 operating procedure, assign responsibility for data approval, printing, application, and scan verification. Record the source file and template revision with each batch. This makes an incorrect tag traceable to its source rather than leaving operators to guess.
McAuley Labels supplies the physical labeling side of this workflow. Keep hardware selection separate from account permissions and data mapping; a different printer does not fix an identifier mismatch.
If you need unattended printing, require documented support for every handoff: record selection, data transfer, label generation, and delivery to the printer queue. Test duplicate prevention and recovery from failed jobs before enabling automatic output.
FAQ
How do I connect an asset tag printer to Asset Panda?
Use a controlled identifier-to-label workflow: obtain approved asset identifiers, map them into label software, and print through the installed printer driver. Verify the printed payload and the resulting record lookup before releasing a batch.
Do I need a native Asset Panda printer integration?
You do not need a native connector for the file-based workflow described here. Confirm any direct integration separately using current documentation for your account and printer; hardware specifications alone do not establish support.
Can I use a GoDEX printer for these asset labels?
A GoDEX printer can handle the printing stage when its driver, label software, and media are configured correctly. The GoDEX RT700i+ and GoDEX G530 specifications do not prove a native Asset Panda connection.
Should I print a barcode or a QR code on an asset tag?
Use the code format your actual scanning and lookup process supports. Test both the decoded content and the record lookup, because a readable code is not proof that it identifies the right asset.
Why do leading zeros disappear from my asset IDs?
Spreadsheet software can interpret an identifier as a number and remove its leading zeros. Import the identifier column as text and compare the working values with the source records before printing.
Do thermal asset labels need a ribbon?
Thermal transfer printing requires a compatible ribbon; direct thermal printing does not. Match the printer setting to the label stock and follow the model-specific loading instructions.
Should I print a new tag whenever an asset record changes?
Print a replacement when the physical tag is damaged or its printed information needs updating. Keep the existing lookup identifier unchanged unless your administrator authorizes a change.
One last thing
Approve the lookup result, not just the barcode scan. A scanner can decode a perfectly printed identifier that belongs to the wrong equipment. Before applying each tag, match the physical asset, visible ID, and intended record; that final check prevents a printing success from becoming a tracking error.