
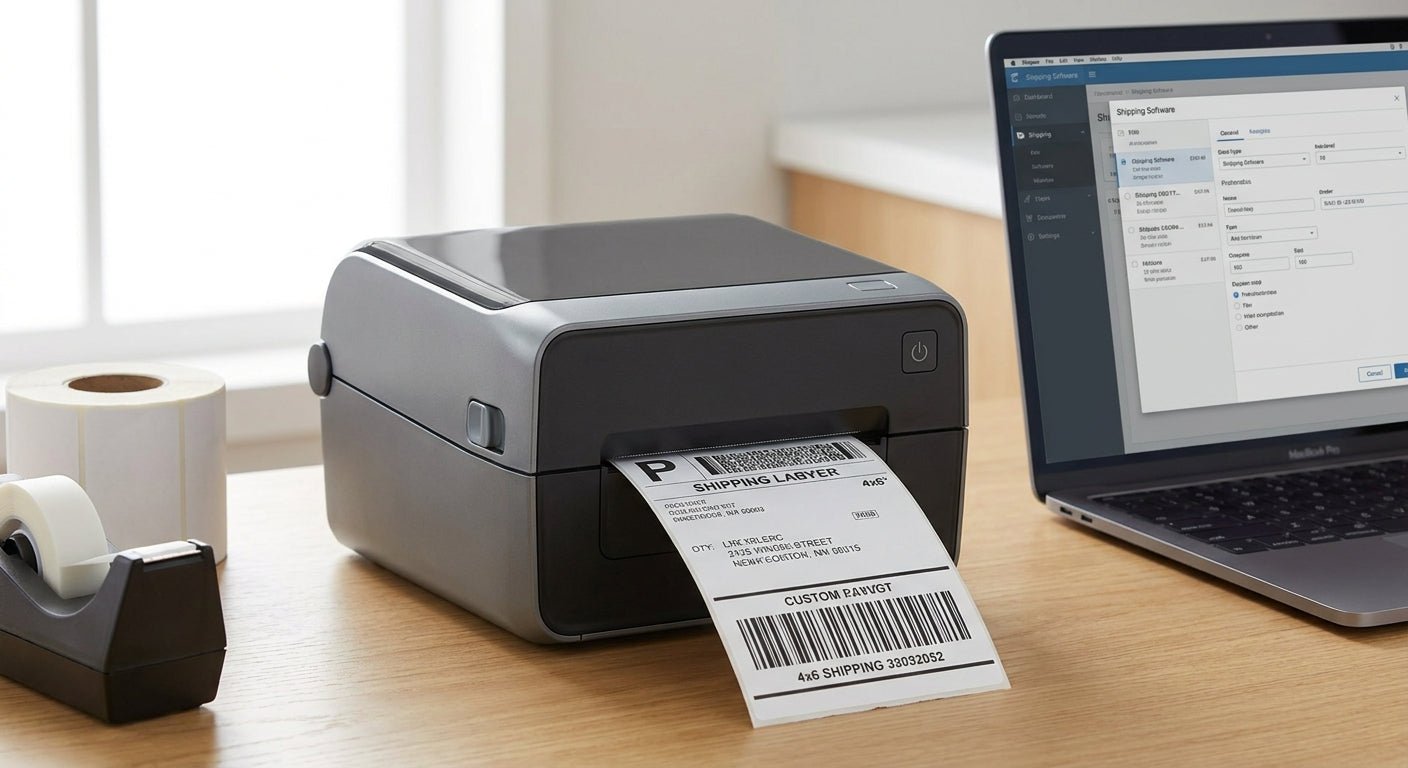
Printing 4x6 shipping labels from a thermal printer takes five steps and about ten minutes once the printer is calibrated, and skipping the calibration step is why most first-time setups jam or print blank labels.
TL;DR: Print 4x6 shipping labels on a thermal printer by installing the driver, loading 4x6 direct thermal stock, setting the label size in your shipping software, calibrating gap sensors, and running a test batch before your first real order. The 4x6 thermal label printer handles USPS, UPS, FedEx, and DHL label formats out of the box at 203 DPI, which is enough resolution for any barcode a carrier scanner reads. Verdict: Buy a dedicated 4x6 direct thermal unit if you ship more than 20 packages a week in 2026 — a $10 ink cartridge and a jammed inkjet tray cost more time than the printer itself.
Why this matters
Carriers reject blurry or misaligned barcodes, and a bounced label means a repacked box, a support ticket, and a delayed shipment. Direct thermal printers solve this because they burn the image into heat-sensitive paper instead of spraying ink that smears in a warehouse or a mail truck. No ribbon, no cartridge, no drying time — the label is scan-ready the second it exits the print head.
The difference matters more in 2026 than it did five years ago, because USPS and UPS have both tightened barcode contrast requirements at automated sorting hubs. A washed-out inkjet label that scanned fine in 2021 gets flagged and manually rerouted today, adding a day or more to transit.
What you'll need
- A direct thermal printer rated for 4x6 labels, such as the 4x6 thermal label printer or the Godex GX4200i at 203 DPI
- 4x6 direct thermal label rolls (not thermal transfer stock — no ribbon needed)
- A USB or Ethernet cable, or Wi-Fi if your printer supports it
- Driver software from the printer manufacturer
- Your shipping platform: Shopify, ShipStation, Pirate Ship, or the carrier's own web portal
- 10-15 minutes for setup and one test label
The steps
1. Install the printer driver
Download the correct driver for your printer model and operating system before you plug anything in. Installing the driver first prevents Windows or macOS from auto-installing a generic driver that prints at the wrong resolution or margin. Plug in the USB cable only after the installer prompts you to. Expected outcome: the printer shows up by name in your system's printer list, not as "Unknown USB Device."
Common mistake: connecting the printer before installing drivers, which forces a driver reinstall and wastes 10 minutes.
2. Load the 4x6 label roll correctly
Open the top cover, drop the roll in with the label facing up and feeding toward the print head, and close the cover until it clicks. Most desktop thermal printers auto-detect the label gap on the first feed cycle. Run a feed test by holding the feed button for 2-3 seconds — the printer should advance exactly one label length, roughly 6 inches, and stop.
Common mistake: loading the roll backward. If the printed image comes out mirrored or blank, flip the roll and reload.
3. Set the label size in software
Open your shipping platform's print settings and set the label size to 4 x 6 inches, not "letter" or "default." ShipStation, Shopify Shipping, and Pirate Ship all have a dedicated thermal label template — select it instead of the standard PDF layout. This step alone fixes 80% of "label prints too small" complaints, because the software was defaulting to a full-page PDF sized for a laser printer.
4. Calibrate the gap sensor
Most print quality complaints trace back to a printer that never ran calibration after the first label roll change. In the driver utility or on the printer's front panel, run the "auto-calibrate" or "gap sensor calibration" function. This teaches the printer exactly where one label ends and the next begins, so it doesn't print across the gap or leave a blank label between two real ones. Run this every time you switch label roll batches, even from the same supplier.
Expected outcome: two test labels print back-to-back with clean top and bottom margins and zero print split across the gap.
5. Print a test label and check barcode contrast
Print one test shipping label and hold it under normal room light, not your monitor's glow. The barcode bars should be solid black with sharp edges, not gray or feathered. If the print looks light, increase the darkness/heat setting by 2-3 notches in the driver, which is the single most common fix for scan rejections.
6. Print your batch
Once the test label scans clean on a phone barcode app, queue your full batch. Direct thermal printers rated at 203 DPI print a standard 4x6 label in 2-4 seconds, so a 50-label batch takes under four minutes. Watch the first five labels come off the roll to confirm nothing drifted before you walk away.
Troubleshooting
- Label prints blank or faded fast — Direct thermal labels are heat-sensitive and fade under UV or high heat over months; this is normal for the media type, not a printer fault. Store finished labels out of direct sun if they'll sit for more than a few weeks before shipping.
- Printer feeds two labels but only prints one — Gap sensor is miscalibrated. Rerun the calibration routine from Step 4.
- Barcode won't scan at the carrier hub — Darkness setting is too low. Bump it up 3-4 notches and reprint a test label before sending another batch.
- Label image is cut off on one side — The label size in software doesn't match the 4x6 physical roll. Recheck the print settings from Step 3.
- Printer shows offline in software — USB cable or driver issue. Reinstall the driver and use a different USB port; avoid USB hubs for thermal printers.
- First label of every roll comes out blank — Normal calibration behavior on many models. The printer uses the first label as a sensor reference; this isn't a defect.
Tools and resources
- 4x6 thermal label printer — dedicated direct thermal unit built for carrier label formats
- Godex GX4200i, 203 DPI — industrial-duty option for higher print volume
- Carrier label templates inside ShipStation, Pirate Ship, or your Shopify Shipping dashboard
- A phone barcode scanner app for pre-ship QA on the first few labels of any new roll batch
- Best thermal printer for 4x6 shipping labels for a model-by-model breakdown if you're still comparing printers
FAQ
What's the best thermal printer for 4x6 shipping labels? A 203 DPI direct thermal printer built for 4x6 rolls covers standard shipping barcodes without needing ribbon or ink. Higher DPI models exist but add cost without improving scan reliability for shipping labels specifically.
Is a 4x6 label required, or can I use a smaller size? Carriers accept 4x6 as the standard because it fits every required field — address, barcode, tracking number — with margin to spare. Smaller formats risk cutting off barcode quiet zones that scanners need to read cleanly.
Does a shipping label have to be 4x6? No, but 4x6 is the format every major carrier's automated system is tuned for, so it's the safest default in 2026. Check your carrier's label spec page if you need a non-standard size for a specific service.
How much does it cost to print shipping labels at home? Once you own a direct thermal printer, per-label cost is just the blank label roll, since there's no ink or toner to replace. Compare that against inkjet cartridge costs if you're deciding between printer types.
Can I use a laser or inkjet printer instead of thermal? You can, but you'll need adhesive label sheets and a printer that handles heavier stock without jamming, and ink cost per label runs higher over time. Thermal printers remove the ink variable entirely.
Why does my label print blank on one side? The roll is usually loaded backward, with the label-facing side pointed away from the print head. Reload the roll facing up and rerun the feed test.
Do I need special software to print 4x6 labels? No — your shipping platform (Shopify, ShipStation, Pirate Ship, or a carrier portal) generates the label; the printer just needs the correct driver installed and the label size set to 4x6.
How often should I calibrate my thermal printer? Calibrate every time you load a new roll, even from the same supplier, since paper batches can vary slightly in gap spacing. Skipping this is the top cause of misaligned prints.
One last thing
Most sellers replace their thermal printer within the first year not because the print head wore out, but because they bought a consumer-grade unit rated for light home use and ran it at commercial volume. If you're printing more than 200 labels a week in 2026, size up to an industrial-duty model like the Godex GX4200i from day one — the print head life difference is the actual cost driver, not the sticker price.