
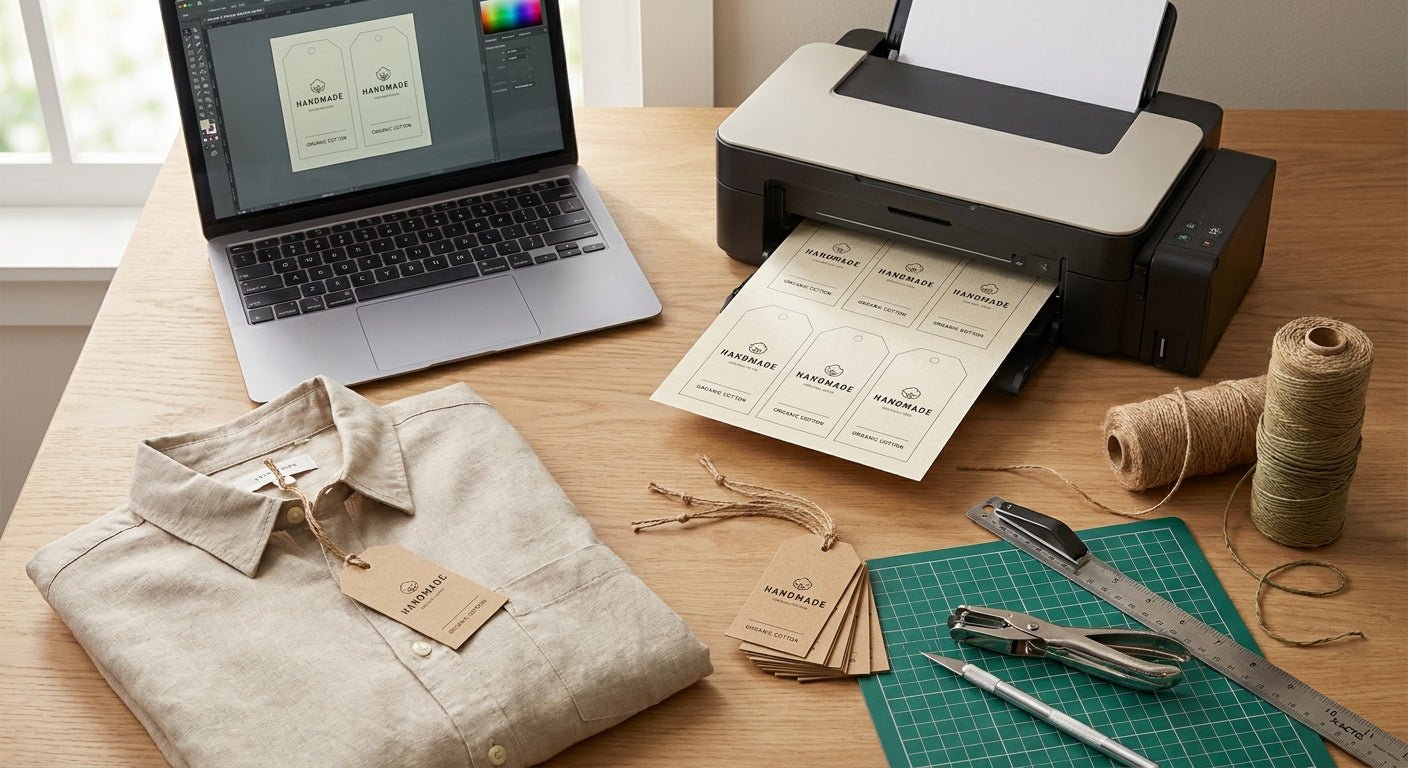
Printing hang tags for clothing and apparel in-house means picking the right print engine, the right ribbon, and stock that survives a fitting room and a cash wrap without curling. This guide covers the equipment, the steps, and the mistakes that turn a clean tag into a smudged one by week two.
- Thermal transfer wins over direct thermal for apparel hang tags handled at checkout for weeks.
- GoDEX GE330 (203 DPI, 4-inch) prints standard hang tag text and barcodes cleanly - Buy.
- GoDEX RT863i (600 DPI) is only worth it for fine logo detail or dense barcodes on small tags.
- Wax-resin ribbon, not standard wax, is what keeps hang tag print from scuffing off in bins.
Why this matters
Apparel hang tags get handled more than almost any other label type in retail: pulled off the rack, flipped over at checkout, scanned, sometimes re-attached after a return. Direct thermal print - the kind with no ribbon, where heat alone darkens the paper - fades under friction and warmth inside a warm stockroom or a car trunk in 2026 summer heat.
Thermal transfer solves that because the ribbon's wax-resin coating fuses onto the tag stock instead of just darkening it. A machine like the GoDEX GE330 thermal transfer printer runs a ribbon pass over cardstock or synthetic tag material, and the print holds up to being crumpled in a shopping bag or run through a garment steamer nearby. For apparel brands printing tags in batches instead of ordering die-cut stock from a converter, that durability difference is the whole decision.
What you'll need
- A thermal transfer desktop printer rated for 4-inch stock at minimum - 203 DPI covers standard hang tag text and logos, 300 or 600 DPI if your tag carries a fine barcode or dense QR code
- Wax-resin ribbon sized to match your printhead width - standard wax ribbon smudges faster on coated cardstock
- Tag stock cut to size, with a pre-punched hole or perforation if you're stringing tags with cord or a plastic loop fastener
- Label design software (GoLabel on GoDEX printers) to set up your template, resolution, and any variable fields like SKU or price
- 15 to 20 minutes to build a template, then continuous run time at your printer's rated speed for the rest of the batch
The steps
1. Confirm thermal transfer, not direct thermal
Check your printer's spec sheet before buying ribbon - direct thermal models have no ribbon slot at all. If you're buying new, choose a thermal transfer engine specifically for apparel work; it's the only way the print survives handling past the first week on a rack.
Common mistake: ordering a direct thermal printer because it's cheaper up front, then finding faded tags at the register within days.
2. Match ribbon chemistry to your tag stock
Wax-resin ribbon bonds well to coated cardstock and synthetic tag material and resists scuffing when tags rub against each other in a bin. Standard wax ribbon is fine for short-life shipping labels but wears thin on tags meant to survive a full retail cycle.
Common mistake: using leftover wax ribbon from a shipping label job because it's already loaded.
3. Build your tag template in GoLabel
Set your exact tag dimensions, print resolution, and any variable fields - SKU, price, size, care instructions, or a QR code linking to a product page. Lock the template so every tag in the batch prints identically.
Common mistake: skipping a test template and running the full stock size straight into the printer, wasting stock on alignment errors.
4. Load stock and calibrate the gap sensor
Feed your cut tag stock through the printer and run the built-in calibration so the gap sensor reads where one tag ends and the next begins. Misaligned calibration prints half a tag onto the next one.
Expected outcome: each tag registers in the same position, print starting and ending at identical margins.
5. Print a test batch of 10 before committing
Pull 10 tags off the run and check for smudging at the fold line, barcode scan-ability if you're using one, and consistent darkness across the batch. Adjust print darkness settings before running the full quantity.
Common mistake: running 500 tags before checking the first 10, then discovering a ribbon wrinkle repeated across the whole batch.
6. Run variable data fields for serialized tags
If tags need unique SKUs, sizes, or sequential numbers, set up the serialization field in your template rather than manually editing each tag file. This keeps batch runs fast and error-free at volume.
Expected outcome: a full run of tags with correct, incrementing data and zero manual re-entry.
7. Cut, punch, and string the finished tags
If your stock isn't pre-punched, punch the hole after printing so ink placement doesn't shift around the hole location. String with cord, safety pin fastener, or plastic loop depending on your garment type.
Common mistake: punching before printing, which can shift the tag stock feed and misalign the print job.
Troubleshooting
- Print fades or scuffs off within days: you're likely on direct thermal or standard wax ribbon instead of wax-resin. Switch ribbon chemistry before replacing the printer.
- Ribbon wrinkles mid-print: check ribbon tension and confirm the ribbon width matches your printhead - undersized ribbon wrinkles under printhead pressure.
- Tags jam feeding through the printer: stock that's too thick or cut unevenly catches on the feed rollers. Confirm your stock thickness matches printer specs before ordering a full run.
- Gap sensor misreads tag boundaries: recalibrate after any stock change - different stock thickness and gap spacing needs a fresh calibration pass.
- Barcode won't scan on a printed tag: move up in resolution. A direct thermal vs thermal transfer comparison is worth reading if you're deciding between 203 and 300 DPI for barcode-heavy tags.
- Print sits off-center on the tag: template dimensions don't match actual cut stock size - remeasure your stock and rebuild the template rather than nudging the print position manually.
Tools and resources
- Thermal transfer printer sized to your tag width, ideally with GoLabel software support for template building
- Wax-resin ribbon matched to your printhead
- Tag stock cut and punched to your fastening method
- GoLabel software for template, variable data, and calibration control
McAuley Labels builds thermal transfer printers and supplies the ribbon that pairs with them, so hardware and consumables come from the same source instead of guessing at compatibility across brands.
What to do next
Running a one-off batch of 200 tags in-house makes sense for most small apparel operations. If you're printing tags for multiple product lines with different sizes and hole placements, get a custom quote for stock cut to your exact tag dimensions instead of trimming standard sheets by hand.
FAQ
How do you print hang tags for clothing at home or in a small shop?
Use a thermal transfer printer with wax-resin ribbon and cardstock or synthetic tag stock cut to size. Build a template in label software, calibrate the gap sensor, and run a 10-tag test before printing the full batch.
Is direct thermal or thermal transfer better for apparel hang tags?
Thermal transfer is better because the ribbon fuses print onto the stock instead of just darkening it with heat. Direct thermal fades faster under the handling and warmth hang tags face on a retail floor.
What DPI do I need to print hang tags for clothing?
203 DPI handles standard tag text and logos fine. Move up to 300 or 600 DPI only if your tag carries a dense barcode or fine-line logo detail that needs sharper resolution.
Can I put a barcode or QR code on a printed hang tag?
Yes, most label design software including GoLabel supports barcode and QR fields directly in the tag template. Higher resolution printers scan more reliably at smaller barcode sizes.
What ribbon should I use for apparel hang tags?
Wax-resin ribbon is the standard choice because it resists scuffing when tags rub together in storage bins or shipping boxes. Standard wax ribbon works for short-life labels but wears faster on tags meant to last a full retail cycle.
How many hang tags can I print per hour?
Output depends on your printer's rated speed and tag length, but most desktop thermal transfer printers run continuous batches without manual reloading beyond stock and ribbon changes. Check your specific printer's rated speed for an exact throughput number.
Do I need special software to print hang tags for clothing?
Label design software like GoLabel lets you set exact tag dimensions, resolution, and variable data fields such as SKU or price. Most thermal transfer printers ship with compatible software rather than requiring a separate purchase.
What size hole punch do hang tags need?
Hole size depends on your fastening method - cord, safety pin fastener, or plastic loop each need a different diameter. Punch after printing so ink placement isn't disturbed by the hole location.
One last thing
Most print quality complaints on apparel hang tags trace back to ribbon chemistry, not the printer itself - swapping standard wax for wax-resin fixes more smudging problems in 2026 than any printhead adjustment does. If your tags carry a barcode smaller than half an inch, run the resolution comparison before you commit to a 203 DPI printer; scan failures at small sizes are a resolution problem, not a printer defect.