
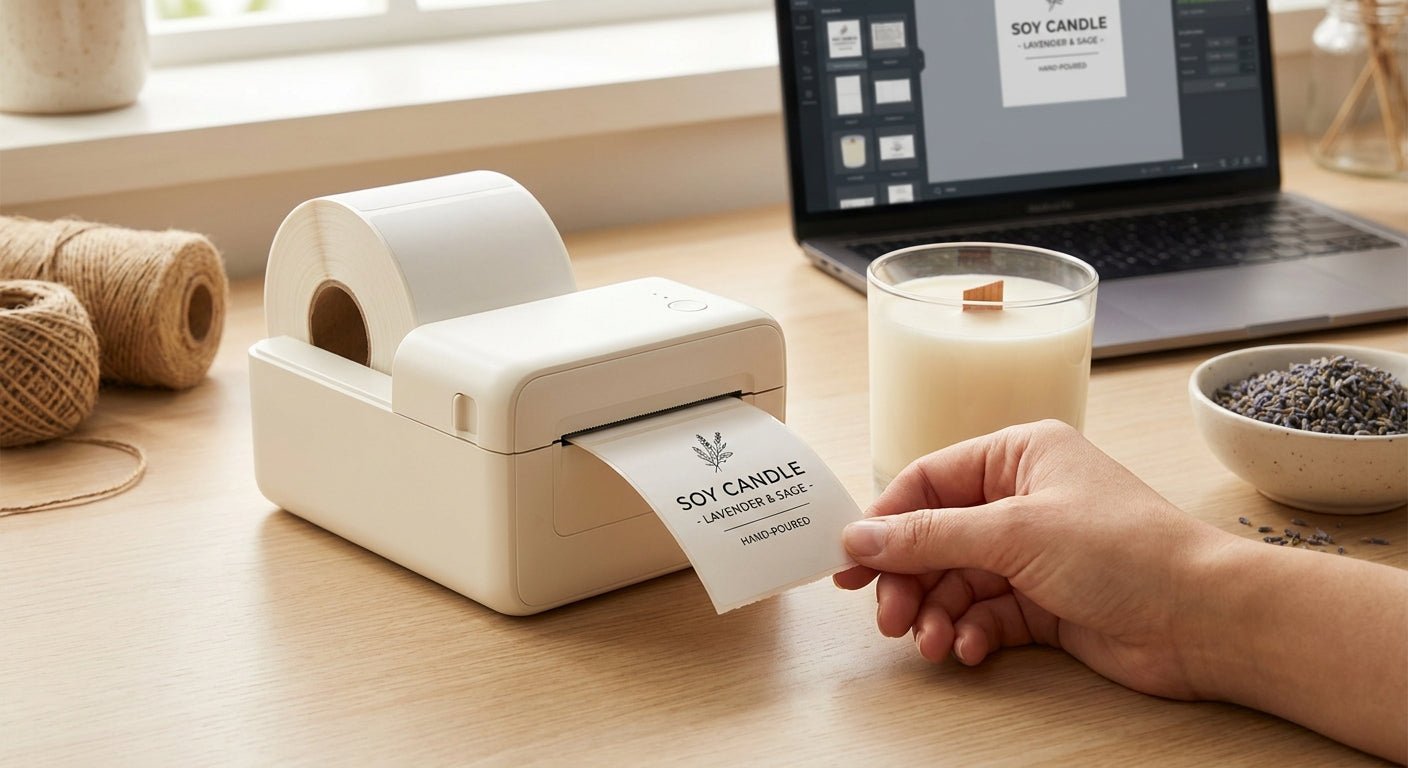
Wax-resistant, waterproof, and printed in-house in under a minute per label — that's what a thermal printer setup delivers for candle makers who are done paying per-sheet ink costs or waiting on print shop turnarounds.
TL;DR
Printing candle labels on a thermal printer means choosing between direct thermal (cheaper, no ribbon, but fades in sunlight over 12-18 months) and thermal transfer (ribbon-based, holds up indefinitely against heat and oil from wax). For most candle brands selling at markets or on Etsy, a thermal transfer printer like the Godex GE330 paired with white polyester labels is the Buy — it survives hand-poured wax drips and years of shelf handling. Direct thermal works fine for short-run labels you'll replace within a year. Either way, in 2026 a desktop thermal printer pays for itself within 500-1,000 labels compared to outsourcing.
Why this matters
Candle labels get exposed to heat while the wax is curing, oil residue from handling, and sometimes direct sun on a store shelf. Standard inkjet or laser labels crack, smear, or fade within weeks under those conditions. Thermal printing solves that with materials engineered for exactly this kind of abuse — thermal transfer labels resist smearing even when a customer's thumb drags across a warm jar right after unboxing.
Cost is the other driver. A candle maker printing 200 labels a month spends real money on outsourced print runs or ink cartridges that dry out between uses. A thermal printer has no ink to dry out — it's ribbon or heat-only, and both run for thousands of labels before replacement.
What you'll need
- A thermal label printer — direct thermal or thermal transfer, 203 DPI minimum (300 DPI if your label has small text or a detailed logo)
- Ribbon, if using thermal transfer (skip this for direct thermal)
- Label stock sized for your candle jar or tin — polyester or vinyl holds up better than paper against wax residue
- Label design software (GoLabel or similar) or a design file exported as PNG/PDF
- A flat, stable surface near a power outlet — most desktop thermal printers need USB or Ethernet to a computer
- 15-20 minutes for first-time setup and calibration
The steps
1. Choose direct thermal or thermal transfer before you buy anything
This decision determines your printer purchase, so make it first. Direct thermal printers use heat-sensitive paper that darkens when the print head touches it — no ribbon, lower upfront cost, but labels degrade under heat and UV within 12-18 months. Thermal transfer melts ink from a ribbon onto the label, which survives heat, oil, and sunlight for years.
Candles generate heat while burning and during curing, so thermal transfer is the safer default for anything going on a shelf longer than a season. Read the full breakdown in thermal transfer vs. direct thermal if you're still weighing it against your budget.
Common mistake: buying a direct thermal printer because it's $50-100 cheaper, then reprinting the entire batch six months later when labels fade.
2. Pick a printer with enough resolution for your label size
If your candle label includes fine text — ingredient lists, a small logo, a QR code linking to your website — 203 DPI can look blocky at label sizes under 2 inches. Step up to 300 DPI for anything with detail work.
The Godex GE330 is a solid mid-range thermal transfer printer that handles 4-inch labels at 203 DPI, which covers most standard candle jar sizes. Verdict: Buy if you're printing round labels 2-4 inches in diameter with a logo and burn instructions.
Expected outcome: crisp text and clean logo edges at normal reading distance, no visible dot pattern.
Common mistake: assuming higher DPI always wins — 600 DPI printers cost more and print slower, which matters if you're running 300+ labels in a session before a market.
3. Load the ribbon correctly for thermal transfer printers
Ribbon orientation matters — load it backward and you'll get a blank label or a mirrored print. Match the ribbon width to your label width; a ribbon wider than the label wastes material, and one narrower leaves edges unprinted.
Most thermal transfer printers show the coating side (matte side) needs to face outward toward the print head, not the label. Check your printer's ribbon compartment diagram before your first run — it's usually etched into the plastic housing.
Common mistake: loading the ribbon coating-side-in, which prints nothing and looks like a printer malfunction when it's actually user error.
4. Design your label at the exact print dimensions
Design software defaults to standard paper sizes, which will crop or stretch a label meant for a 2-inch circle. Set your canvas to the exact label dimensions before adding text or artwork — most candle labels run 2x2 inches, 2x3 inches, or 3-inch circles depending on jar diameter.
Leave a 1/16-inch bleed margin if your background color runs to the edge, since thermal printers can shift alignment by a hair on longer runs. GoLabel software setup walks through template creation if you're printing on a Godex printer.
Expected outcome: the printed label matches your jar template with no text cut off at the edges.
5. Calibrate the printer before the first production run
Calibration teaches the printer where each label starts and stops on the roll, which prevents drift where text creeps further off-center with every label printed. Run the built-in calibration sequence — usually a button combination on power-up — every time you switch to a new label stock size or roll.
Skipping calibration is the single most common reason a new candle maker's first batch comes out misaligned, with text sliding toward one edge by label 20.
Common mistake: calibrating once and assuming it holds across different label roll widths — it doesn't, recalibrate per roll size.
6. Run a test batch of 10 before committing to your full order
Print 10 labels and check them against a jar in daylight, not just under your desk lamp — color and contrast read differently under different light. Check that the label wraps evenly around a curved jar without wrinkling, since flat-test approval doesn't always translate to a curved surface.
Apply one to a jar, let it sit for 24 hours, then wipe it with a damp cloth to check for smearing before running your full batch of 200 or 500.
Expected outcome: the label holds ink after a damp wipe and sits flat against the curve with no lifted corners.
Troubleshooting
- Label prints too light or too dark — adjust print darkness/heat setting in your printer software in small increments; most printers default to a mid-range setting that's wrong for polyester stock.
- Ribbon wrinkles mid-print — usually a tension mismatch between ribbon width and label width; switch to a ribbon matched to your label roll.
- Text shifts left or right across a batch — recalibrate the printer; this is drift from an uncalibrated sensor, not a design file problem.
- Label won't stick to a curved candle jar — the label stock is too rigid for the curve; switch to a thinner, more flexible polyester stock rated for cylindrical containers.
- Smearing after handling a warm jar — direct thermal labels can't handle sustained heat; move to thermal transfer with a wax-resistant ribbon.
- Printer jams every few labels — check that the roll is seated correctly and not feeding at an angle, which is common with hand-loaded rolls that aren't centered.
Tools and resources
- Godex GE330 thermal transfer printer — 203 DPI, 4-inch print width, handles most candle label sizes
- Thermal transfer polyester labels, white — the label stock that resists wax and oil smearing
- GoLabel software setup guide — for building and printing your label template
- Inkjet vs. thermal printer for candle labels — for comparing against the inkjet setup you might already own
What to do next
Once your first batch is printed and applied cleanly, the next decision is scaling — moving from a 200-label test run to ongoing production for wholesale or subscription boxes. The best label printer for candle makers guide breaks down which printer tier makes sense once you're past the testing stage and printing weekly.
FAQ
What's the best thermal printer for candle labels in 2026? A thermal transfer printer at 203-300 DPI is the best fit for most candle makers — it resists the heat and oil that candles generate, unlike direct thermal, which fades within 12-18 months of shelf exposure.
Is thermal transfer better than direct thermal for candle labels? Yes, for anything sold with a shelf life longer than a season. Thermal transfer uses a ribbon that bonds ink permanently to the label, so it survives heat and handling in ways direct thermal paper cannot.
How much does it cost to print candle labels on a thermal printer? Cost depends on label material and volume, but the math favors in-house printing once you're past a few hundred labels a month, since there's no per-order print shop markup and ribbon or heat-only printing runs cheaper per unit than ink cartridges.
Can I use a regular inkjet printer for candle labels instead? You can, but inkjet ink smears when exposed to oil or moisture from wax handling, while thermal transfer labels resist that smearing entirely.
What label material works best for candle jars? Polyester holds up better than paper against wax residue and handling, and it wraps cleanly around curved jar surfaces without wrinkling.
Do I need a 300 DPI printer for candle labels? 300 DPI is worth it if your label includes small text, a detailed logo, or a QR code — 203 DPI can look blocky at label sizes under 2 inches.
How do I stop my candle labels from smearing after printing? Switch to thermal transfer with a ribbon rated for oil resistance, and confirm the print darkness setting is calibrated for your specific label stock.
What size should candle labels be? Size depends on your jar, but 2x2 inch and 2x3 inch rectangles or 3-inch circles cover most standard candle jar and tin dimensions.
One last thing
The test-batch step gets skipped more than any other step in this process, and it's the one that saves the most money. Printing 10 labels, applying one to an actual jar, and wiping it down after 24 hours catches smearing and alignment problems before they show up in a run of 500 — not after.