
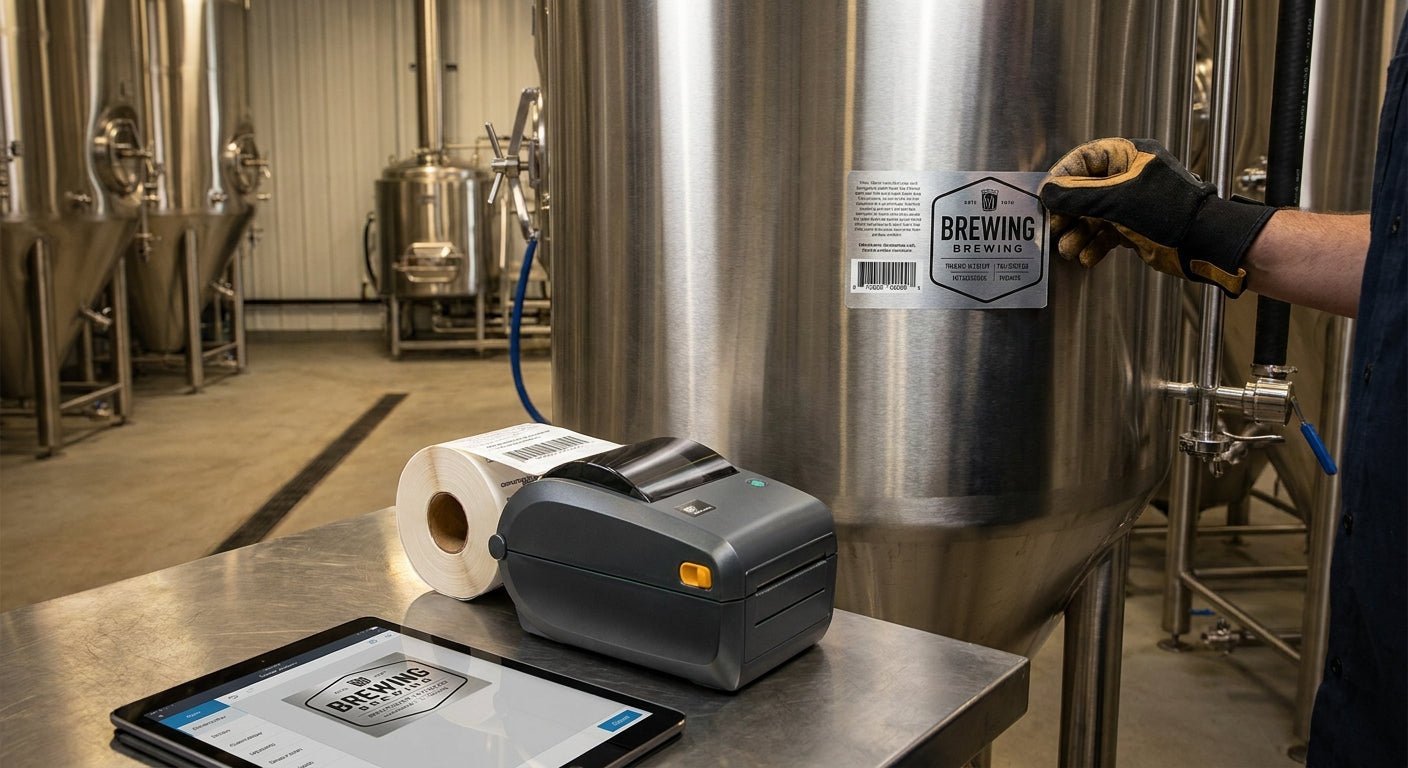
Stainless steel equipment ruins ordinary labels fast — solvents wipe them off, washdowns lift the adhesive, and heat from autoclaves or engine bays curls the edges within weeks. This guide walks through the exact process for printing labels that stay put on stainless surfaces through 2026 and beyond.
TL;DR
For stainless steel equipment, metalized silver polyester with 3M heavy-duty adhesive printed on a thermal transfer printer is the verdict — direct thermal fades under heat and UV, so it's a Skip for anything outdoors or near machinery. Pair a 300 DPI printer with the heavy duty silver barcode asset tags material and a resin ribbon, and the label will outlast the equipment's service life. Budget 15-20 minutes for calibration the first time; every run after that takes under 2 minutes per batch.
Why this matters
Stainless steel gets cleaned with degreasers, steam, and abrasive pads more often than almost any other surface in a facility. A label that's fine on a plastic bin will peel off a tank or cart within a maintenance cycle or two.
The two variables that actually matter are adhesive chemistry and print method. Get either one wrong and you're reprinting the same batch every quarter instead of once in 2026. Most facilities that call McAuley Labels about failed labels made one of two mistakes: direct thermal stock instead of thermal transfer, or a general-purpose adhesive instead of a metal-rated one.
What you'll need
- A thermal transfer printer at 203 DPI minimum (300 DPI if barcodes will be scanned at a distance)
- Metalized silver polyester or 3M heavy-duty polyester stock rated for metal surfaces
- A wax-resin or full-resin ribbon matched to your printer's print head width
- Isopropyl alcohol (90%+) for surface prep — not soap and water
- A squeegee or credit-card edge for bubble-free application
- Label design software (GoLabel or equivalent) if you're adding barcodes, QR codes, or serial numbers
The steps
1. Confirm the label material is metal-rated, not general-purpose
General inventory labels use acrylic adhesive built for cardboard and plastic bins — it won't hold on brushed or polished stainless. Metalized silver polyester stock uses a heavy-duty adhesive formulated for metal, and it resists the oil and moisture that collect on equipment surfaces. Skipping this step is the single most common reason labels fail within 30 days.
Common mistake: ordering standard semi-gloss white stock because it's cheaper, then reprinting the whole batch six weeks later.
2. Choose thermal transfer over direct thermal
Direct thermal labels darken from heat and sunlight exposure — that's the same chemical reaction that prints the image in the first place, so it keeps reacting after the label ships. Thermal transfer uses a ribbon to melt ink onto the label face, and the image doesn't degrade from ambient heat the way direct thermal does. For equipment that sits near motors, ovens, or outdoor yards, thermal transfer is the only option that holds through a full year of service.
3. Match the ribbon to the label stock
A resin ribbon bonds best to polyester and metalized stock — wax ribbons smear on smooth, coated surfaces like silver polyester. Run a test print of 5-10 labels before committing to a full batch of 500 or more. The thermal transfer ribbon should be full-resin rated for outdoor or chemical exposure if the equipment gets washed down regularly.
4. Set print darkness and speed correctly
Too little heat and the print looks faint or scratches off; too much heat and the ribbon can stick or wrinkle the label. Start at a mid-range darkness setting (around 15 on a 0-30 scale for most GoDEX models) and a print speed of 4 inches per second, then adjust up or down based on the test print. Higher resolution printers like a 300 DPI unit hold fine barcode lines and small serial numbers better than 203 DPI at small sizes.
Common mistake: cranking darkness to maximum to make the print darker — this burns through ribbon twice as fast and can warp the label edge.
5. Prep the stainless surface before applying the label
Wipe the application area with isopropyl alcohol and let it flash-dry for 30-60 seconds — skip this and oils on the metal surface will undercut the adhesive within days. Never apply over dust, grease, or condensation. A clean, dry surface is what lets the 3M heavy-duty adhesive form its full bond, which takes about 24 hours to reach maximum strength.
6. Apply with pressure, not just a press
Use a squeegee or firm card edge to push out air bubbles from the center outward — a label applied by hand alone often traps air pockets that let moisture in later. Press firmly along all edges, especially corners, since that's where washdown water and solvents find a way underneath first.
7. Batch-print with sequential data if tracking multiple units
If you're labeling a fleet of tanks, carts, or machines, use your label software to auto-increment serial numbers or barcodes across the batch rather than typing each one manually. This cuts a 200-unit job from an afternoon down to about 10 minutes of print time once the template is set.
Troubleshooting
- Print looks smeared or ghosted — ribbon and label stock mismatch; switch to a full-resin ribbon rated for polyester.
- Label edges lift within a week — surface wasn't degreased before application, or adhesive isn't metal-rated; re-clean with isopropyl alcohol and switch to heavy-duty stock.
- Barcode won't scan — print darkness too low or resolution too coarse for barcode density; bump to 300 DPI or increase darkness by 2-3 points.
- Label curls at corners in heat — direct thermal stock was used instead of thermal transfer; direct thermal isn't rated for equipment near heat sources.
- Ribbon wrinkles during printing — print speed too fast for the ribbon width; drop to 3 inches per second and retest.
- Ink rubs off with light contact — resin ribbon wasn't fully cured before handling; wait the full 24-hour cure window before touching the printed face.
Tools and resources
- A thermal transfer printer such as the GoDEX GE330 thermal transfer printer handles metalized stock at 203 DPI and standard label widths without a hardware upgrade
- Metalized silver polyester or 3M heavy-duty stock rated for outdoor and washdown environments
- GoLabel or similar design software for barcode and serial number templates
- For background on why metal surfaces need different adhesive than plastic bins, see silver polyester asset tags for metal surfaces
What to do next
Once the first batch is applied and holding, set a recheck at the 90-day mark — that's when adhesive failure on stainless surfaces usually shows up first if something was off in the prep. If barcodes are part of the label, scan a sample of 10-20 units under the same lighting as daily use to confirm read rates before rolling the design out fleet-wide in 2026.
FAQ
What's the best label material for stainless steel equipment? Metalized silver polyester with 3M heavy-duty adhesive is the standard choice for stainless steel in 2026 — it resists degreasers, washdowns, and moderate heat that would lift a standard paper or vinyl label within weeks.
Is thermal transfer better than direct thermal for metal surfaces? Yes — thermal transfer printing doesn't fade from ambient heat or sunlight the way direct thermal does, which matters most on equipment that sits near motors, ovens, or outdoor yards.
How much does it cost to print labels for stainless steel equipment? Costs depend on label size, quantity, and printer choice — a desktop thermal transfer printer plus metal-rated stock and resin ribbon covers most in-house needs without outsourcing to a print shop.
Can I use a direct thermal printer if I add a laminate over the label? Lamination helps but doesn't fully solve the fading issue since the underlying print still reacts to heat — thermal transfer stays the safer choice for equipment that sees regular temperature swings.
Do labels need a minimum cure time before use? 3M heavy-duty adhesive reaches close to full bond strength around 24 hours after application — avoid heavy washdown or handling before that window closes.
What DPI do I need for barcodes on stainless equipment? 300 DPI holds fine barcode lines and small text more reliably than 203 DPI, especially if the barcode will be scanned from more than a foot away.
Will labels survive an autoclave or steam cleaning cycle? Metalized polyester with resin ribbon printing handles steam and moderate heat exposure far better than paper or vinyl stock, though extreme autoclave temperatures call for a dedicated high-heat label — check the spec sheet for the exact rating before committing to a run.
How do I know if my current labels are failing? Edges lifting, print smearing, or barcodes that stop scanning within a few months are the clearest signs the adhesive or print method wasn't rated for metal in the first place.
One last thing
The adhesive cure window gets skipped more than any other step in this process — labels applied and immediately wiped down or handled before the 24-hour mark are the ones that come back as complaints in 2026. Give the bond time before the equipment goes back into rotation.