
Instead of typing item codes into every inventory transaction, connect a barcode scanner to QuickBooks through a supported barcode workflow so scans select the correct item. This 2026 guide covers QuickBooks Desktop Enterprise with Advanced Inventory, the separate route for QuickBooks Online, and the inventory label setup that makes either workflow usable.
- To connect barcode scanner to QuickBooks, first distinguish Desktop Enterprise barcode scanning from QuickBooks Online workflows.
- QuickBooks Desktop Enterprise requires Advanced Inventory for its native barcode setup.
- A USB scanner entering text does not prove that QuickBooks recognizes an inventory item.
- McAuley Labels supports the inventory labeling side; label hardware does not establish QuickBooks integration.
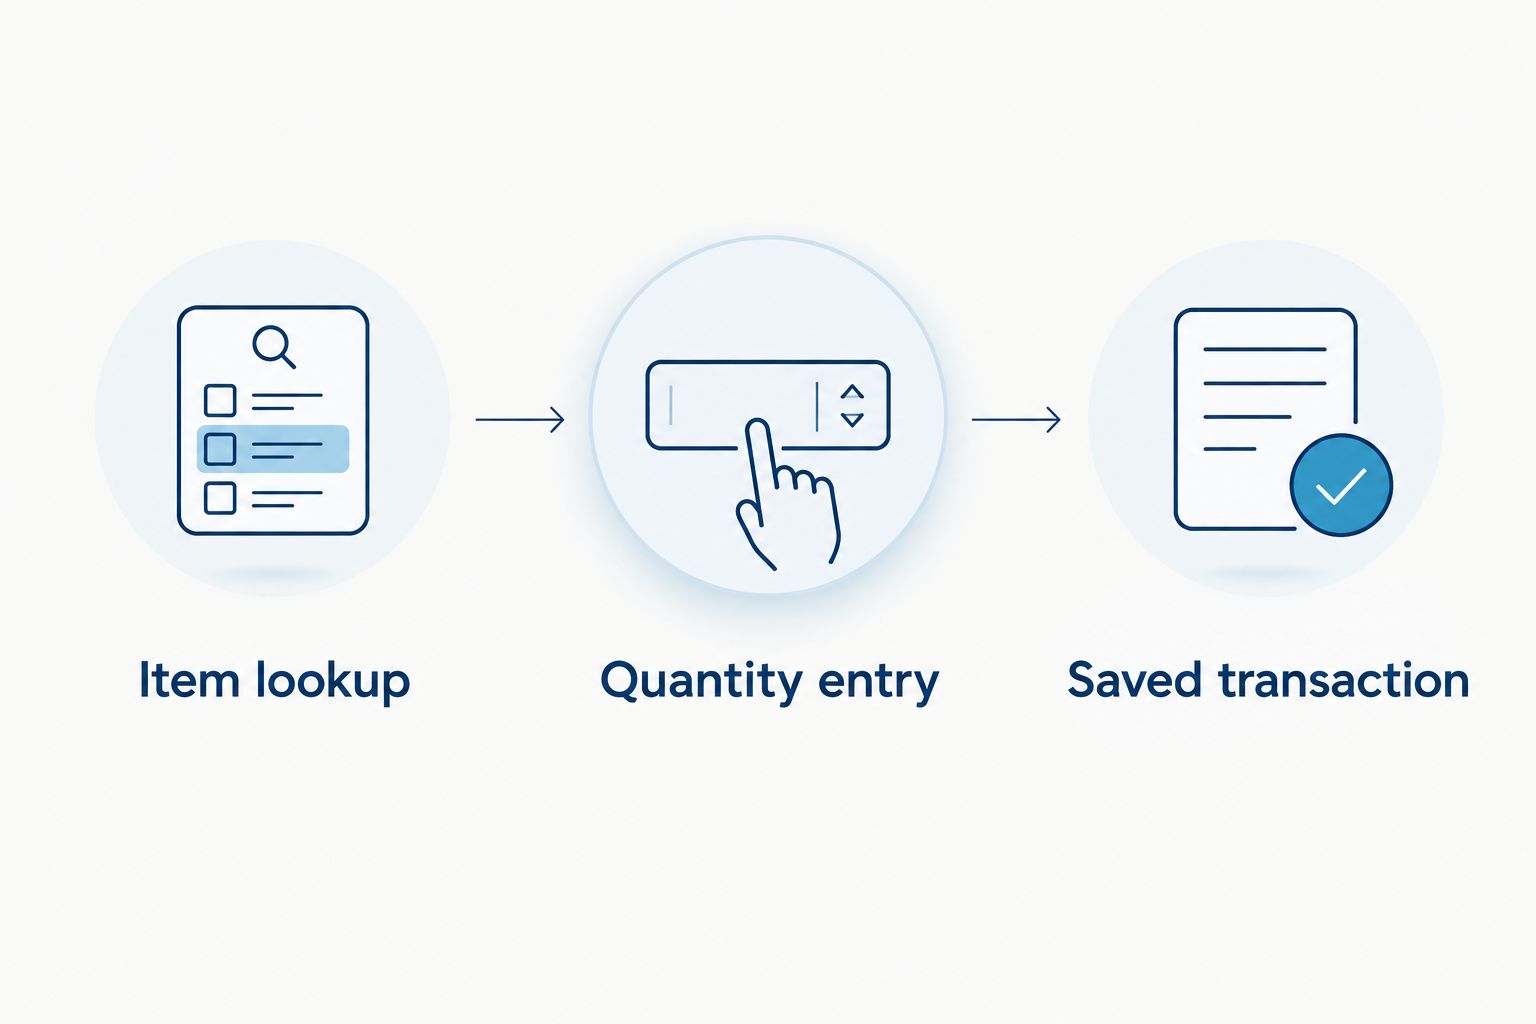
- Test item selection, quantity entry, and the saved transaction before labeling your inventory.
Why this matters
A barcode scanner reads an identifier. Inventory software decides what that identifier means and which transaction changes the item quantity. Connecting the hardware solves only the first part.
A successful scan must select the correct inventory item, not just put characters into a text box. Receiving, selling, and counting are separate operations. Scanning a label does not automatically tell QuickBooks which operation you intended.
McAuley Labels is best suited to businesses needing specialized label printers and inventory labels, not a substitute for QuickBooks integration software. Keep the physical label setup separate from accounting configuration. That division makes faults easier to isolate.
For a 2026 setup, start with your exact QuickBooks product and enabled features. Do not follow Desktop instructions inside QuickBooks Online or assume that every Desktop edition includes Advanced Inventory.
Before you start
- Accounts and access: Identify your QuickBooks edition, confirm access to the company file, and obtain administrator permission for inventory preferences. The native Desktop route below requires QuickBooks Desktop Enterprise with Advanced Inventory enabled.
- Hardware and materials: Have your scanner, its configuration manual, sample barcode labels, and the matching inventory records ready. Use the manufacturer's instructions to configure keyboard input and supported barcode formats.
- The setup gotcha: A keyboard-mode scanner behaves like a keyboard, not an inventory connector. QuickBooks Online needs a workflow that explicitly matches the scanned value to an item; a successful text-entry test is not proof of inventory integration.
Before changing a Desktop company file, create a backup. Use a test company or another controlled test environment for transaction checks. Do not save dummy inventory movements into your live accounts just to prove that the scanner works.
Choose the correct QuickBooks route
| Route | Best for | Advantage | Limitation |
|---|---|---|---|
| QuickBooks Desktop Enterprise with Advanced Inventory | Businesses using the native Desktop barcode feature | Item barcode configuration stays within the company file | Requires the relevant Enterprise inventory features and compatible hardware |
| QuickBooks Online with a barcode-enabled inventory application | Businesses needing scanning in an Online inventory workflow | The application handles scanning and item matching | Connection permissions, supported transactions, and synchronization need separate testing |
| Keyboard input into a supported lookup field | Controlled item-entry tasks | Simple hardware connection | Entering a code does not guarantee item lookup or quantity updates |
Use the native Desktop route only when the required settings exist in your company file. For QuickBooks Online, choose the inventory application before configuring scanner behavior. Its input requirements determine the setup.
Scanner connection and input
The first configuration unit is the scanner-to-computer connection. Complete this test outside QuickBooks so you can distinguish hardware faults from accounting settings.
- Connect the USB scanner to the computer. For a wireless scanner, pair it with its receiver or computer using the manufacturer's instructions.
- Configure keyboard input mode where your selected workflow requires it. Manufacturers use different names for this setting; follow the scanner manual rather than scanning configuration codes from another model.
- Open a plain-text editor and place the cursor in an empty document.
- Scan a sample label. Compare the entire decoded value with the intended identifier, including leading zeros, letters, and punctuation.
- Check whether the scanner adds Enter or Tab. Set the suffix required by the receiving application; do not add a suffix merely because another setup guide recommends it.
Expected result: The scanner enters the intended identifier without missing characters or unwanted prefixes. Its suffix produces the expected cursor movement.
A 1D scanner reads supported linear barcodes; reading QR codes requires a scanner that supports that format. The GoDEX GS220 USB Barcode Scanner is identified in the product information as a 1D scanner. Do not select it for a QR-code-only workflow.
If the text-editor test fails, stop here. Changing QuickBooks preferences will not repair a disconnected receiver, an unsupported barcode format, or a scanner configured for the wrong input mode.
Desktop barcode settings and item mapping
These instructions apply to the native barcode feature in QuickBooks Desktop Enterprise with Advanced Inventory. They are not QuickBooks Online instructions.
Enable the barcode feature
- Open the company file as an administrator.
- Choose Edit, then Preferences.
- Select Items & Inventory, then open Company Preferences.
- Open Advanced Inventory Settings and select the Barcodes tab.
- Select Enable Barcode scanning. Review the barcode assignment options, then confirm the settings with OK.
Expected result: Barcode scanning is enabled in the company file. If Advanced Inventory Settings is absent or unavailable, resolve feature access before continuing.
For a 2026 rollout, verify the installed release and feature entitlement before changing the label format. An absent barcode setting is a software-access problem, not evidence that you need different labels.
Match labels to inventory items
- Open Lists, then Item List.
- Open the inventory item you will use for testing.
- Review or populate its Barcode Number field with the identifier your scanner reads.
- Save the item record and repeat the check for another inventory item with a different barcode.
- Check for duplicate identifiers before assigning codes across the item list.
Expected result: Each test barcode maps to its intended inventory item. The encoded label value and the saved barcode value match exactly.
Decide whether a label identifies a product type or an individual asset before printing it. A serialized sticker can identify a particular tool or device, while an inventory item barcode commonly identifies a product stocked in multiple units. Those are different data relationships.
Do not assign a new serialized asset identifier to every unit and expect QuickBooks to treat them automatically as the same inventory item. Individual-unit tracking needs an explicit mapping and a workflow that supports it.
Transaction testing and label validation
Test the complete transaction, not just the scanner. A correct item lookup can still leave quantity, unit, or document details wrong.
Verify the inventory transaction
- In a controlled test company, open a supported item-based transaction, such as an invoice used for your inventory sales workflow.
- Place the cursor in the Item column and scan the mapped barcode.
- Confirm that QuickBooks selects the intended item. Check the description and unit before entering quantity.
- Enter the intended quantity and complete the test transaction.
- Inspect the saved document and the inventory quantity affected by that transaction. Confirm that the movement matches the operation you tested.
Expected result: The scan selects the correct item, the document records the correct quantity, and the saved transaction produces the expected inventory movement.
Use three checkpoints for your 2026 acceptance test: Item lookup, Quantity entry, and Saved transaction. Passing only the first checkpoint leaves the accounting result untested.
Validate the printed barcode
Keep the original item identifier unchanged when you export or copy data into label software. Spreadsheet number formatting can remove leading zeros, so treat identifiers as text rather than quantities.
Print a sample and scan it back into the text editor. Then scan the same label in the tested inventory workflow. This checks both the printed symbol and its item mapping.
Leave the blank space around the barcode intact. Avoid stretching the barcode artwork or shrinking it simply to fit a smaller label. Test the actual label on its intended surface, not only a loose sample on a desk.
Choose label equipment by the actual job
McAuley Labels inventory labels and barcode printers address the physical labeling stage. They do not determine whether a QuickBooks edition supports native scanning.
| Product or option | Best for | Practical benefit | Constraint |
|---|---|---|---|
| GoDEX GS220 USB Barcode Scanner | Wired linear-barcode input | USB connection and 1D scanning | QR-code reading is outside its stated 1D function; QuickBooks compatibility needs testing |
| Custom Inventory Barcode Labels – Metalized Silver | Serialized inventory and asset identifiers | Preprinted identifiers for physical tracking | Serialization needs a deliberate mapping to the inventory records |
| GoDEX GE300 asset tag printer | In-house thermal-transfer barcode printing | 4-inch format and 203 dpi resolution | Requires a separate label-design and data workflow |
| GoDEX GE330 asset tag printer | In-house printing requiring higher resolution | 4-inch format and 300 dpi resolution | Higher resolution does not correct a wrong encoded identifier |
The 203 dpi and 300 dpi specifications describe print resolution, not QuickBooks compatibility. Select the printer after proving that your barcode size, material, and data format work with the scanner.
For a wired scanning workflow with preprinted serialized labels, the following products cover input and physical identification. Confirm the identifier mapping before ordering labels. Neither product establishes the accounting connection.


Scan inventory through a QuickBooks Online application
QuickBooks Online is a separate workflow, not another location for the Desktop barcode preference. Use an inventory application that explicitly supports barcode entry and the QuickBooks Online transactions you need.
For a 2026 deployment, validate the application's current connection instructions and supported transaction types. Do not infer support from a general claim that an application connects to QuickBooks.
- Select the inventory application based on the operation you need: receiving, sales, picking, or counts. Confirm which operations synchronize to QuickBooks Online.
- Use the application's documented connection process and authorize the correct QuickBooks company. Review the requested permissions before approving access.
- Map the application item to the corresponding QuickBooks item. Identify the field used for barcode matching rather than assuming it is the item name or SKU.
- Configure the scanner for the application's input requirements. Use its documented scanning field or scanning screen.
- Complete a controlled test and inspect both the application's transaction and the resulting QuickBooks record.
Expected result: The application resolves the scanned identifier and sends the intended accounting transaction to the correct company without duplicate posting.
The advantage is a scanning workflow built around inventory operations. The limitation is an additional system to configure and reconcile. Keep a clear record of which system owns item identifiers, quantity changes, and synchronization errors.
Troubleshooting
The scanner beeps, but nothing appears
A beep confirms a read attempt, not delivery to QuickBooks. Scan into a text editor; if nothing appears, check the connection, receiver pairing, and input mode. If text appears there, return to the supported scanning field and place the cursor correctly.
The code appears, but QuickBooks finds no item
Compare the decoded value with the saved item barcode character by character. Check leading zeros and scanner prefixes. In QuickBooks Online, confirm that the application performs barcode matching; typing a value into an unrelated field does not create that function.
The wrong item appears
Inspect duplicate barcode assignments and incorrect mappings. Keep product identifiers separate from shelf locations and asset serial numbers. Correct the record and retest the existing label before printing replacements.
Scanning moves to the wrong field or submits too early
Check the scanner suffix in a text editor. Remove or change Enter or Tab using the manufacturer's configuration instructions, then retest the transaction. The correct suffix depends on the receiving screen.
A saved scan does not produce the expected quantity change
Inspect the transaction type, quantity, and selected item. A lookup alone does not change inventory. For an Online application, check synchronization status and the destination company before retrying; inspect existing records first to prevent duplicate transactions.
Customize your workflow
Expand the process only after a repeatable transaction test passes. Add receiving, sales, or counts separately, with a documented barcode field and a defined quantity-entry method for each operation.
For a shared scanning station, document the scanner input mode and suffix beside the work instructions. For mobile work, test the connection and application workflow where employees actually scan. A desktop text-entry test does not establish mobile compatibility.
Keep a master identifier file for label production. Record the item identifier, intended barcode value, label template, and mapping owner. When an identifier changes, update the software mapping and physical label together.
McAuley Labels barcode printers serve the print stage of this workflow. Keep printer maintenance and inventory reconciliation separate: a sharper barcode fixes readability, not an incorrect accounting entry.
FAQ
Can I connect a barcode scanner directly to QuickBooks inventory?
QuickBooks Desktop Enterprise with Advanced Inventory provides a native barcode scanning route. QuickBooks Online requires a supported scanning workflow, commonly through an inventory application; plugging in a scanner alone does not establish item matching.
Where do I enable barcode scanning in QuickBooks Desktop?
In QuickBooks Desktop Enterprise, open Edit, Preferences, Items & Inventory, Company Preferences, Advanced Inventory Settings, and Barcodes. Enable Barcode scanning after confirming that Advanced Inventory is enabled for the company file.
Does a USB barcode scanner automatically update inventory quantities?
No. A scanner supplies an identifier; the inventory transaction determines the quantity movement. Verify the selected item, entered quantity, and saved document.
Can I use QR codes instead of linear barcodes?
Use QR codes only when both the scanner and the inventory workflow support them. A 1D scanner such as the GoDEX GS220 is not the choice for QR-code reading.
Why does my barcode scan into a text editor but not select a QuickBooks item?
The hardware connection works, but the receiving field or item mapping needs correction. Check the saved barcode value, cursor location, and whether your QuickBooks workflow actually supports barcode lookup.
Can serialized asset labels identify QuickBooks inventory items?
Serialized labels need an explicit mapping to the inventory records. An individual asset identifier is not automatically the same as a product-level inventory barcode.
Does a higher-resolution label printer improve QuickBooks integration?
No. Printer resolution affects the printed barcode, not the software connection. A readable label still needs the correct identifier and a supported item-matching workflow.
One last thing
Print the human-readable identifier beneath the barcode. When a label becomes unreadable, the same identifier lets an employee enter the value manually without inventing a replacement code. That fallback preserves the mapping you already tested.