
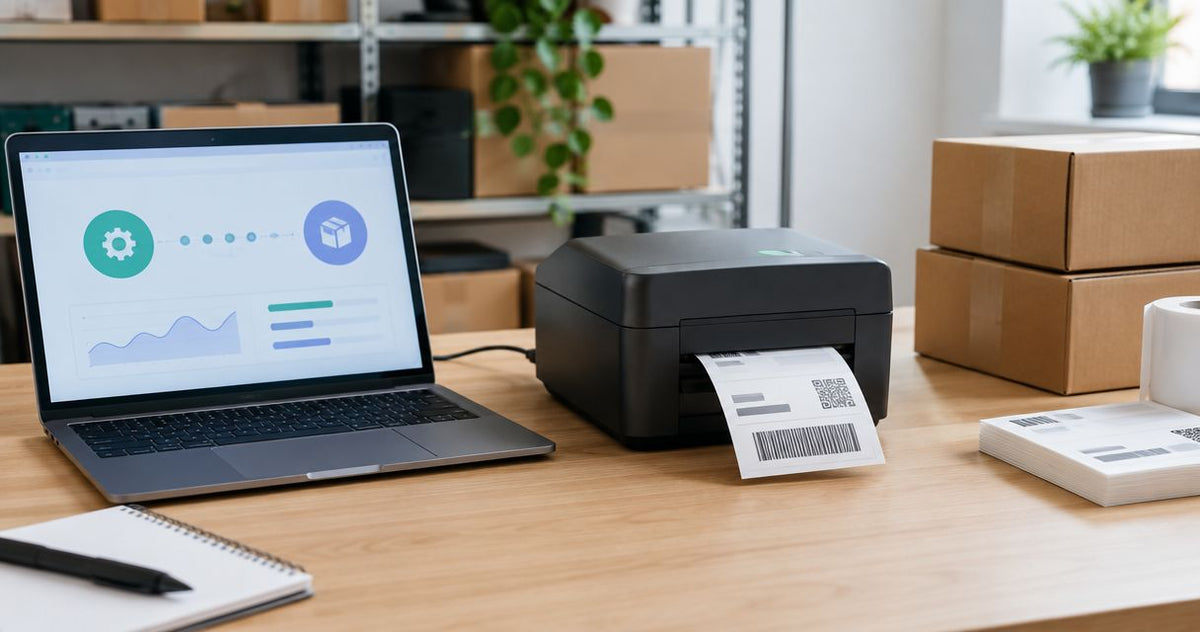
Instead of downloading and printing every shipping label manually, connect your thermal printer to the computer, install its driver, and use ShipStation Connect to send labels from ShipStation to that printer. Match the label format and printer paper size before printing so the barcode stays at its intended size.
- To connect label printer to ShipStation, install the printer driver first, then configure ShipStation Connect.
- ShipStation Connect is best for routine shipping-label printing; PDF printing is best for isolating setup problems.
- Match a 4 × 6-inch shipping label to the same paper size in the printer driver.
- McAuley Labels is best for businesses choosing specialized label printers, not a substitute for checking ShipStation compatibility.
Why this matters
A printer connection and a correctly formatted label are separate requirements. Your computer must recognize the printer, ShipStation must reach its print queue, and the document must fit the loaded stock.
A successful print job is not enough: the complete shipping label must print without clipping or shrinking. A small barcode on an oversized page is a formatting problem, not proof that the printer is unsuitable.
McAuley Labels supplies specialized label printers for business applications. For your 2026 shipping setup, check the exact model's operating-system driver, printable width, and connection options before treating it as a ShipStation printer.
Before you start
- Have a ShipStation account, access to its printing settings, and permission to install software on the computer that will host the printer. That computer needs a supported operating system for both the printer driver and ShipStation Connect.
- Have the printer, its power supply, the appropriate connection cable or network access, and label stock that matches the shipping document. Direct thermal stock needs no ribbon; thermal transfer printing requires a compatible ribbon and matching stock.
- Check the width before installing anything. A narrow printer used for service reminders or specimen labels does not become a full-width shipping printer through software. For a 4 × 6-inch document, confirm support for the document's actual printed area, not just the roll width.
Keep the printer's model-specific loading and calibration instructions nearby. Button sequences differ between printers; do not copy a reset or calibration sequence from another model.
Printer and media selection
Choose the hardware around the shipping document, not around an existing label roll. A 4-inch-wide shipping document needs a printer and media path suitable for that width. Printer resolution does not compensate for insufficient width.
The following McAuley Labels thermal printers have specifications relevant to evaluating a shipping workstation. Neither listing establishes ShipStation compatibility by itself; confirm the driver and complete a print test before adopting either model.
| Printer | Best for | Relevant specifications | Advantage | Limitation to check |
|---|---|---|---|---|
| GoDEX RT700i+ Thermal Printer | Businesses evaluating a desktop dual-thermal label printer | 4-inch class, 203 dpi, color display | Supports direct thermal and thermal transfer workflows | Verify the exact operating-system driver, printable width, and ShipStation output |
| GoDEX ZX430i+ Thermal Printer | Businesses evaluating an industrial dual-thermal printer | 4-inch class, 300 dpi, USB, serial, Ethernet | Provides documented USB and Ethernet connection options | Higher resolution does not fix incorrect document scaling or prove software compatibility |
For a 2026 workstation, record the exact model and driver rather than relying on the family name. Similar-looking printers can have different interfaces or operating-system requirements.
Do not choose a printer solely because it prints asset tags or oil change stickers. Those applications use different label dimensions and layouts. Shipping labels need the complete carrier-generated document, including its barcode and surrounding blank space.
Local printer configuration
Establish a working local printer before opening ShipStation's print dialog. This separates a hardware or driver fault from a ShipStation connection problem.
- Load the correct stock according to the printer manual. Position the media guides against the roll without pinching it, and align the media sensor as instructed for gap or black-mark labels.
- Install the manufacturer's driver for the exact model and operating system. Follow the installer’s connection sequence rather than assuming that plugging in USB first is correct.
- Connect and power on the printer. For network printing, add the printer to the computer using the manufacturer's supported network procedure.
- Open the computer's printer settings and confirm that the intended queue appears. On Windows, use Settings, then Printers & scanners; select the printer and use Print test page where available.
- Set the printer's media dimensions to match the loaded labels. For 4 × 6-inch labels, set the width to 4 inches and the length to 6 inches, with the appropriate orientation.
- Run the model's media calibration procedure if feeding does not stop at the correct label boundary.
Expected result: the computer can send a job to the correct printer, and feeding stops consistently at a label boundary. A Windows test page can exceed the label size; use it to confirm communication, not shipping-label layout.
ShipStation document configuration
Set the document size before assigning the printer. Otherwise, a working connection can deliver a letter-sized page to a small label roll.
- Open ShipStation's Settings and select Printing, then Printing Setup.
- Open Document Options for shipping labels.
- Set Label Format to the 4 × 6-inch format when using matching shipping-label stock. Choose the document format that corresponds to your actual media rather than selecting a format merely because it previews correctly on screen.
- Select Save to retain the document settings.
- Check packing-slip settings separately. A shipping label and a packing slip are different documents; do not assume they should use the same printer or paper size.
- Open an existing shipping label and inspect the document dimensions before sending it to the printer. Confirm that you are viewing the label document rather than a combined page with another document.
Expected result: ShipStation generates the intended shipping-label layout. For a 4 × 6-inch workflow, the document, driver paper size, and physical stock now agree.
In your 2026 setup record, write down the selected label format. This gives another operator a clear baseline when a later print appears reduced or rotated.
ShipStation Connect configuration
ShipStation Connect bridges ShipStation's browser interface and printers installed on a computer. It does not replace the printer driver, and it does not repair a local queue that cannot print.
- Open Settings, select Printing, and open ShipStation Connect to access its installation instructions.
- Install ShipStation Connect on the computer that already has the working printer queue. Installing it on another computer does not automatically give that computer access to your USB printer.
- Launch ShipStation Connect and sign in with the appropriate ShipStation account credentials. Keep the application running on the printer-host computer.
- Return to ShipStation and open a shipping label's Print dialog.
- Choose ShipStation Connect as the print method and select the intended printer from the available list. Check the host computer and queue name when similar printer names appear.
- Send an existing label as a controlled test. Confirm that the job reaches the intended physical printer before configuring a routine workflow.
Expected result: your locally installed printer is selectable through ShipStation Connect, and a label prints without a separate download-and-open step.
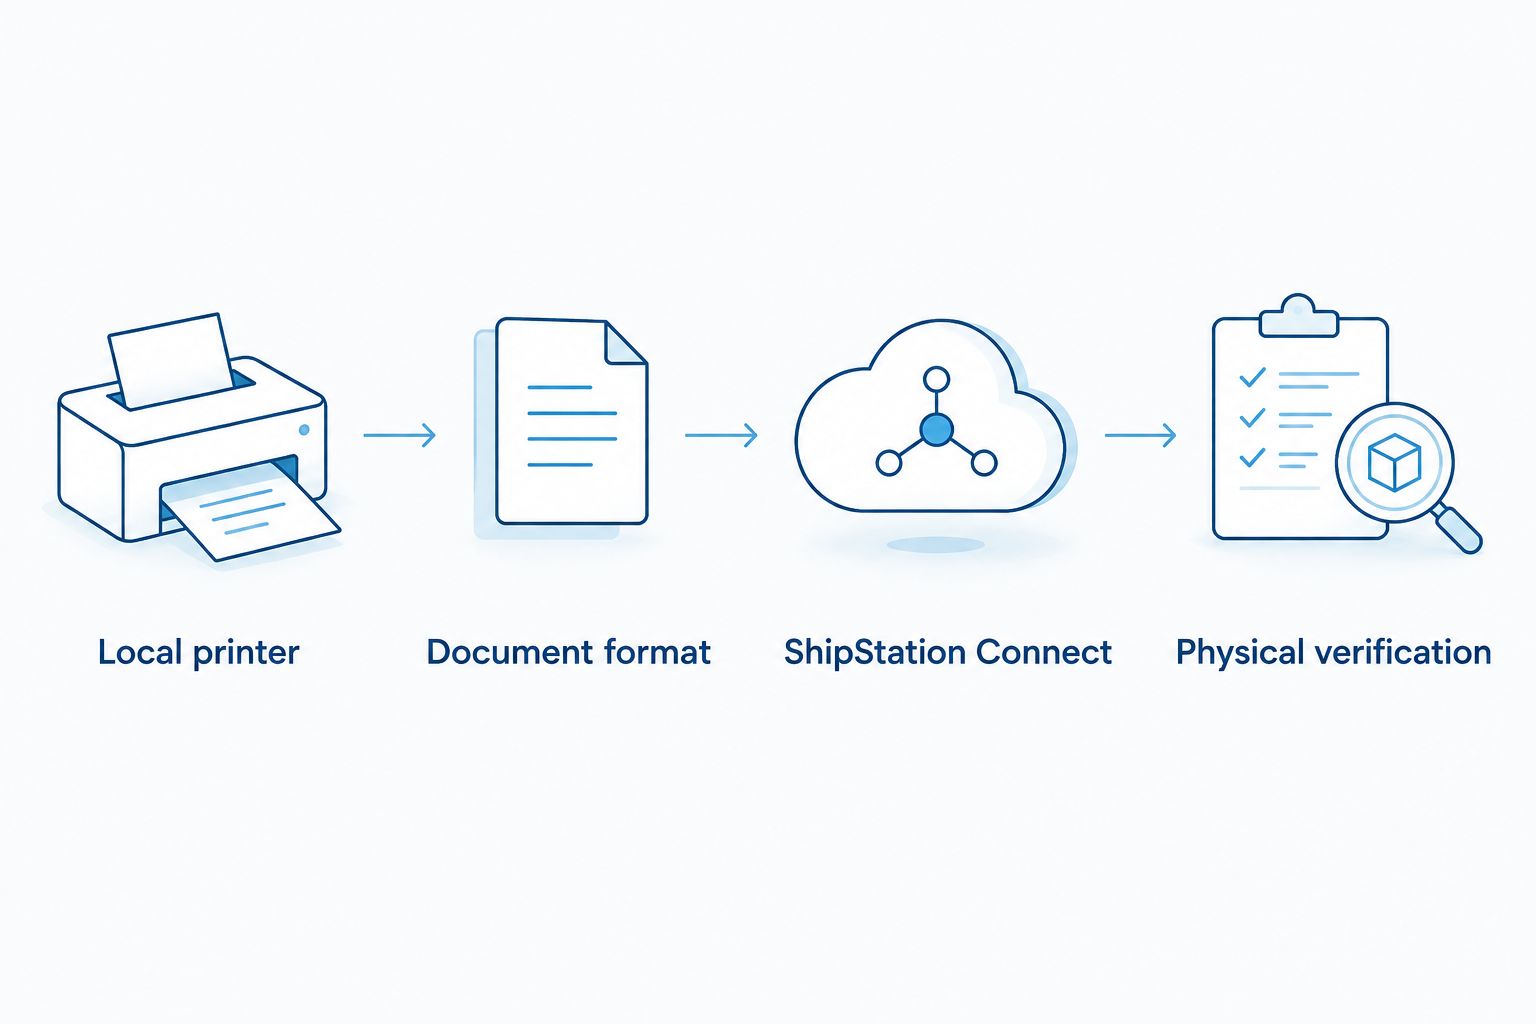
The setup sequence is local printer, document format, Connect, then physical verification. Keep that order when troubleshooting; changing several layers together makes the cause harder to identify.
Physical verification and printer defaults
Inspect the printed label before making the printer your routine destination. The correct queue can still use the wrong page size or print preferences.
- Compare the printed label with its preview. Check the address, tracking barcode, service information, and edges for missing content.
- Confirm that scaling has not reduced the document. When printing through a PDF viewer, use Actual size or 100%, not a fit-to-page setting that changes the label dimensions.
- Check orientation. Use a portrait layout for a document that is 4 inches wide and 6 inches long; do not apply an extra rotation after the document is already oriented correctly.
- Scan the tracking barcode with your normal scanner if one is available. Confirm that the decoded tracking value matches the shipment; visual sharpness alone does not establish readability.
- Save the intended printer selection through ShipStation's printer-selection controls where offered. Keep packing slips assigned independently.
- Record the host computer, queue name, document size, and media type in your 2026 workstation instructions.
Expected result: the label prints at its intended size, the barcode is complete, and the selected destination matches the shipping station.
Use an existing label for setup testing rather than creating another shipment just to test the printer. Keep test copies away from the packing line so they cannot be applied to the wrong parcel.
Second workflow: print the label as a PDF
PDF printing is best for occasional manual printing and for separating a ShipStation Connect problem from a printer problem. It adds a download-and-print step, but it lets you inspect the generated document independently.
| Print method | Best for | Advantage | Drawback |
|---|---|---|---|
| ShipStation Connect | Routine shipping-label printing | Sends the document to an installed printer through the desktop application | Depends on the host computer, application, and printer queue remaining accessible |
| PDF printing | Manual fallback and format diagnosis | Lets you inspect page dimensions and choose the destination directly | Requires extra handling and creates opportunities for inconsistent scaling |
- Open the existing shipping label in ShipStation and use the PDF download or PDF print method offered in the print dialog.
- Open the document in a PDF viewer. Confirm that the page dimensions match the intended stock.
- Select Print and choose the same printer queue used in the local test.
- Select the matching paper size and Actual size or 100% scaling, then print.
- Compare the PDF print with the Connect print. If the PDF prints correctly but Connect does not reach the printer, investigate Connect's host, account access, and selected destination.
Expected result: the same label prints through the local queue without relying on ShipStation Connect. Keep this fallback in your 2026 shipping procedure, but return to Connect after correcting the connection issue.
Troubleshooting
Printer missing from ShipStation Connect
First confirm that the printer appears on the computer running Connect. If it is missing there, install or repair the driver before changing ShipStation settings.
If the local queue works, confirm that Connect is running and signed into the intended account. Restart Connect after installing a new printer, then reopen ShipStation's print dialog and check the destination list.
Job sent, but nothing prints
Check power, the physical connection, and the local queue for paused jobs or errors. Send a local test to establish whether the failure occurs outside ShipStation.
If local printing works, check that ShipStation selected the correct host and printer. Keep the host computer awake; a sleeping computer cannot process local print jobs normally.
Label is small, rotated, or clipped
Match the ShipStation label format to the driver paper size and loaded stock. Remove fit-to-page scaling and unnecessary rotation in the PDF print dialog.
Inspect the PDF itself before changing printer settings. A letter-sized document containing a small label requires a document-format correction; repeatedly adjusting print darkness will not fix it.
Printer skips labels or starts between labels
Confirm the media type, sensor position, and label dimensions. Run calibration using the exact printer manual, especially after changing stock.
Clear the queued jobs before retesting so old jobs with incorrect dimensions do not confuse the result. Avoid a factory reset as the first action; it can remove otherwise correct configuration.
Labels are blank or barcodes look faded
Check the printing method first. Direct thermal mode requires heat-sensitive stock facing the printhead; thermal transfer mode requires an appropriate ribbon and stock combination.
Clean the printhead according to the manufacturer's instructions, then adjust darkness and speed within the supported settings. Change one setting at a time and compare the same label rather than changing both the document and hardware together.
Customize your workflow
Once individual labels print correctly, extend the same verified configuration to batches. Start with a controlled group, inspect the output order, and keep parcels arranged in the corresponding order.
For multiple operators, document which computer hosts the printer and which queue they should select. Check ShipStation's printer-sharing permissions before assuming another account can use the same destination.
McAuley Labels thermal printers serve specialized business labeling needs beyond shipping. Keep shipping-label settings separate from asset-tag or service-reminder templates; changing media dimensions for another job can disrupt the next shipping run.
FAQ
How do I connect a label printer to ShipStation?
Install the printer's operating-system driver, confirm local printing, install ShipStation Connect on that computer, and select the printer in ShipStation's print dialog. Match the shipping-label format to the driver paper size and loaded stock before testing.
Do I need ShipStation Connect to print shipping labels?
No. You can print a downloaded shipping-label PDF through your computer's printer dialog. ShipStation Connect is the better fit for routine printing without a separate download-and-open step.
Can I use a GoDEX printer from McAuley Labels with ShipStation?
Confirm the exact GoDEX model's driver, operating-system support, and printable width, then test its local queue with ShipStation output. A product listing or thermal-printing capability alone does not establish ShipStation compatibility.
Why is my printer not showing up in ShipStation?
Check that the printer is installed on the computer running ShipStation Connect and that Connect is running under the intended account. If the local queue cannot print, repair that connection before troubleshooting ShipStation.
What paper size should I select for shipping labels?
Select the paper size that matches the generated shipping-label document and physical stock. For a 4 × 6-inch document, use matching stock and driver dimensions, with no shrinking to fit another page size.
Can I print ShipStation labels over Wi-Fi or Ethernet?
A network printer can be used when it is supported and installed as a working printer queue on the computer running ShipStation Connect. A network connection does not eliminate the need for the correct driver and document settings.
Why does my thermal printer print blank ShipStation labels?
Check that the stock matches the selected printing method and is loaded with the printable surface facing the printhead. Direct thermal printing needs heat-sensitive stock; thermal transfer printing needs a suitable ribbon.
Does connecting a printer automatically print every new order?
No. Connecting the printer establishes a print destination; it does not turn every incoming order into a printed shipping label. Shipment creation, label generation, and printing remain separate workflow actions.
One last thing
A printer can be connected correctly and still produce the wrong label. Before replacing hardware, print the same existing shipping label through the local PDF route and ShipStation Connect.
If both prints have the same defect, investigate the document, driver, or media. If only the Connect route fails, investigate its host and destination selection. That comparison gives you a specific next action without disturbing every setting.