
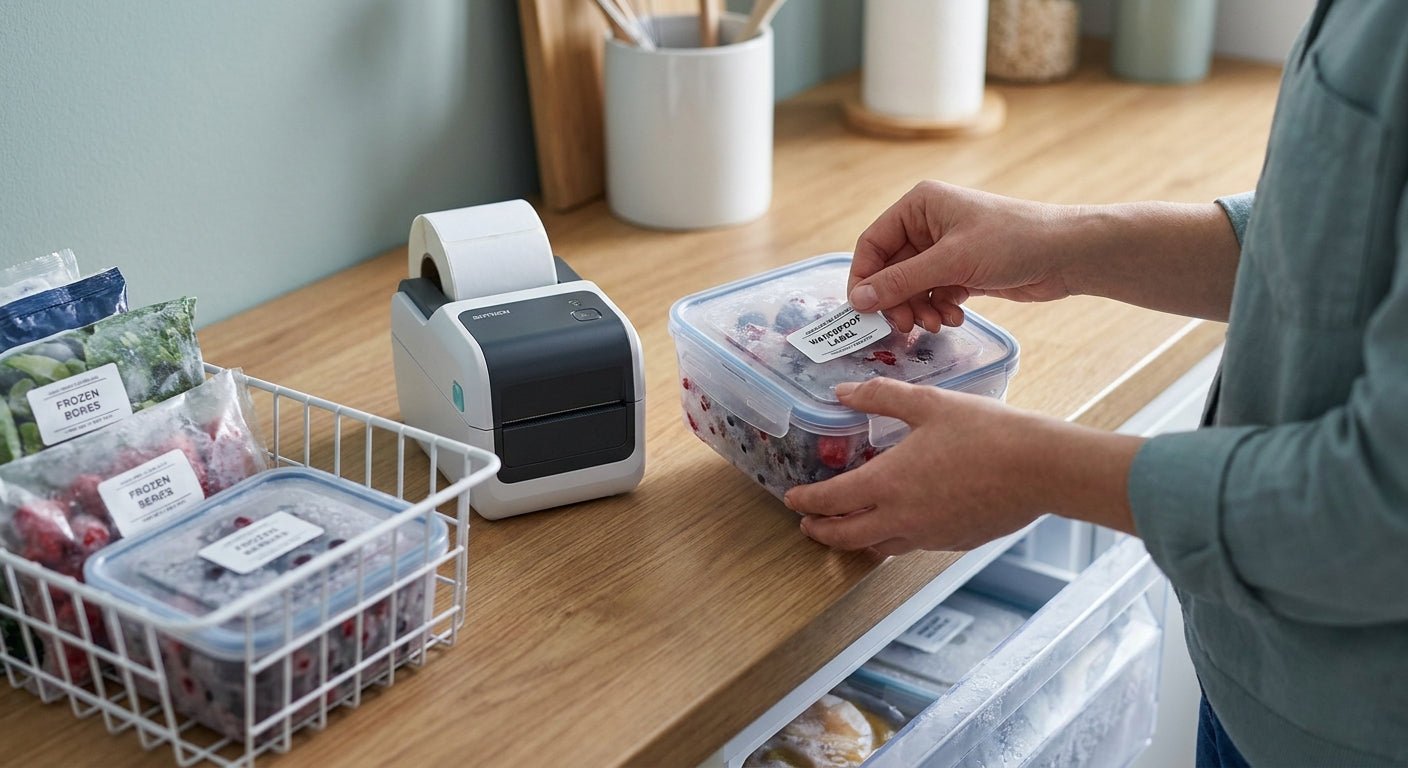
Frozen food packaging fails at the freezer door, not on the shelf. Condensation, ice crystals, and repeated temperature swings between -10F and room temperature strip adhesive and smear ink within days if you're using the wrong stock. Here's how to print labels for frozen food packaging that survive the whole cold chain in 2026.
TL;DR
Printing labels for frozen food packaging that hold up in a freezer requires three things: a freezer-grade adhesive (not standard permanent), a direct thermal or thermal transfer printer rated for cold storage, and a 300 DPI+ printhead if you're printing barcodes or lot codes smaller than 1 inch. The GoDEX RT230i thermal printer, running at 300 DPI, prints clean 1D and 2D barcodes on freezer-rated stock and holds registration through daily production runs. Verdict: Buy the RT230i if you're running date codes and batch numbers on packaged frozen product in 2026. Skip anything under 203 DPI if your labels include small text or QR codes.
Why this matters
A label that peels off in the freezer isn't a cosmetic problem. It's a traceability failure. FDA labeling rules require lot numbers and use-by dates to stay legible for the life of the product, and a smeared or curled label on a frozen case can hold up an entire pallet at a retail DC.
Most frozen food labeling failures trace back to one of two things: adhesive rated for room temperature use, or a printhead resolution too low to hold small barcode modules once the label starts to frost. Both are fixable before you print your first run, not after a customer complaint.
What you'll need
- A thermal printer rated for 203 DPI minimum, or 300 DPI if you're printing 2D codes or nutrition panels smaller than 2x3 inches, like the GoDEX RT230i thermal printer
- Freezer-grade label stock: polyester or coated paper rated for sustained sub-zero exposure, not standard semi-gloss
- A permanent freezer-rated adhesive, tested for reapplication after condensation cycles
- Design software (GoLabel or equivalent) to lay out lot codes, weight fields, and barcodes
- A barcode verifier or scanner to check grade before a full production run
- 15-20 minutes for calibration and a test batch before committing a full roll
The steps
1. Match the label stock to the storage temperature, not just the packaging material
Standard paper labels go brittle and lose adhesion below 32F within 48 hours. Freezer-rated stock uses a different facestock and adhesive chemistry built to stay flexible and tacky down to -20F.
Check the manufacturer spec sheet for a stated freezer temperature range before ordering. "Waterproof" and "freezer-safe" are not the same claim. Common mistake: ordering standard semi-gloss white stock because it's cheaper per roll, then reprinting the entire batch two weeks later when labels start curling at the corners.
2. Choose direct thermal or thermal transfer based on shelf time
Direct thermal labels use heat-sensitive coating and need no ribbon, but they fade faster under freezer frost and condensation cycling. Expect legibility issues past 60-90 days in some cold-chain conditions. Thermal transfer, which bonds ink from a ribbon onto the label, holds up longer and resists smearing when handled with wet or gloved hands.
If product sits in cold storage for more than a couple months before it ships, thermal transfer is the safer call. For fast-turn frozen product moving out within a few weeks, direct thermal is usually enough and cuts consumable cost.
3. Set printhead resolution to match your smallest barcode module
A 203 DPI printhead handles standard UPC barcodes and large lot text fine. Once you're printing GS1-128 codes, QR codes, or nutrition fact panels under 2 inches wide, step up to 300 DPI. The extra resolution keeps narrow bars and small type from blurring together.
The GoDEX RT230i thermal printer runs 300 DPI out of the box, which covers both standard case labels and smaller retail-ready barcodes without swapping printers. Common mistake: running a 203 DPI printer at max speed to hit output targets, which softens fine barcode elements enough to fail a scanner audit.
4. Load and calibrate the ribbon-to-label ratio before a full run
If you're on thermal transfer, match ribbon width to label width within a few millimeters. A ribbon too narrow leaves unprinted edges, one too wide wastes consumable and can wrinkle. Run the printer's auto-calibration cycle after loading new stock so the sensor reads gap or black-mark positioning correctly.
Print five test labels and check registration against the die-cut edge before committing a production roll. Off by even 1-2mm on a 4x6 case label can push a barcode into an unscannable position at the DC.
5. Print a test batch and verify barcode grade
Scan every test label with a verifier, not just a handheld scanner. A scanner will read a marginal barcode a verifier flags as failing. Aim for a C grade or better on ANSI barcode grading before releasing to production.
Check legibility after a 30-minute freeze-and-thaw cycle to simulate real handling, not just off the printer. Common mistake: verifying labels straight off a warm printhead, which reads clean, then finding the same batch smears once it hits actual freezer condensation.
6. Build in a buffer for lot code and date field changes
Frozen product runs typically change lot numbers and use-by dates multiple times per shift. Set up your label template so date and lot fields are variable inputs, not baked into a static design you have to rebuild each time.
This keeps changeover time under a minute between batches instead of five, and cuts the risk of printing a stale date code by mistake. Common mistake: manually retyping the full label layout for each new date code instead of using a variable data field.
7. Apply labels before or immediately after the freeze cycle, not during
Adhesive bonds best at the temperature it was rated for during application. Applying a room-temperature label to a package that's already partially frozen weakens the initial bond even if the stock is freezer-rated for long-term storage.
Apply labels at room temperature or right at the start of the freeze cycle, then let the product freeze fully before handling or stacking. Common mistake: slapping labels on mid-freeze because the line is behind schedule, which leads to lifted corners within days.
Troubleshooting
- Labels curl at the corners within a week — the stock isn't rated for sustained freezer temperatures; switch to a freezer-grade facestock and adhesive combination.
- Barcodes scan fine in-house but fail at the distribution center — printhead resolution is too low for the module size, or the barcode wasn't verified after a freeze-thaw cycle; step up to 300 DPI and re-verify.
- Print looks smeared or streaky — on thermal transfer, this usually means ribbon and label stock aren't matched, or printhead pressure needs recalibrating.
- Adhesive won't hold on condensation-heavy packaging — condensation before full freeze breaks the bond; apply labels dry, before the frost forms.
- Text fades faster than expected on direct thermal stock — direct thermal has a shorter reliable legibility window in cold-chain conditions; switch to thermal transfer for longer freezer dwell times.
- Registration drifts mid-roll — re-run auto-calibration after any stock or ribbon change, and check the label sensor isn't collecting dust from a high-humidity freezer environment.
Tools and resources
- GoDEX RT230i thermal printer — 300 DPI, handles both case labels and smaller retail barcodes
- Thermal transfer printer labels, polyester white — freezer-tolerant stock built for ribbon printing
- Custom stickers for business logo — for branded outer case labeling alongside compliance fields
- A barcode verifier for ANSI grading before full production release
- GoLabel or equivalent label design software for variable lot and date fields
What to do next
Once your frozen food label stock and printer resolution are locked in, the next decision is whether direct thermal or thermal transfer fits your actual production volume and shelf time. That comparison is worth reading in full before you commit to a consumable format for the year: how to choose between direct thermal and thermal transfer.
FAQ
What's the best printer for labels for frozen food packaging? A 300 DPI thermal printer like the GoDEX RT230i handles both standard case labels and smaller barcodes without swapping hardware between runs, and it's a solid default for most frozen food operations in 2026.
Is thermal transfer better than direct thermal for frozen food? Thermal transfer holds up longer under condensation cycling and repeated cold handling, typically outlasting direct thermal past the 60-90 day mark. Direct thermal is fine for product moving out within a few weeks.
How much does freezer-rated label stock cost compared to standard stock? Freezer-rated stock runs higher per roll than standard semi-gloss, but the cost difference is usually smaller than the cost of a reprinted batch after failed adhesion. Check current pricing directly for exact per-roll figures.
Can regular thermal printer labels handle freezer temperatures? No. Standard labels are typically rated for room temperature and lose adhesion or crack within days below 32F. Freezer-specific stock is built with different facestock and adhesive chemistry for that range.
What DPI do I need for barcodes on frozen food packaging? 203 DPI handles standard UPC codes fine; step up to 300 DPI for GS1-128, QR codes, or any barcode module under an inch, since freezer condensation makes marginal print quality worse over time.
Do frozen food labels need to be waterproof or just freezer-rated? Both matter. Freezer-rated addresses cold flexibility and adhesion, waterproof addresses condensation resistance. Look for stock that states both properties on the spec sheet rather than assuming one implies the other.
How often should I recalibrate my label printer for frozen food runs? Recalibrate any time you change label stock, ribbon width, or after roughly 500-1000 labels on high-volume lines, and always after a stock change before a full production release.
What's the biggest mistake in printing labels for frozen food packaging? Applying a label to product that's mid-freeze or already condensation-heavy. The adhesive bond weakens before it ever gets a chance to set properly, regardless of how good the stock is.
One last thing
Most frozen food labeling failures show up two to three weeks after the print run, not on day one. The adhesive looks fine right off the printer and only starts lifting once the packaging has cycled through several freeze-thaw handling events at the distribution center. Test a batch through an actual freeze cycle before committing a full production roll, not just a visual check off the press.