
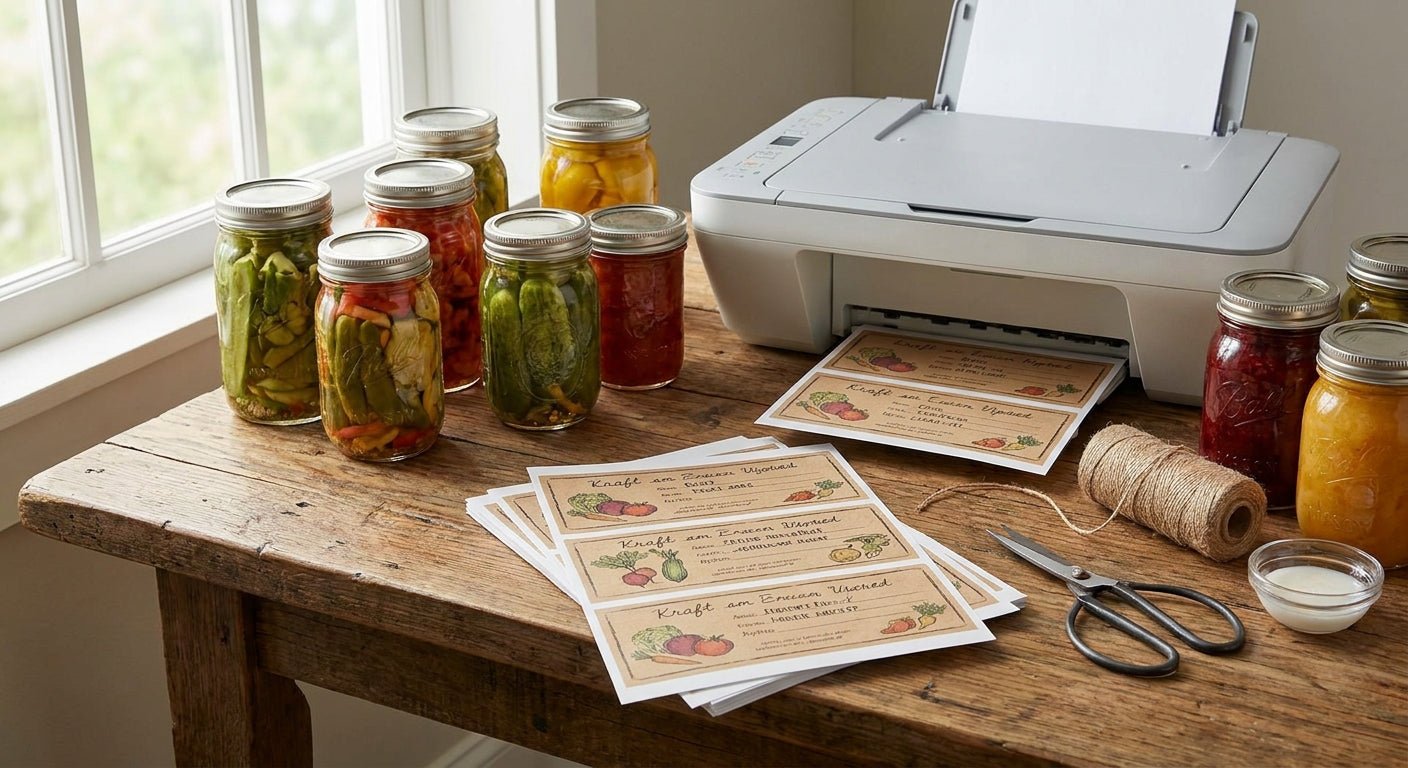
Pickling and canning jars need labels that survive water bath processing, fridge condensation, and months on a pantry shelf without fading or peeling — and most home printers can't do that job.
This guide walks through picking the right label material, printer, and workflow so your batch codes, ingredients, and dates stay legible from the day you can them to the day you crack the seal.
TL;DR
For labels for pickling and canning jars, direct thermal is the right call for short-shelf-life batches (under 12 months) and thermal transfer wins for anything going into long-term storage or a freezer. The GoDEX DT230 direct thermal printer, 300 DPI is a Buy for home canners and small-batch producers printing 20-200 jars a run in 2026 — it prints crisp barcodes and text without ribbon, which cuts cost per label. Waterproof, oil-resistant label stock is non-negotiable for water bath and pressure canning; standard paper labels fail within a week of fridge storage.
Why this matters
A label that smears in a water bath or peels off in the fridge isn't a cosmetic problem — it's a food safety and compliance problem if you're selling under a cottage food license. Regulators and customers both expect batch numbers, dates, and allergen text to stay readable for the full shelf life of the product, which for pickles and preserves often runs 12-24 months. That's why generic inkjet address labels and laser-printed stickers fail this use case fast: they're built for paper, not for condensation, brine, and heat exposure. Getting labels for pickling and canning jars right the first time also saves you from reprinting an entire batch after a run of jars comes out of the canner with unreadable text. The full breakdown of what materials hold up on food packaging is covered in how to print labels for mason jars and food packaging, which pairs well with the steps below.
What you'll need
- A direct thermal or thermal transfer label printer — the GoDEX DT230 direct thermal printer, 300 DPI handles most home canning volumes without a ribbon
- Waterproof, oil-resistant label stock sized to your jar (2" x 3" is standard for a wide-mouth pint jar, 3" x 4" for a quart)
- Label design software or a template — GoLabel or a similar layout tool
- A batch code and date system (lot number, canning date, best-by date)
- A clean, dry jar surface for application — moisture under the label is the top cause of early failure
- 15-20 minutes for setup and a test print before running a full batch
The steps
1. Measure your jar and set the label size first
Jar shape drives label size more than anything else. A standard wide-mouth pint mason jar takes a 2" x 3" label comfortably; a quart jar can handle 3" x 4" without wrapping past the curve where adhesion weakens. Measure the flat panel of the jar, not the total circumference — labels applied across too much curve peel at the edges within weeks. Getting this wrong is the single most common mistake first-time label printers for canning jars make in 2026.
2. Choose direct thermal or thermal transfer based on shelf life
Direct thermal labels print without ribbon and cost less per label, but the print fades with heat and UV exposure over 6-12 months — fine for weekly farmers market batches, risky for a pantry stock that sits for two years. Thermal transfer uses a ribbon to bond ink into the label, and it holds up in freezers, direct sun, and long-term storage. If your product sits on a shelf past a year, thermal transfer is the safer call.
3. Design the label with batch code, date, and ingredients up front
Build the layout with the batch number and can date as the largest, most legible elements — that's what a health inspector or a customer checks first. Add ingredients and allergen text in a smaller but still-readable size, typically 8-10 point at 300 DPI. Leave a 1/8-inch margin on all sides; text printed edge-to-edge on canning labels crops during application more often than people expect.
4. Set printer resolution and calibrate before the first run
Run a calibration print on the actual label stock you'll use, not a generic test sheet — jar labels often have different sensor gaps than shipping labels. At 300 DPI, small text and barcodes hold sharp edges; drop below that and thin lot-number barcodes can blur enough to fail a scan. Calibration takes under two minutes on most GoDEX printers and prevents a wasted run of 50+ labels.
5. Print a short test batch of five to ten labels
Print five to ten labels before committing to a full run of 100 or more. Check them against the jar for fit, check the barcode with a scanner if you're using one, and let the ink or thermal print sit for 10 minutes to confirm it doesn't smudge on contact. This step catches sizing and darkness settings issues before they cost you an entire batch.
6. Apply the label to a clean, dry, room-temperature jar
Apply labels to jars that are fully cooled and completely dry — condensation trapped under a label is the number one cause of lifting within the first week. Press from the center outward to push out air bubbles, and hold firm pressure for 5-10 seconds along the edges where curvature is highest. A jar straight out of the canner needs to sit at least an hour before labeling.
7. Waterproof and seal for water bath or pressure canning
If jars will be submerged in a water bath or fridge-stored with condensation, seal-grade waterproof stock is required — not optional. Standard label adhesive breaks down in water within days, and paper stock disintegrates. The material specifics and adhesive types that hold up under those conditions are covered in how to make waterproof labels for jars, which walks through stock selection for wet-environment canning.
8. Save your template and reprint by batch
Once a layout works, save it as a reusable template with variable fields for date and lot number so each new batch takes under 5 minutes to reprint. This is where a dedicated label printer pays for itself over inkjet sheets — reprinting a template is a one-click job, not a redesign.
Troubleshooting
- Label peels after water bath processing — you used direct thermal or paper stock instead of waterproof, oil-resistant material. Switch stock, not adhesive strength.
- Print smears when wiped — direct thermal darkness setting is too low, or you're using thermal transfer stock without a ribbon loaded. Increase print darkness or confirm ribbon type matches stock.
- Barcode won't scan — resolution dropped below 300 DPI or the barcode was scaled down past the minimum bar width. Reprint at native size and resolution.
- Label lifts at jar shoulder curve — the label size exceeds the flat panel of the jar. Drop to a smaller size or reposition the layout to the flattest section.
- Text fades after 6+ months on the shelf — direct thermal stock was used for a long-shelf-life product. Switch to thermal transfer with ribbon for anything stored past a year.
- Ribbon wrinkles on thermal transfer prints — ribbon tension or printhead pressure is off. Recalibrate the printer per the manufacturer's settings before the next run.
Tools and resources
- Direct thermal printer: GoDEX DT230 direct thermal printer, 300 DPI — no ribbon, lower cost per label, best for shorter shelf life
- Thermal transfer stock: white polyester labels for jars that need to survive heat, oil, and extended storage
- Label design software with variable batch-code fields (most GoDEX printers pair with GoLabel)
- A handheld barcode scanner if you're tracking lot numbers for a cottage food business or wholesale account
- A dry, room-temperature staging area for jars post-canning and pre-labeling
McAuley Labels supplies both the printer hardware and the label stock for this workflow, so material and printer specs are matched rather than guessed at — a mismatch between stock and printhead is a common reason canning labels underperform.
What to do next
Once your labels for pickling and canning jars are dialed in, the next decision is whether direct thermal or thermal transfer fits your production volume long term. The full comparison of cost, durability, and use case is in direct thermal vs thermal transfer: which should you use, which breaks down when the extra ribbon cost of thermal transfer actually pays off.
FAQ
What's the best label material for canning jars? Waterproof, oil-resistant polyester or vinyl stock is the best material for canning jars because it survives water bath processing and fridge condensation without peeling or smearing, unlike standard paper labels.
Is direct thermal or thermal transfer better for pickling labels? Direct thermal works well for batches sold or used within 6-12 months; thermal transfer holds print quality for 2+ years in storage, freezers, and direct sunlight. Choose based on how long the jar sits before it's opened.
How much does a label printer for canning jars cost? Printer pricing varies by model and DPI — check current pricing on the GoDEX DT230 product page for the direct thermal option most small canners start with.
Can I use a regular inkjet printer for canning jar labels? No — inkjet ink runs when it contacts moisture, which makes it a poor fit for anything going into a water bath or a fridge. Thermal printing is built for that exposure.
What size label fits a standard mason jar? A 2" x 3" label fits a wide-mouth pint jar, and a 3" x 4" label fits a quart jar without wrapping past the flat panel where adhesion is strongest.
Do I need a barcode on a canning jar label? Only if you're tracking lot numbers for a cottage food license or selling wholesale — a scannable barcode at 300 DPI or higher keeps batch tracking accurate for recalls or inventory.
How long do thermal-printed labels last on a jar? Direct thermal labels stay legible for roughly 6-12 months under normal storage; thermal transfer labels with ribbon can last 2 years or more, including in freezers.
What resolution do I need for small text on jar labels? 300 DPI is the practical minimum for ingredient lists and barcodes on a 2" x 3" label — anything lower and small text starts to blur.
One last thing
The detail most first-time canners miss in 2026 isn't the printer or the label stock — it's letting the jar cool and dry fully before applying the label. A jar labeled 15 minutes out of the canner traps moisture under the adhesive every time, and that's the failure mode that shows up as "my labels keep peeling" a week later, long after the printer gets blamed for a jar-handling mistake.