
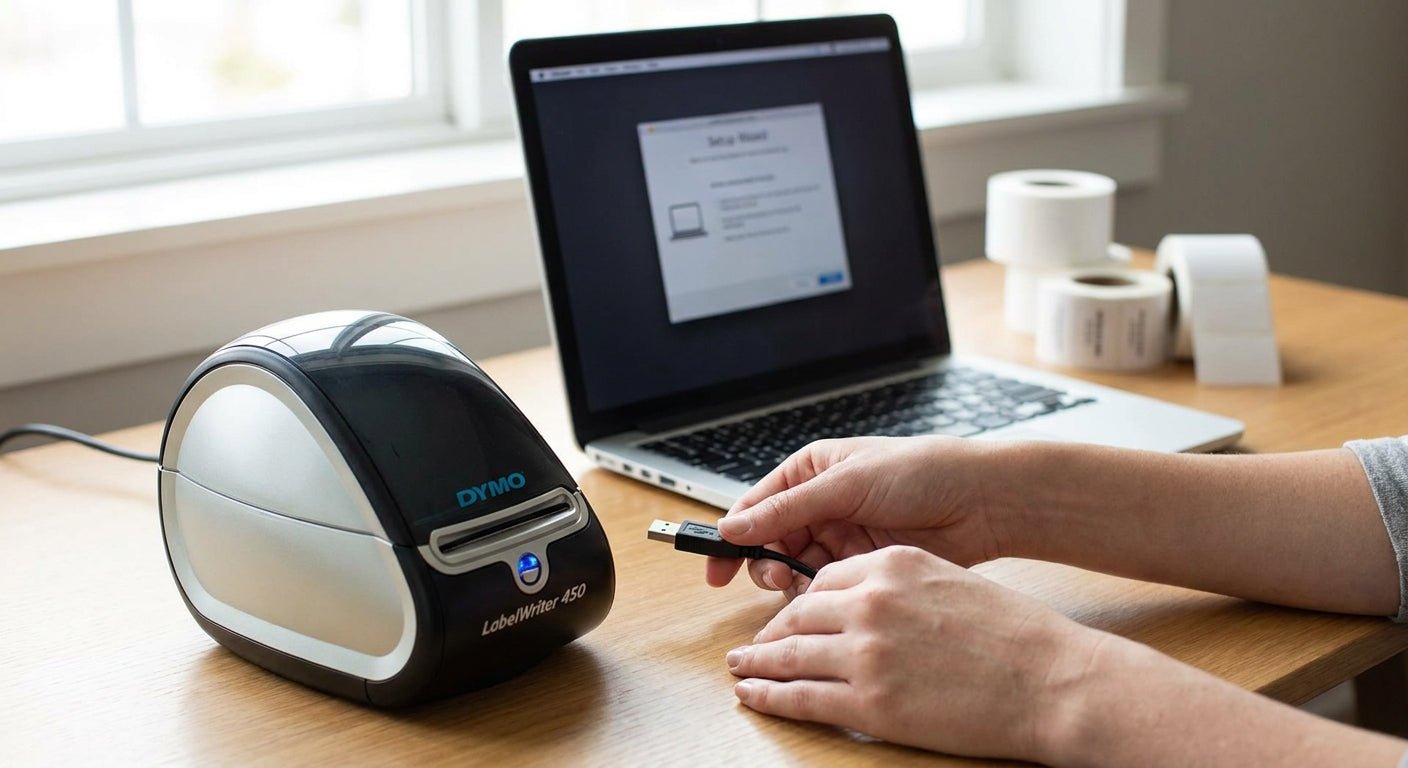
DYMO label printer setup takes ten to fifteen minutes on a modern LabelWriter model, and the process barely changes across the lineup: connect, install software, load the label roll, calibrate, print. This guide walks through every step for 2026, plus the failure points that trip up new users and where a small business hits the ceiling on what a desktop DYMO can actually handle.
- DYMO label printer setup takes under 15 minutes with DYMO Connect software and a direct USB connection.
- Blank or streaky labels in 2026 almost always mean the roll is loaded backward — flip it and reprint.
- Businesses printing 500+ labels a day outgrow desktop DYMO models fast; a 203 or 300 DPI thermal printer like the GoDEX RT700i+ handles the volume. Buy.
- Skip network printing on a single-user desk in 2026 — wired USB stays the more reliable default.
Why this matters
A DYMO LabelWriter is a fine tool for mailing labels, name badges, and light retail pricing. It is not built for barcode-heavy inventory work, asset tagging, or high-volume service labels, and the setup steps below will tell you fast whether your use case fits inside that box. Get the connection and calibration right the first time and you avoid the two most common support tickets: "nothing prints" and "the label is blank."
What you'll need
- A DYMO LabelWriter printer (450, 550, or similar desktop model)
- USB cable (included with most models) or a WiFi network if your model supports it
- DYMO Connect software, downloaded from DYMO's site — this replaces the older DYMO Label software on most machines sold since 2020
- A compatible label roll sized for your printer's cassette
- A Windows or Mac computer with an open USB port
- 15 minutes of uninterrupted setup time
If your labeling need is closer to industrial — asset tags, barcode inventory, or oil change reminders printed by the thousand — the calculus changes before you even open the box. Desktop DYMO printers are direct thermal only, meaning no ribbon, which also means no long-term outdoor durability. A GoDEX vs Zebra comparison is worth a five-minute read before you commit to a desktop unit if barcodes or outdoor labels are part of the job.
The steps
1. Unbox and position the printer
Set the printer on a flat surface within reach of a USB port and an open label path — most jams in year one trace back to the printer being crammed against a monitor stand with no room for the label to feed. Leave at least six inches of clearance behind the unit.
2. Connect power and data
Plug in the power adapter first, then connect the USB cable to your computer. If your model supports WiFi (the DYMO LabelWriter 550 series does), you can skip the cable and connect through the printer's network menu instead — but for a single desk, wired stays the more dependable choice through 2026 because it removes a firmware step that occasionally fails on first pairing.
3. Install DYMO Connect software
Download DYMO Connect from DYMO's official site and run the installer. The software auto-detects the printer once it's powered and connected. Common mistake: installing the software before connecting the printer causes Windows to load a generic driver instead of the correct one — uninstall and reinstall in the right order if this happens.
4. Load the label roll or cassette
Open the top cover, drop the roll in with the label facing up and feeding toward the front, and close the cover until it clicks. The printer should auto-detect the label size. If it doesn't, the roll is loaded backward — this is the single most common setup error and it's a 30-second fix.
5. Calibrate and print a test label
Run the built-in test print from DYMO Connect's printer settings menu. A clean, centered print means calibration succeeded. Faint, offset, or blank output at this stage points to either a driver mismatch or a reversed roll — check step 4 again before touching the driver.
6. Connect to Word, Excel, or Outlook
DYMO Connect integrates with Microsoft Office for mail merge jobs — mailing labels, name badges, and address lists print directly from a spreadsheet without manual entry. This is the step most home-office buyers actually came here for, and it takes under two minutes once the printer is calibrated.
7. Test print volume before you commit to daily use
Print a batch of 20-30 labels back to back. If output quality drops, or the printer needs a cool-down pause, that's your signal on daily capacity. Desktop thermal printers are rated for light-to-moderate runs, not continuous shift-length printing.
Troubleshooting
- Printer not recognized by the computer — unplug and reconnect the USB cable to a different port; USB hubs are a common culprit for dropped connections.
- Blank or partially printed labels — the roll is loaded backward, or the label size in DYMO Connect doesn't match the physical roll. Reload and reselect the size.
- Labels jam on feed — check for a curled roll edge or debris in the feed path; clean with a dry cloth, never anything wet near the print head.
- Print quality fades over weeks of use — direct thermal print heads accumulate residue over time; a light isopropyl-alcohol wipe on the head (printer off, unplugged) restores sharpness.
- Driver conflicts after a Windows or macOS update — uninstall DYMO Connect fully, restart, then reinstall the latest version rather than patching over the old install.
- WiFi models drop connection intermittently — switch to USB for anything mission-critical; wireless desktop printers are convenient, not bulletproof, in shared-network environments.
When desktop DYMO stops being the right tool
A LabelWriter handles mailing labels and light retail tagging well. It does not hold up to barcode-dense warehouse work, outdoor asset tags, or a service counter printing 200+ stickers a day — that's a different category of hardware entirely, built around 203 or 300 DPI thermal transfer engines and ribbon-fed durability rather than direct thermal convenience.
McAuley Labels builds that category: printers designed for barcode volume, asset tracking, and daily-use environments where a desktop mailing-label printer runs out of runway. The GoDEX RT700i+ prints at 203 DPI with a color display and handles daily barcode and inventory runs that would overheat a consumer desktop model — Buy if your labeling load has moved past mailing and into operations. Businesses tagging equipment for tracking lean on heavy-duty silver barcode asset tags built to survive outdoor exposure and repeated handling, something a direct thermal LabelWriter label was never designed to do.


Tools and resources
- DYMO Connect software (free, from DYMO's site) for the setup steps above
- A GoDEX vs Zebra comparison if you're already sizing up what comes after a desktop mailing printer
- Isopropyl alcohol wipes for print-head maintenance, direct thermal or thermal transfer
- A USB extension cable if desk space puts the printer more than three feet from your computer
- A test batch of 20-30 labels to confirm daily-volume performance before you rely on the printer for real work
What to do next
If your setup goes past mailing labels into barcodes, asset tags, or service reminders printed by the hundred, the setup process looks different — you're calibrating for label stock type, ribbon tension, and print density rather than just plugging in a cassette. The GoDEX printer setup guide with GoLabel software walks through that process end to end for anyone moving from a desktop mailing printer to a business-grade thermal transfer setup in 2026.
FAQ
How long does DYMO label printer setup take?
DYMO label printer setup takes 10 to 15 minutes: connect the USB cable, install DYMO Connect software, load the label roll, and run a test print. Most delays come from a reversed label roll, not the software.
Does a DYMO LabelWriter need ink or toner?
No. DYMO LabelWriter models print with direct thermal technology, which uses heat-sensitive label stock instead of ink, toner, or ribbon. That also means the labels fade with prolonged heat or sun exposure.
Why is my DYMO printer printing blank labels?
The label roll is almost always loaded backward, with the print-sensitive side facing down instead of up. Reload the roll facing up and reprint before checking the driver.
Can I connect a DYMO label printer over WiFi?
Some newer models, including the LabelWriter 550 series, support WiFi setup through the printer's network menu. USB stays the more reliable connection for daily single-desk use in 2026.
Is DYMO Connect different from DYMO Label software?
Yes. DYMO Connect is the current software as of 2026 and replaced the older DYMO Label program on most printers sold since 2020. Older printers may still run either version.
What's the best label printer for barcode and asset tag work in 2026?
A 203 or 300 DPI thermal transfer printer, such as the GoDEX RT700i+, handles barcode density and daily volume that desktop direct thermal printers like DYMO models aren't built for. Buy the thermal transfer option once you're past occasional mailing labels.
Why does my DYMO printer jam constantly?
Jams usually trace to a curled label edge, debris in the feed path, or a roll sized slightly larger than the cassette. Clean the feed path with a dry cloth and confirm the roll size matches the printer spec.
How do I fix fading print quality on a thermal label printer?
Wipe the print head with isopropyl alcohol while the printer is off and unplugged. Residue buildup on the thermal head is the most common cause of fading after weeks of regular use.
One last thing
The detail most people miss during DYMO label printer setup: direct thermal labels fade with heat and UV exposure, so a mailing label left on a dashboard or a windowsill can go blank within weeks — no printer malfunction involved, just the chemistry of the label stock. If a label needs to survive outdoors or under abrasion, that's a thermal transfer and ribbon job, not a direct thermal one.