
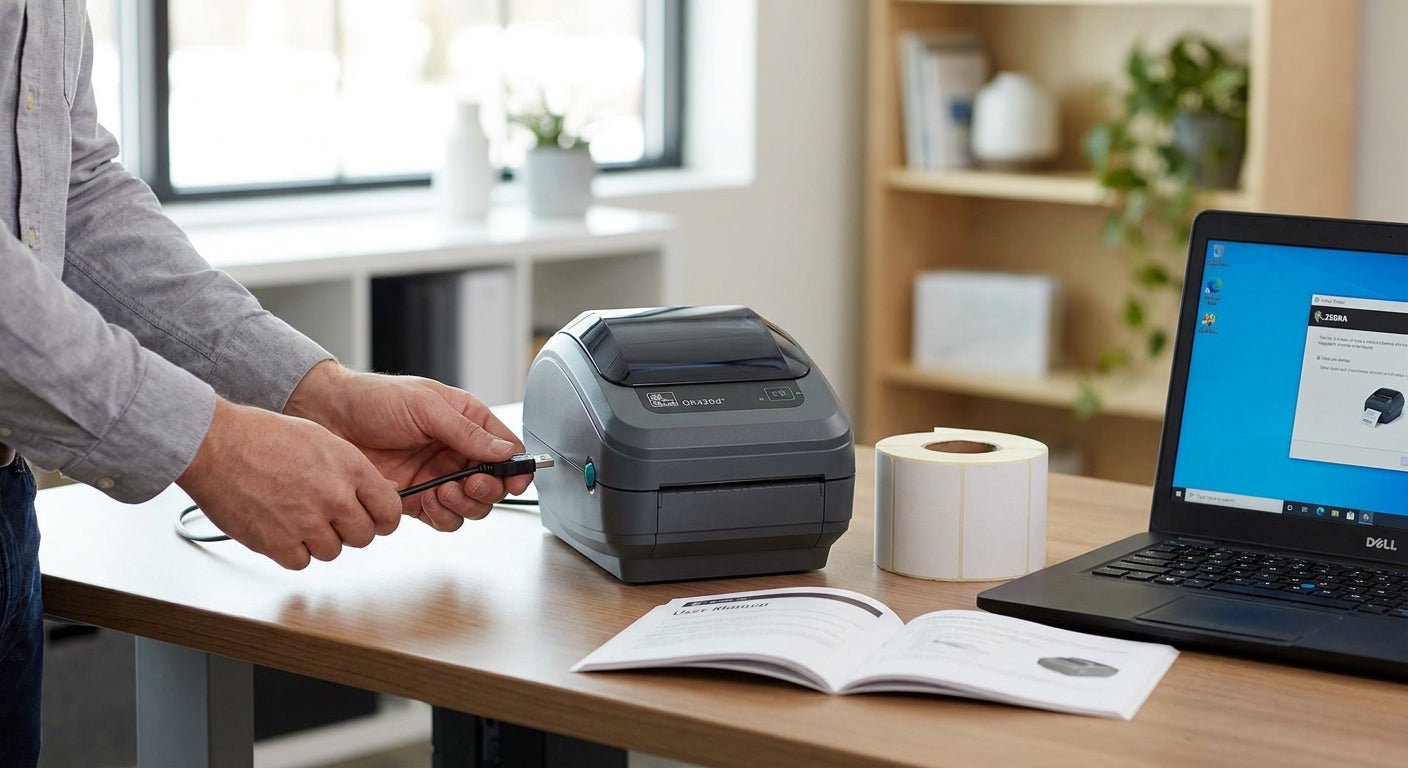
Setting up a Zebra label printer takes about 20 minutes when you install the driver before you plug in the cable — do it backwards and Windows or macOS fights you for an hour over a phantom device. This guide covers unboxing, driver setup, media loading, calibration, and the first print job for Zebra's 2026 desktop and industrial models.
- Install Zebra Setup Utilities before connecting the cable — do the reverse and driver conflicts eat 30+ minutes.
- Calibrate before your first print job; skip it and labels drift off-center within 10 labels.
- Zebra label printer setup runs under 20 minutes for desktop direct thermal models in 2026.
- ZebraDesigner's free tier caps template complexity fast — fine for basic barcodes, thin for anything custom.
Why this matters
A Zebra label printer is only as good as its setup order. Skip calibration and the first run of labels feeds at the wrong offset, wasting stock before you've printed anything usable. Get the sequence right — driver first, media and ribbon second, calibration third — and the printer runs the same way for years without a second thought.
McAuley Labels sells thermal label printers, asset tags, and oil change sticker systems built on the same direct thermal and thermal transfer engines Zebra uses, so the logic below applies whether you're running a Zebra ZD220, a GoDEX unit, or anything else on the market in 2026. Still deciding which brand to buy? The GoDEX vs Zebra breakdown covers where each one wins on upfront cost and long-term durability.
What you'll need
- A Zebra label printer — desktop or industrial model
- A USB, serial, or Ethernet cable matching your printer's ports
- Zebra Setup Utilities or ZebraDesigner software, downloaded before you unbox anything
- A roll of labels sized for your printhead — direct thermal or thermal transfer stock
- Thermal transfer ribbon, only if your model uses a ribbon module
- 20 minutes and a flat surface near your computer or network switch
If you're not sure which media type your printer takes, the direct thermal vs thermal transfer breakdown explains the tradeoff in under five minutes — direct thermal skips ribbon entirely but fades faster under heat and sunlight.
The steps
1. Install the driver before you touch the cable
Download Zebra Setup Utilities from Zebra's site and run the installer with the printer still in the box. Windows tries to auto-detect an unrecognized USB device the moment you plug in an uninstalled printer, and that half-installed driver is the single most common cause of a Zebra label printer setup stalling out. Installing first, connecting second, avoids that entirely.
2. Connect the printer and power on
Plug in the cable — USB for most desktop models, Ethernet or serial for shared network printers — then power on. Zebra Setup Utilities should detect the printer within seconds and prompt you to name it. Give it a name tied to its location ("Front Desk Zebra") if you're running more than one printer on the network.
3. Load the label media
Open the top cover, release the media guide, and drop in the roll so it feeds label-side up toward the printhead. Slide the guide against the edge of the roll — snug, not tight, or the roll drags and skews. Close the cover until it clicks.
4. Load ribbon, if your model needs it
Thermal transfer models require a ribbon spool threaded through the ribbon path and wound onto the empty take-up core. Direct thermal models skip this step entirely — there's no ribbon compartment to open. Loading ribbon backward is the second most common setup mistake; the ribbon should feed matte-side down against the label, shiny side facing up toward the printhead.
5. Calibrate the printer
Run the calibration sequence from Zebra Setup Utilities, or use the printer's manual button combo (usually feed + pause held for a few seconds on older desktop models). Calibration teaches the printer where each label starts and ends on the roll. Skip it and expect the first 10 labels to print with a growing offset until the printer loses track entirely.
6. Print a test label
Send a test print from Zebra Setup Utilities. Check three things: alignment (label centered, not shifted left or right), darkness (text sharp, not gray or scorched), and cut or tear position. Adjust the darkness setting up or down in 2-3 point increments until text prints clean without smearing.
7. Install ZebraDesigner and build a template
ZebraDesigner handles label layout — text, barcodes, logos, QR codes. The free version covers basic single-field labels; anything with variable data pulled from a spreadsheet needs the paid tier. Build one template, save it, and print a second test batch before moving to production volume.
8. Save the printer profile
Once the test batch prints clean, save the driver settings as the default profile so a reboot or a new user account doesn't reset darkness and calibration back to factory defaults.
“If you calibrate before you print, the first label off the roll is also the last one you have to throw away.”
Troubleshooting
- Printer not detected by the computer — uninstall the driver completely, restart, then reinstall Zebra Setup Utilities before reconnecting the cable.
- Labels print blank or too light — raise the darkness setting in 2-point increments; direct thermal printheads lose sensitivity as they age, so darkness creeps up over the printer's life.
- Labels drift or feed at an angle — recalibrate; also check that the media guide sits snug against the roll edge, not loose. The full calibration walkthrough covers the manual button sequence for older models without software access.
- Ribbon wrinkles on thermal transfer models — the ribbon tension is off; check that it's threaded matte-side down and the take-up spool isn't overtightened.
- Printer prints half a label then stops — usually a buffer timeout on a slow USB connection; switch to a shorter cable or move to Ethernet for high-volume jobs.
- Windows shows a driver but nothing prints — the wrong driver version is installed for that specific model; delete it and pull the exact model driver from Zebra's support page.
Tools and resources
- Zebra Setup Utilities (driver and printer management)
- ZebraDesigner (label design software, free and paid tiers)
- Extra label stock and ribbon sized to your printhead width
- A USB or Ethernet cable rated for your printer's port
- McAuley Labels stocks thermal transfer ribbon and label stock sized for most desktop thermal label printers, useful as backup supply beyond what shipped in the box
What to do next
Once the first template prints clean, the next problem is usually resolution — 203 dpi handles most shipping and asset labels fine, but small text or dense barcodes need 300 dpi or higher to stay scannable. And if you're running more than one printer type in the same shop, understanding where GoDEX and Zebra diverge on cost per label and duty cycle saves a second bad purchase.
FAQ
What's the best software to set up a Zebra label printer?
Zebra Setup Utilities handles driver installation and printer detection; ZebraDesigner handles label layout. Install Setup Utilities first, before connecting the printer, to avoid driver conflicts.
Is a Zebra label printer better than a GoDEX printer for a small shop?
Both run the same direct thermal and thermal transfer engines, so the difference comes down to upfront cost and support terms rather than print quality. Compare the two directly before buying either.
How do I calibrate a Zebra label printer after installation?
Run the calibration command from Zebra Setup Utilities, or hold the feed and pause buttons together on older desktop models. Calibration teaches the printer where each label starts on the roll and prevents drift after 10 labels or so.
Do I need thermal transfer ribbon for a Zebra printer?
Only if you own a thermal transfer model. Direct thermal Zebra printers skip ribbon entirely but the print fades faster under heat and direct sunlight.
How long does zebra label printer setup take?
About 20 minutes for a desktop direct thermal model, longer for industrial units with network configuration. Most of that time goes to calibration and darkness adjustment, not the physical unboxing.
Can I use a Zebra label printer without installing software?
No. Even basic print jobs need a driver installed through Zebra Setup Utilities; the printer won't appear as a usable device otherwise.
What causes a Zebra printer to print blank labels?
Usually the darkness setting is too low, or direct thermal media was loaded backward with the coated side facing away from the printhead. Check darkness first, then media orientation.
Does Zebra Setup Utilities work on Mac?
Zebra offers a separate Mac driver package rather than the Windows-only Setup Utilities app. Download the Mac-specific driver from Zebra's support site to avoid compatibility issues.
One last thing
Most Zebra desktop printers still ship with the manual button-combo calibration method as a fallback even in 2026, buried under the software-driven calibration most people use. Worth knowing if the printer ever loses connection mid-job on a factory floor with no laptop nearby — the physical button sequence still works with zero software involved.