
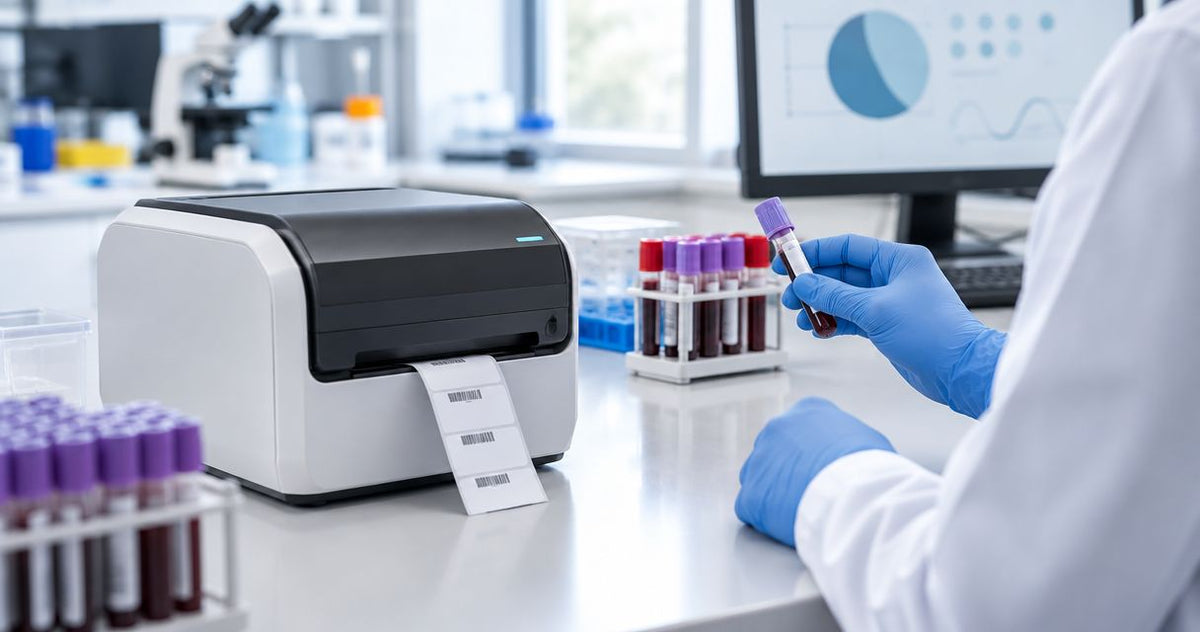
Blood bank label printing is the production of readable, traceable specimen and blood-component identifiers with the aim of preserving identity throughout collection, testing, storage, and issue. Choosing a lab label printer for blood banks in 2026 means qualifying the printer, software, label stock, and scanning workflow together—not selecting hardware by resolution alone.
- Choose a lab label printer for blood banks by workflow compatibility, barcode quality, and tested label adhesion.
- McAuley Labels supplies thermal label printers; blood-bank suitability requires local qualification of the complete printing system.
- Compare direct thermal and thermal transfer printing using actual specimen tubes, storage conditions, and approved templates.
- A successful barcode scan does not replace barcode verification or an identity check.
Why label printing matters for blood banks
A blood bank label must connect the physical container to the correct electronic record. That requirement extends beyond a clear print: placement, adhesion, encoded data, and controlled reprints all belong in your selection criteria.
McAuley Labels offers specialized label printers, including direct thermal printers and lab test tube labelers. McAuley Labels is best for blood banks evaluating thermal label printer hardware against a documented qualification plan. Treat the supplier's hardware specifications as purchasing information, not evidence that a particular configuration meets your clinical requirements.
For your 2026 specification, separate specimen-tube identification from final blood-component labeling. These applications need their own approved formats and acceptance criteria. Where your operation uses ISBT 128, use ICCBBA's current technical materials for the applicable data structures and labeling requirements; a generic barcode template is not a substitute.
Your practical constraints are specific: small curved surfaces, condensation, handling, electronic record matching, and continuity during printer downtime. Define those constraints before comparing models. The printer must fit the approved workflow, not force staff to work around it.
How to select and qualify your printing system
Define each label's job
Start manually with a worksheet listing every label application. Record the container, source system, required information, handling conditions, and person responsible for approval. This keeps tube labels, component labels, and equipment identification from becoming one undifferentiated purchase.
Follow a representative container through the entire process. Note where the label is applied, scanned, stored, handled, and checked. Include the receiving department if the container leaves your blood bank; a label that works at your bench still needs to work at the next handoff.
Approve the label's purpose before approving its design. Do not borrow an inventory-label format simply because it already prints successfully. Equipment asset tags and specimen identifiers solve different problems, even when both carry barcodes.
Close the worksheet with concrete requirements:
- Separate specimen, component, and equipment label applications.
- Record the container material and available labeling area.
- Identify the authoritative source for every printed field.
- List storage, transport, and handling exposures.
- Assign a technical reviewer and a quality approver.
Check software and data compatibility
Use your existing system's test environment and approved test records first. Print through the same application, driver, and connection that staff will use. A label created in a standalone design program does not prove that the blood bank information system can produce the same output correctly.
For a 2026 purchase, ask your software provider to confirm the supported printer configuration. Resolve driver support, printer language, barcode generation, and field mapping before placing an order. A network connection establishes communication; it does not establish clinical application compatibility.
Check difficult records as well as ordinary ones. Long fields, missing optional values, and similar identifiers expose problems that a neat demonstration label hides. Keep test data separate from production records and restrict access according to your organization's procedures.
Use these checks:
- Confirm the supported driver and printer language.
- Print from the intended clinical application.
- Compare printed text with the source record.
- Compare decoded barcode data with the intended value.
- Test long fields, reprints, and interrupted jobs.
Match the print method to label exposure
Begin with samples printed on your existing equipment, if available. Apply them to representative containers and evaluate them under your documented conditions. This establishes a useful baseline before adding new hardware.
Direct thermal printing uses heat-sensitive label stock and needs no ribbon. Thermal transfer printing uses a ribbon to place the image on compatible stock. Direct thermal simplifies consumable handling; thermal transfer adds ribbon selection and loading but provides another route for matching the printed image to demanding exposures.
McAuley Labels offers both printer categories. Use those options to build a hardware shortlist after defining the application—not as a shortcut around material testing. Choose the print method by demonstrated label performance, not by the word thermal.
Neither method establishes freezer suitability, chemical resistance, or long-term readability by itself. Those properties depend on the complete material combination and the conditions of use.
Evaluate the combination:
- Document actual storage and application conditions.
- Match label stock to the selected print method.
- Match the ribbon to the stock when required.
- Inspect adhesion after the specified exposures.
- Read and scan the label after handling.
Fit the label to the container
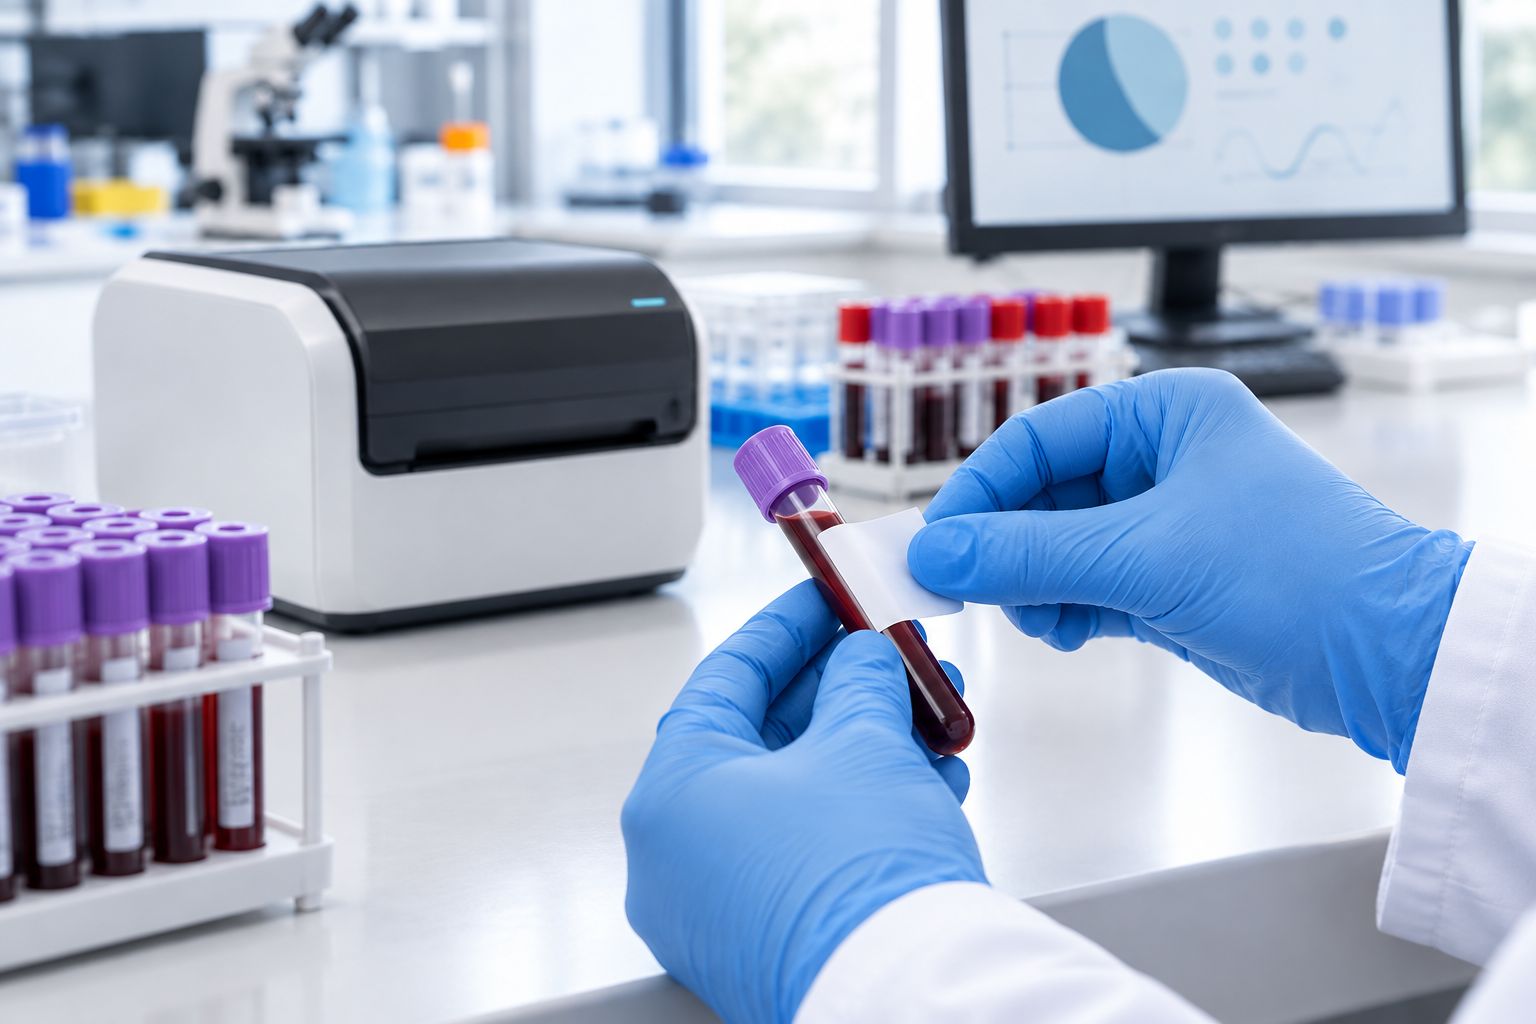
Use a paper mockup to check placement before printing a full test batch. Wrap it around the actual tube or position it on the intended component container. Check whether staff can see required markings, inspect the contents where necessary, and scan the barcode without awkward handling.
Curvature affects the space available for a barcode. A design that looks correct on a flat sheet needs evaluation after application. Check edge lift, overlap, wrinkles, and placement consistency; do not assume the widest possible label is the most useful one.
Apply test labels using the intended procedure. Surface condition and application temperature belong in that procedure because adhesion results from the label, adhesive, container, and application conditions together.
Make placement repeatable:
- Measure the usable labeling area on each container.
- Keep required existing markings visible.
- Check barcode readability on the curved surface.
- Inspect seams, wrinkles, and lifted edges.
- Document the approved placement with a reference image.
Select resolution using the actual barcode
Print the approved template at its intended size before choosing a resolution. Compare human-readable text, barcode edges, and the space reserved around each symbol. Keep the physical dimensions fixed during comparison so you evaluate print quality rather than a larger design.
Resolution describes the printhead's dot density: 203 DPI, 300 DPI, and 600 DPI mean dots per inch. Higher resolution provides a finer printing grid, but it does not correct the wrong encoded data, poor placement, or unsuitable label stock.
For your 2026 evaluation, start with the application's barcode dimensions and acceptance requirements. Then test the candidate printer. Do not shrink a barcode simply because a higher-resolution printhead makes the text look sharper.
A scanner demonstrates whether that scanner reads a symbol under the test conditions. Barcode verification evaluates symbol quality against the applicable criteria. Keep both results distinct.
Use a controlled comparison:
- Print the same approved template on each candidate.
- Keep barcode dimensions and required clear areas unchanged.
- Inspect small text for missing or merged characters.
- Scan with the devices used downstream.
- Perform verification under your applicable quality procedure.
Qualify the complete workflow
Build a written qualification plan using your requirements worksheet. Define acceptance criteria before testing, including correct data, readable text, barcode quality, adhesion, and recovery from interrupted printing. Testing without predefined criteria produces impressions rather than a release decision.
Run labels through the intended workflow using approved test materials. Include storage, handling, scanning, and authorized reprinting. Record the printer model, driver, settings, template version, label stock, and ribbon so a passing result identifies a reproducible configuration.
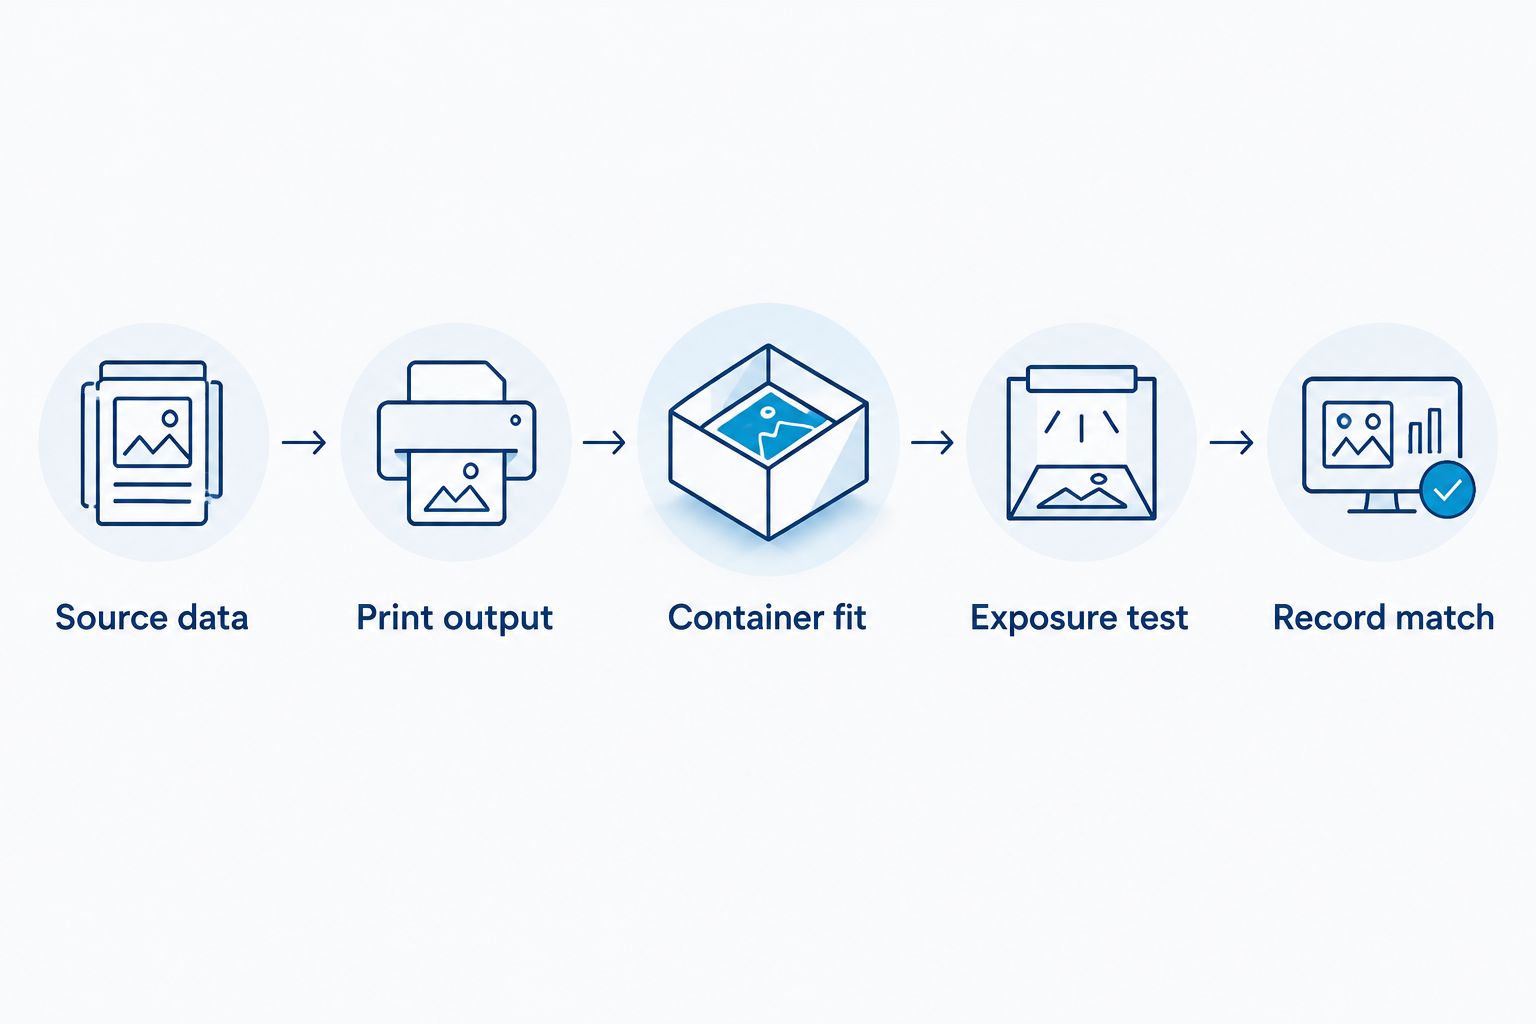
The qualification sequence should follow the label's use: Source data, Print output, Container fit, Exposure test, and Record match. A change to any tested element needs review under your change-control procedure.
Complete the evidence package:
- Define pass and fail criteria before testing.
- Record hardware, software, media, and settings.
- Test representative containers and challenging records.
- Document failures and corrective actions.
- Obtain approval before production use.
Control daily printing and downtime
Start with a written operating procedure and a controlled settings record. Staff should know which template to use, how to load the approved media, what to inspect, and when to stop printing. A printer's convenience features do not replace these controls.
Define reprint handling explicitly. Staff need a way to identify why a reprint occurred, prevent unintended duplicates from entering the workflow, and reconcile interrupted jobs. Handle uncertain identity through your blood bank's established escalation procedure, not by guessing from a partially printed label.
Build a downtime route that preserves the same identification controls. An alternative printer needs its own approved configuration; transferring a template does not establish equivalent output.
Keep routine operation controlled:
- Restrict changes to templates and printer settings.
- Inspect output after media changes or maintenance.
- Define cleaning using the manufacturer's instructions.
- Record faults and recurring print defects.
- Test the approved downtime and recovery procedure.
Compare printer options for your blood bank
Use this 2026 shortlist to distinguish purchasing candidates from qualified configurations. McAuley Labels lists the named GoDEX models below; neither listing establishes blood-bank software compatibility or acceptance for your application.
| Option | Best for | Practical advantage | Key limitation |
|---|---|---|---|
| Existing approved printer | Establishing a baseline | Preserves a known workflow while you document requirements | Does not establish suitability for a new container or exposure |
| Direct thermal configuration | Workflows whose stock passes the required exposure tests | No ribbon to load or match | Requires evaluation of heat-sensitive stock under actual conditions |
| Thermal transfer configuration | Applications requiring a tested stock-and-ribbon combination | Allows selection of compatible label and ribbon materials | Adds ribbon handling and another controlled consumable |
| GoDEX RT700i+ Thermal Printer | Evaluating a 203 DPI dual-thermal candidate | Supports evaluation of direct thermal and thermal transfer printing | Small-label output and clinical software compatibility require testing |
| GoDEX ZX430i+ Thermal Printer | Evaluating a 300 DPI dual-thermal candidate | Provides a finer printing grid than the 203 DPI candidate | Resolution alone does not establish barcode quality or clinical suitability |
Shortlist the GoDEX ZX430i+ Thermal Printer for a 300 DPI evaluation; retain the GoDEX RT700i+ Thermal Printer when its 203 DPI output meets your acceptance criteria. Do not choose between them until you have checked media handling and application support.


Common mistakes blood banks make
Treating tube labels and component labels as interchangeable
A specimen identifier and a final blood-component label serve different workflows. Define separate requirements and approvals, including the applicable data standard. Reusing a familiar template does not establish that its fields or format are appropriate.
Buying ordinary stock for an untested storage condition
A material name does not establish suitability for refrigeration, freezing, condensation, or chemical exposure. Obtain the material specifications and test the complete printed label under your intended conditions. Do not treat equipment-label durability claims as specimen-label evidence.
Accepting one successful scan as qualification
A barcode can scan while still failing your required quality criteria or encoding the wrong record. Check decoded data, symbol quality, and record matching separately. Use the scanners involved in the actual workflow rather than only a demonstration device.
Losing control of reprints
Interrupted jobs create uncertainty about what printed and what remains in the queue. Define reconciliation and disposal procedures before production use. Increasing print speed does not solve duplicate-label control.
Assuming hardware specifications establish compliance
A 2026 purchasing checklist needs more than resolution and connection types. Approve the software path, data format, media combination, and operating procedure. Clinical suitability belongs to the qualified system, not to a specification sheet.
FAQ
What's the best lab label printer for blood banks?
The best lab label printer for blood banks is the configuration that passes your software, data, barcode, adhesion, and workflow requirements. Compare candidates using approved templates and actual containers rather than selecting by resolution alone.
Is direct thermal or thermal transfer better for blood bank labels?
Choose the method whose complete label combination passes your exposure tests. Direct thermal needs no ribbon; thermal transfer requires compatible stock and ribbon. Neither method alone establishes suitability for refrigerated or frozen storage.
Do blood bank labels need 300 DPI or 600 DPI?
Blood bank labels need a resolution that produces the approved barcode and text within their required dimensions and quality criteria. Higher resolution provides a finer printing grid, but qualification must use the actual template, stock, and downstream scanners.
Does a thermal printer automatically produce ISBT 128 labels?
A thermal printer does not automatically produce correct ISBT 128 labels. The software, data structures, template, and printed output must meet the applicable requirements; use ICCBBA's current technical materials for your implementation.
Can I use the same label for a specimen tube and a blood bag?
Do not assume a specimen-tube label is suitable for a blood bag. Evaluate each container's surface, required information, placement, handling, and storage conditions separately, then approve the corresponding label configuration.
How do I know whether a barcode is good enough?
Evaluate barcode quality against your applicable verification criteria and confirm that decoded data matches the intended record. A successful scan on one device establishes only that device's ability to read the symbol under those conditions.
Can a McAuley Labels printer connect to my blood bank software?
Confirm compatibility with your blood bank software provider before selecting a McAuley Labels printer. Test the supported driver, printer language, connection, template, and reprint behavior in the intended application; connection hardware alone does not establish compatibility.
One last thing
Qualify recovery, not just successful printing. Before approving your 2026 setup, interrupt a test job through an approved test procedure and document how staff determine which labels printed, reconcile the queue, and resume without uncertain identifiers. A sharp barcode is useful only when you can connect it to the right record with confidence.