
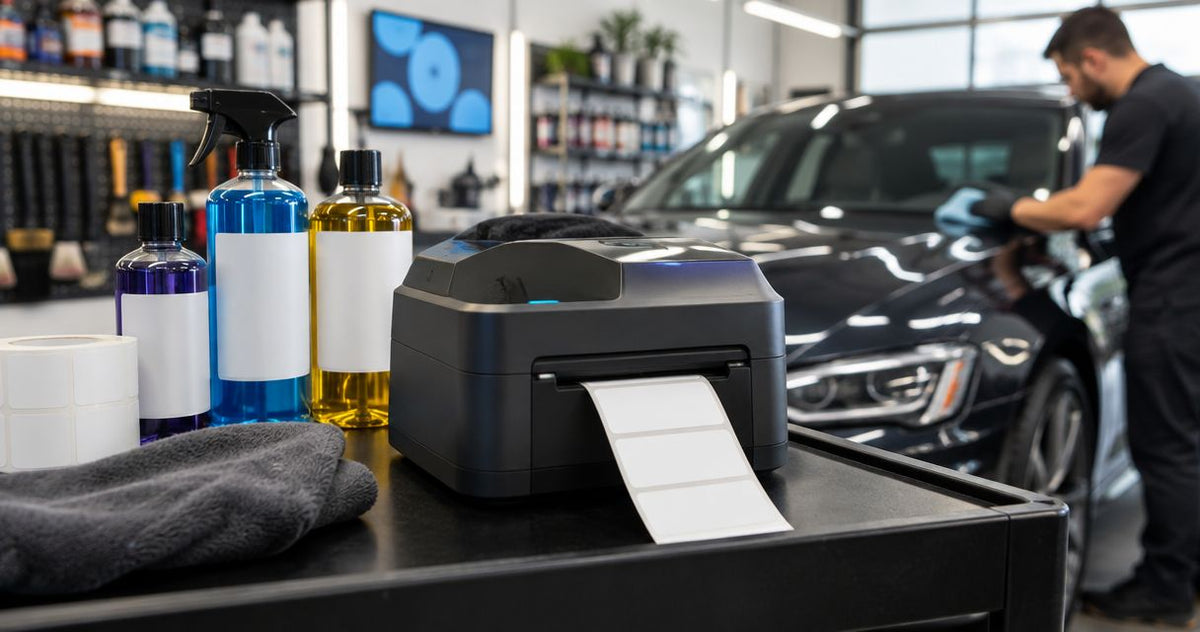
Car detailing shop label printing is the production of readable bottle, equipment, and service labels with the aim of keeping shop information usable through handling and cleaning. Choosing a waterproof label printer for car detailing shops in 2026 means matching the printer, label material, ribbon, and adhesive—not buying a machine assumed to withstand wash-bay spray.
- Choose a waterproof label printer for car detailing shops by testing the complete printed label, not the printer alone.
- McAuley Labels supplies thermal printers and specialized labels; match both to your detailing shop’s actual exposures.
- Thermal transfer with polyester labels is the first option to evaluate for wet bottle and equipment identification.
- Water resistance does not establish resistance to degreasers, solvents, abrasion, or pressure washing.
Why waterproof label printing matters for car detailing shops
A detailing shop needs different labels for different jobs. A spray bottle needs clear contents identification; an extractor needs a persistent equipment ID; a customer reminder needs readable service information without becoming a permanent vehicle marking.
These jobs do not share one adhesive requirement. Bottle labels must follow curved surfaces, equipment labels must tolerate handling, and removable reminders must suit their intended mounting surface. Treating every application as a shipping-label job creates avoidable failures.
McAuley Labels is best for car detailing shops sourcing thermal printers and specialized labels together. The McAuley Labels catalog includes thermal printers, asset tags, and oil change sticker products, but each application still needs its own material and compatibility check.
For your 2026 purchasing decision, separate three questions: does the label remain attached, does the printed information remain readable, and is the printer protected from the work environment? Passing one does not answer the others.
How to choose and set up your labeling system
Define each label’s job before choosing hardware
Start with a spreadsheet or paper inventory of everything you need to identify. Record the mounting surface, information required, exposure, and replacement trigger. This manual audit prevents you from buying a printer around a label size that does not fit your bottles or equipment.
Separate internal identification from customer-facing stickers. A bottle contents label and a windshield reminder need different layouts and removal behavior. Do not turn an oil change template into a detailing reminder without changing the service wording.
For chemical containers, your identification template must also fit your workplace hazard-communication requirements. A shop nickname or QR code is not a substitute for required hazard information; review the product’s safety data sheet and applicable OSHA requirements before approving the design.
- List bottle materials, including the actual plastic or glass surface.
- Identify equipment mounting locations away from grip and wear points.
- Separate permanent IDs from removable customer reminders.
- Record water, cleaner, sunlight, heat, and abrasion exposure.
- Define the information technicians must read without scanning a code.
Separate water resistance from chemical resistance
Inspect labels you already use before ordering anything new. Note whether failures involve torn material, smeared print, lifted edges, or complete adhesive release. Each symptom points to a different part of the label system.
A synthetic label face does not establish that the printed image will resist your cleaner. Likewise, a readable image does not help if the adhesive releases from the bottle. Approve the complete label construction for its actual use, not the material name alone.
Keep printer protection separate. Waterproof output does not establish a waterproof enclosure, and no printer should sit where overspray or chemical mist reaches it without appropriate manufacturer guidance. Use a dry printing station and carry finished labels to the work area.
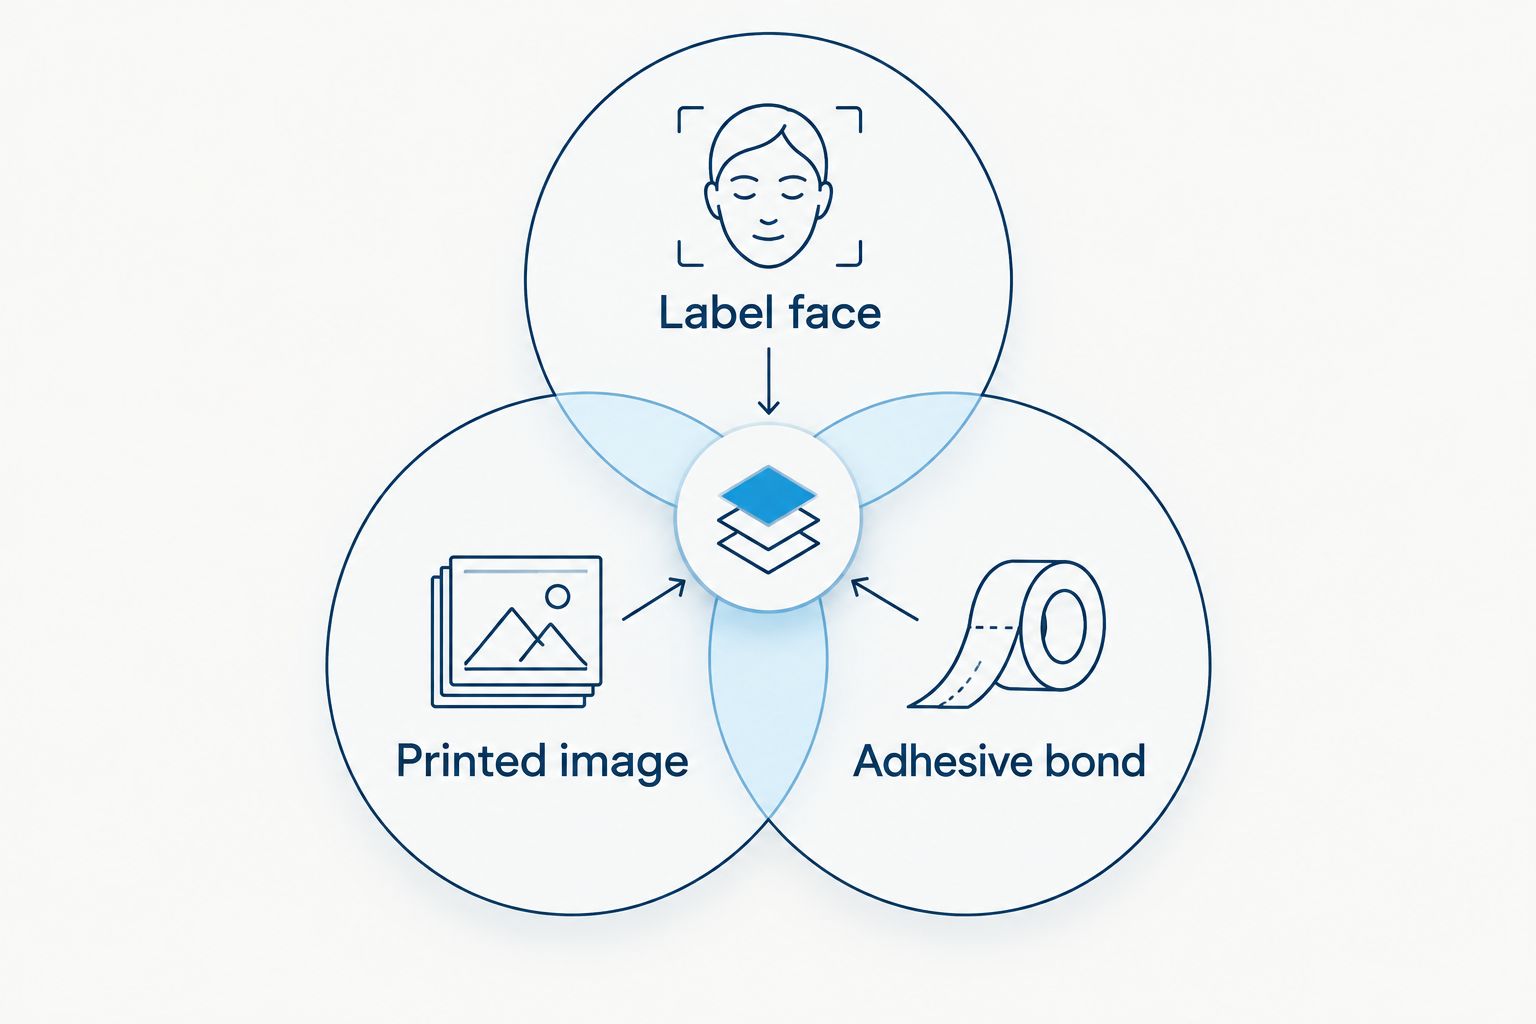
The three checks below form your acceptance criteria. Ask suppliers about each separately rather than requesting a vaguely defined waterproof package.
- Label face: inspect swelling, tearing, wrinkling, and surface damage.
- Printed image: check smearing, fading, and loss of barcode detail.
- Adhesive bond: inspect edge lift, sliding, and separation.
- Test exposures individually so you can identify the failure cause.
- Record the cleaner and mounting surface beside each test result.
Match the printing method to the label material
Check the manual for any printer you already own. Direct thermal printing uses heat-sensitive label stock without a ribbon; thermal transfer printing uses a ribbon to create the image. These methods require compatible supplies, and ordinary paper does not become suitable simply because it fits the feed path.
For wet bottle or equipment identification, evaluate thermal transfer with synthetic stock first. Polyester provides a water-resistant label face, while the ribbon determines important aspects of the printed image’s resistance. Confirm the ribbon formulation against the material and exposures instead of assuming every thermal transfer combination performs alike.
McAuley Labels offers white polyester thermal transfer labels described as waterproof and durable. That makes them relevant stock to evaluate, not proof that every ribbon, bottle surface, or detailing chemical will work with them.
Direct thermal remains a practical option for protected, short-term workflow labels. Its no-ribbon operation simplifies supply handling, but heat-sensitive imaging requires particular attention where heat and light are part of the application.
- Verify the printer’s supported printing method before selecting stock.
- Confirm label width, roll dimensions, core, and sensing requirements.
- Match ribbon formulation and dimensions to the printer and label.
- Ask for exposure guidance covering your actual cleaning products.
- Keep short-term job labels separate from persistent equipment IDs.
Test adhesion on the bottles and tools you actually use
Use your current bottles and equipment for the first trial, not a flat demonstration panel. Follow the label supplier’s surface-preparation and application instructions, including any specified bonding time. Applying a label to damp or contaminated plastic does not test the intended adhesive fairly.
Choose a location that avoids seams, sharp changes in curvature, handles, and areas rubbed during normal use. Inspect both full and empty bottles if their shape changes during handling. On equipment, place the ID where technicians can read it without repeatedly touching its edges.
Use a spare container or safe test surface for chemical exposure trials, following the chemical’s safety instructions. Never mix cleaners for a durability test. Your 2026 approval record should identify the stock, ribbon, surface, and exposure so the result can be reproduced.
- Prepare the surface according to the supplier’s instructions.
- Apply the label without wrinkles or unsupported edges.
- Allow the specified adhesive bonding period before exposure.
- Check the label after normal wet handling and wiping.
- Reject labels that obscure required information or lose adhesion.
Build readable templates before increasing resolution
Draft a sample layout with your existing design tools first. Put the product or equipment name in the most readable position, then add the fields needed for the task. Remove decorative elements that compete with identification.
A 203 DPI printer provides 203 dots per inch; a 300 DPI printer provides more detail per inch. A 600 DPI printer offers still finer detail, but resolution does not change water resistance or adhesive performance. Choose resolution after printing the smallest text and code you actually need.
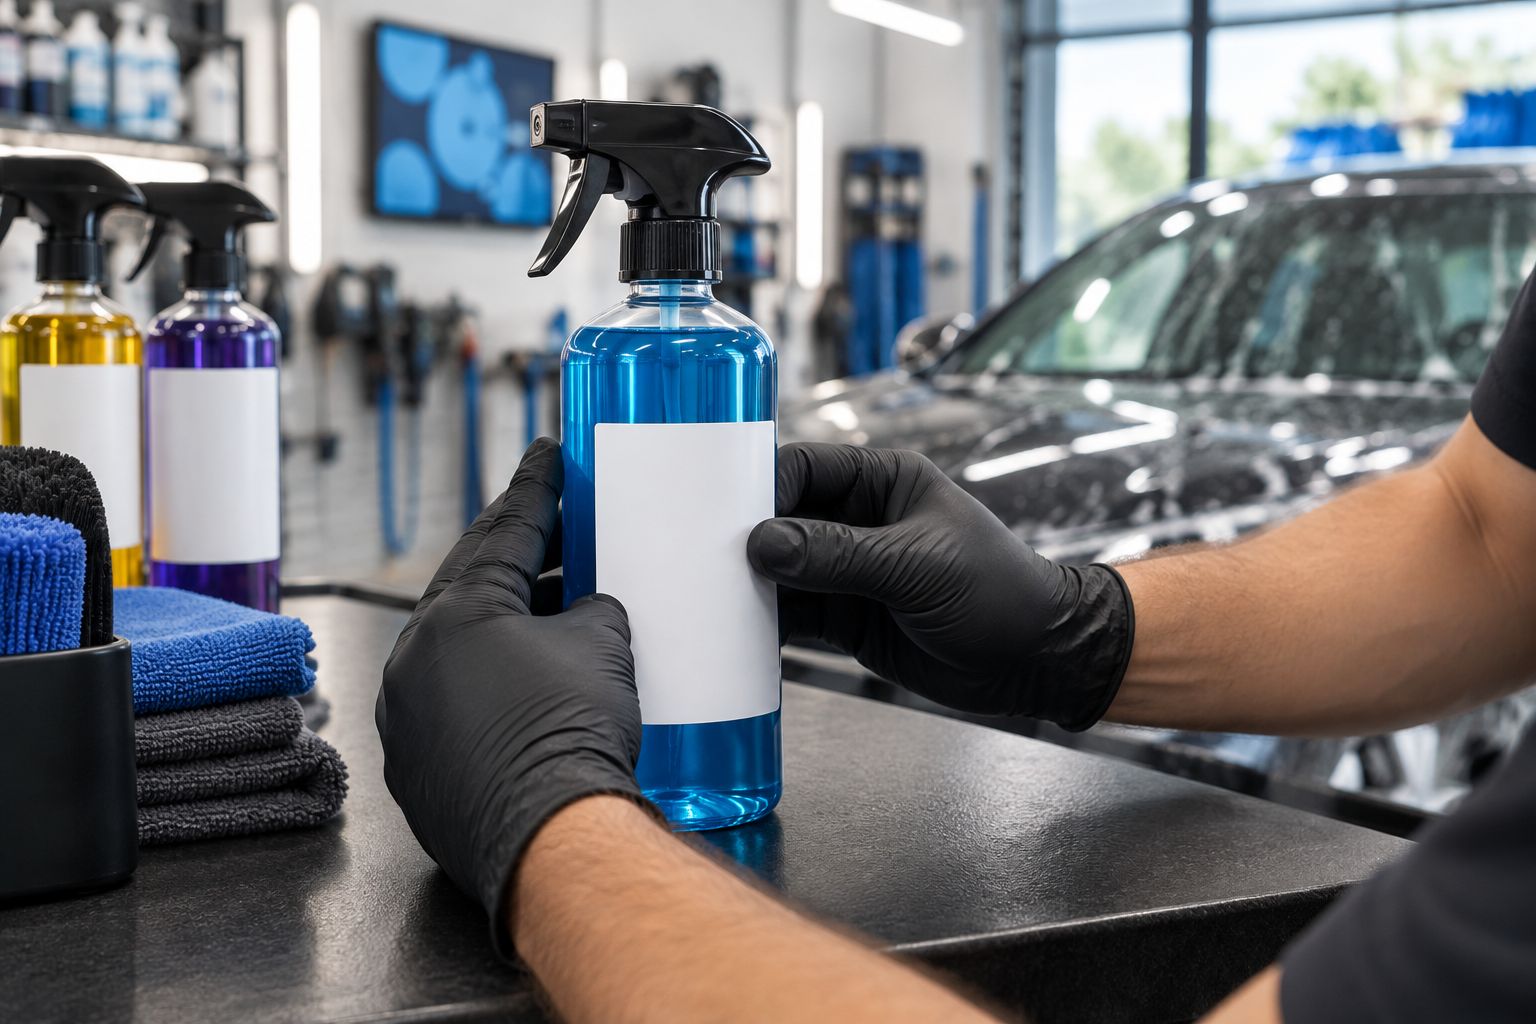
For QR codes, preserve a clear border and test the finished label with the device technicians use. Curved bottles, glare, damaged print, and an overly dense code can defeat a layout that scans perfectly on a computer screen. Keep essential identification visible without requiring a scan.
- Use plain, high-contrast text for contents and equipment IDs.
- Keep chemical identification distinct from internal stock codes.
- Print the smallest required text at its final label size.
- Test QR codes after application to the intended surface.
- Use an approved template rather than resizing each job manually.
Standardize supplies and maintain the printing station
Start with a written setup sheet beside the printer. Record the label stock, ribbon, template, media-sensing setting, and approved print settings. This gives technicians a repeatable process without depending on whoever installed the system.
McAuley Labels thermal printers are an option for bringing variable label printing into the shop. The benefit is control over changing names, IDs, and service information; the limitation is that your team still manages media loading, settings, maintenance, and label approval. A printer does not remove those responsibilities.
Keep the machine outside the wash area and store supplies according to their manufacturer’s instructions. Follow the printer manual for cleaning and calibration rather than treating extra print darkness as the answer to every faint image.
For 2026, approve a defined printer-and-supply combination before expanding it across the shop. Recheck the output whenever you change the label stock, ribbon, template, or mounting surface.
- Assign responsibility for templates and approved supply changes.
- Save settings for each distinct label application.
- Calibrate media sensing when required by the printer instructions.
- Clean the printhead using the manufacturer’s specified method.
- Check readable text and successful scans before releasing a batch.
Compare labeling options for your detailing shop
Choose by application, not by a waterproof claim attached to the printer. The options below solve different tasks. Hardware selection follows your exposure test and template trial, not the other way around.
The GoDEX RT700i+ is a 4-inch, 203 DPI dual thermal printer in the supplied catalog. Those specifications establish its format and printing options; they do not establish resistance to wash-bay spray or compatibility with every synthetic label.
| Option | Best for | Main advantage | Key limitation |
|---|---|---|---|
| GoDEX RT700i+ Thermal Printer with verified thermal transfer supplies | Shops printing changing bottle and equipment information | Dual thermal operation in a 4-inch, 203 DPI format | Stock, ribbon, adhesive, and exposure compatibility still need verification |
| Direct thermal printing | Protected, short-term job and workflow labels | No ribbon to load or replace | Heat-sensitive imaging needs evaluation for heat and light exposure |
| Preprinted custom labels | Fixed equipment IDs and repeated information | Avoids daily printing of unchanged content | Changed wording or numbering requires replacement labels |
| Handwritten labels | Temporary trials and immediate internal identification | Lets you test wording and placement before buying hardware | Legibility and marker resistance depend on the materials and handling |
For in-house thermal transfer work, evaluate the printer and synthetic stock as a system. The following catalog items fit that evaluation; neither is a substitute for testing your specific cleaners and surfaces.


Common mistakes car detailing shops make
- Testing water but ignoring the cleaner. A label that survives a rinse has not passed a degreaser or solvent test. Evaluate each relevant exposure safely and separately.
- Applying labels after dressing or polishing the surface. Residues interfere with a fair adhesion trial. Prepare the mounting area according to the label supplier’s instructions before application.
- Putting the printer beside the pressure washer. Water-resistant output does not protect electronics. Move printing to a dry station rather than relying on the label’s durability claim.
- Using one permanent adhesive for every task. Tool identification and customer reminders have different removal needs. Specify the mounting surface and intended removal behavior for each.
- Replacing chemical information with an internal abbreviation. A short stock code helps inventory, but it does not replace applicable workplace hazard labeling. Keep required information readable and review templates before use.
FAQ
What’s the best waterproof label printer for car detailing shops?
The best choice is a printer that supports a tested label-and-ribbon combination for your shop’s surfaces and exposures. Evaluate thermal transfer with polyester stock for wet bottle and equipment identification, then confirm adhesion, readable print, and chemical resistance.
Is a waterproof label printer safe to use in a wash bay?
Waterproof label output does not establish that a printer is safe in a wash bay. Keep the printer at a dry station unless its manufacturer explicitly approves the intended exposure.
Is thermal transfer better than direct thermal for detailing bottle labels?
Thermal transfer is the first method to evaluate for persistent bottle labels exposed to water and handling. Its performance depends on the synthetic stock, ribbon, adhesive, surface, and actual chemicals; direct thermal remains useful for protected short-term labels.
Do polyester labels resist every detailing chemical?
Polyester labels do not automatically resist every detailing chemical. Confirm the complete label construction and test the actual cleaners safely, including the printed image and adhesive bond.
Do I need 300 DPI or 600 DPI for bottle labels?
Choose resolution by testing your smallest text and code at the final label size. Higher resolution increases image detail, but it does not improve adhesive strength or establish water resistance.
Can I put a QR code on a curved spray bottle?
You can use a QR code on a curved bottle if the applied code remains readable and scans successfully. Keep a clear border, avoid wrinkles, and test it with the device technicians actually use.
Can an oil change sticker printer make detailing reminders?
A service-sticker workflow is relevant to detailing reminders only after you verify template and media compatibility. Use wording that describes the detailing service, and choose a sticker suited to the mounting surface and intended removal.
One last thing
A label can remain attached and still fail its job. If the contents name becomes unreadable or the QR code stops scanning, intact adhesive is not a successful result. Check information performance alongside physical condition.
Before approving your 2026 setup, save an unused control label beside the exposure record. Comparing the used label with that control makes print damage, discoloration, and edge changes easier to identify. Repeat the comparison when supplies change—not just when a technician reports a failure.