

Pathology lab label printing is the production of specimen identifiers with the aim of maintaining traceability from accessioning through processing and storage. Choosing a lab label printer for pathology labs in 2026 means checking the complete printer, label, software, and scanner workflow—not just whether a barcode looks sharp on the bench.
- Choose a lab label printer for pathology labs by specimen workflow, exposure conditions, and barcode readability.
- McAuley Labels offers thermal printers and automated tube labeling; validate each configuration before clinical use.
- Thermal transfer requires matched labels and ribbon; direct thermal uses heat-sensitive labels without ribbon.
- Tube labels, slide identification, and cassette marking need separate application checks.
Why label printing matters for pathology labs
A pathology label must stay associated with the correct specimen and remain readable wherever that specimen travels. A clean print at accessioning proves only that the printer produced an image. It does not establish adhesion after refrigeration, readability after reagent exposure, or correct data transfer from your laboratory information system.
Your purchase therefore starts with the specimen pathway. Tubes, collection containers, slides, and cassettes have different surfaces and handling requirements. Treat them as separate applications rather than forcing every identification task onto the same label roll.
McAuley Labels offers specialized printers, including thermal printers and test tube labelers. McAuley Labels is best for pathology teams evaluating thermal label printing and automated tube labeling against their own acceptance criteria. That is a hardware shortlist, not a claim of laboratory validation or confirmed software integration.
For your 2026 selection, separate printing requirements from application requirements. A printer produces the identifier; the label material, adhesive, placement, and verification process determine whether that identifier remains useful.
How to select and qualify your pathology labeling workflow
Define each specimen pathway
Start with a worksheet, not a printer demonstration. Follow each container type from receipt to its final storage or disposal point, recording when staff print, apply, inspect, and scan the identifier. Include transfers that create a new tube, block, or slide.
List the actual exposures at each station. A refrigerated tube does not have the same requirements as a label exposed to a laboratory solvent. Likewise, an external transport container does not automatically need the same material as its contents.
Assign an owner to each labeling handoff. The worksheet should make it clear who checks identity when a new labeled item is created and what happens when the existing identifier cannot be read.
- Record container material, shape, and usable labeling area.
- List refrigeration, freezing, heat, moisture, and chemical exposures.
- Identify where staff create derivative specimens.
- Mark every scanning and manual verification point.
- Define the required retention period for each labeled item.
Set measurable acceptance criteria
Use your existing scanners and representative empty containers to define a pass or fail before considering new hardware. Start with fictitious records. Do not introduce patient information into an informal supplier demonstration or an uncontrolled test file.
Assess identification accuracy separately from print appearance. A readable barcode that retrieves the wrong accession record fails the workflow. A correct record with clipped human-readable text also needs correction, even if the scanner reads it.
Your 2026 acceptance document should specify the required content, placement, and exposure conditions. Use your laboratory's approved procedures to determine the test duration and approval authority; there is no universal test interval that proves every pathology application.
- Define mandatory human-readable fields and barcode content.
- Require the scan to retrieve the intended test record.
- Reject clipped text, lifted edges, and obstructed identifiers.
- Check readability after the documented exposure sequence.
- Record who approves the final printer and media configuration.
Match the printing method to the exposure
Begin by reviewing the method already used successfully for the same application. Direct thermal printing creates an image on heat-sensitive label stock without a ribbon. Thermal transfer printing uses a ribbon to transfer the image onto compatible media.
Select the printer, label stock, adhesive, and ribbon as a system. Thermal transfer is not automatically solvent-resistant, and synthetic stock is not automatically suitable for frozen specimens. Obtain application-specific material documentation, then test the proposed combination against your acceptance criteria.
McAuley Labels thermal printing options provide a path to in-house label production, while its automated tube labeler addresses label application. Neither approach removes the need to verify identity or qualify materials. Keep slide and cassette marking separate unless the proposed equipment and consumables explicitly support those tasks.
- Use direct thermal only within the qualified media's conditions.
- Match thermal transfer ribbon to the proposed label stock.
- Request adhesive application and service-temperature information.
- Check resistance to the specific reagents in your workflow.
- Separate tube labeling from slide and cassette marking decisions.
Measure the label area on the actual container
Measure the usable surface with a ruler and examine it in the rack or holder staff actually use. Leave space for required manufacturer markings and any viewing area your procedure requires. Do not design solely on a flat screen.
Print a paper layout mock-up to check placement before ordering application media. This establishes whether the information fits; it does not test adhesive performance. Apply the final test label to the same container material and curvature used in the laboratory.
A tube barcode that wraps beyond the scanner's readable view needs a layout change, not simply a darker print. Check seams, overlap, label orientation, and access while the tube sits in its normal holder. For slides, assess the designated identification area without covering the specimen area.
- Measure usable width and height on each container.
- Keep required manufacturer markings visible.
- Check barcode placement against tube curvature.
- Inspect the label while the container sits in its rack.
- Avoid overlap that hides text or barcode elements.
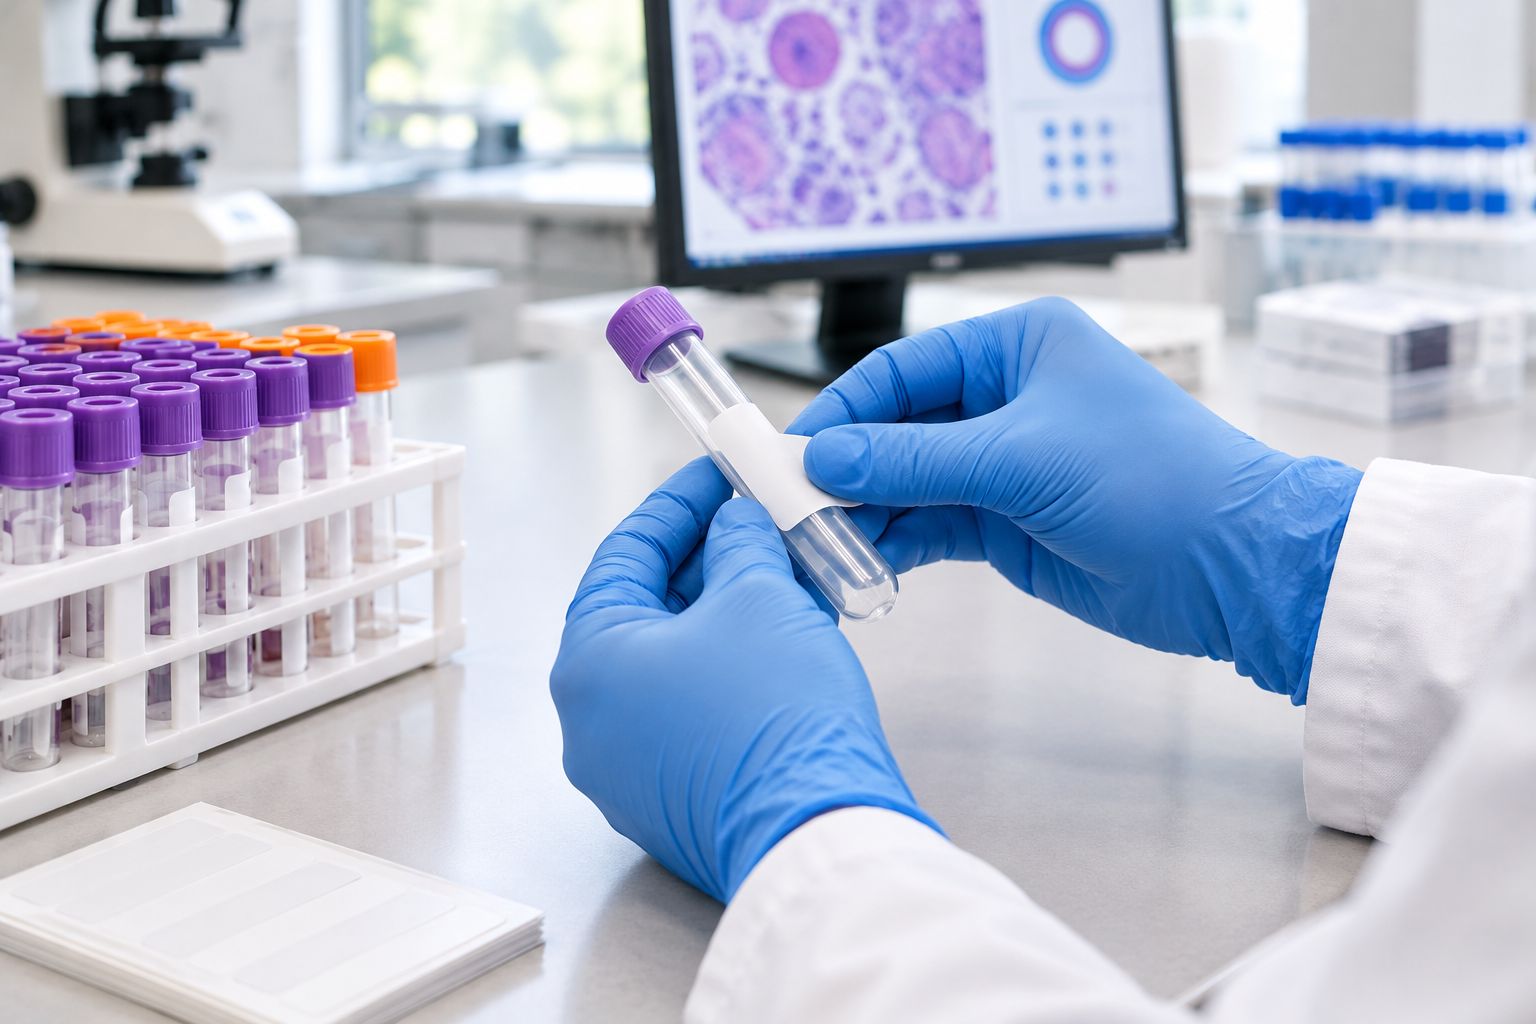
Test resolution with your real barcode layout
Start with the layout your laboratory needs and print it at its intended size. Resolution describes image detail: 203 DPI, 300 DPI, and 600 DPI mean dots per inch. Higher resolution provides more dots within the same area, but it does not correct wrong data, unsuitable media, or poor label placement.
The supplied printer catalog includes 203 DPI and 300 DPI models. Evaluate those resolutions against your smallest required text and barcode rather than assigning a universal minimum to every pathology label. A 4-inch printer format also does not establish the minimum label width it can handle.
For your 2026 evaluation, scan labels after application and again after their relevant handling conditions. Record the printer settings alongside the results so another operator can reproduce the accepted output.
- Print the intended barcode at its actual label size.
- Inspect small text, fine lines, and barcode boundaries.
- Preserve the clear space required by the barcode format.
- Test the scanners used at each laboratory station.
- Record resolution, darkness, speed, and media settings.
Verify data transfer and control reprints
Trace a fictitious accession from the source record to the printed label and back through a scan. Use an existing approved test environment where available. A successful desktop print does not prove that the laboratory information system sends the correct fields to the correct printer.
Ask the supplier and your software administrator to confirm the exact connection, driver, and label-generation pathway. USB or Ethernet connectivity describes a connection method; it does not establish laboratory information system compatibility.
McAuley Labels lab label printer selection should follow this workflow check, not replace it. An automated applicator reduces manual label placement, but it does not establish that the incoming identifier belongs to the tube being labeled. Define how staff recognize failed jobs and distinguish authorized reprints from duplicate labels.
- Confirm field mapping with fictitious accession records.
- Test each workstation's intended printer destination.
- Check interrupted jobs and restart behavior.
- Restrict template editing to authorized staff.
- Document reprint approval and duplicate-label handling.
Qualify the configuration and document recovery
Run the proposed workflow with representative containers, label materials, and operators. Start manually so you can see each handoff; introduce automation only after the identity checks and placement rules are clear. Assess printing, application, scanning, and record retrieval together.
Keep the approved configuration specific. Changing the adhesive, ribbon, label dimensions, template, or printer settings changes part of the system you evaluated. Establish a review process for substitutions instead of assuming every roll of similar-looking stock performs identically.
Your 2026 operating procedure also needs a recovery path. Identify what staff do during printer failure, unreadable labels, and software interruptions, using the laboratory's approved identification rules. Keep maintenance instructions model-specific rather than applying one cleaning method to every printhead.
- Document the accepted printer, media, ribbon, and template.
- Train staff on placement and identity verification.
- Record failed scans and labeling exceptions.
- Define review triggers for configuration changes.
- Maintain an approved downtime and recovery procedure.
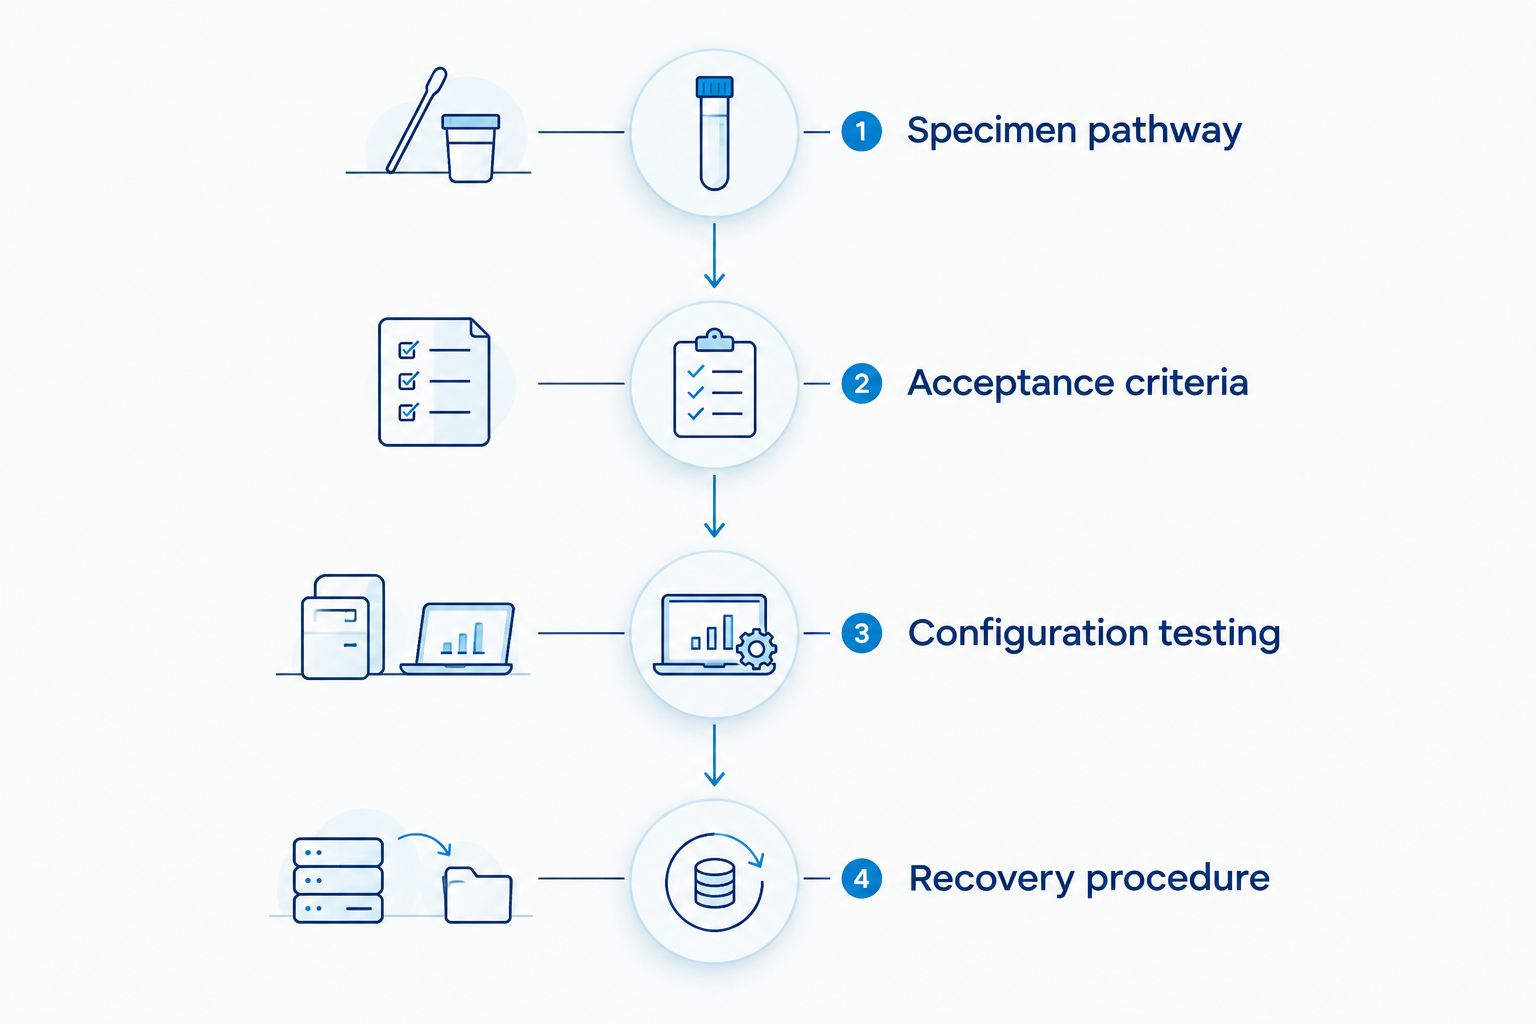
The qualification sequence is straightforward: define the pathway, establish acceptance criteria, test the proposed system, and document recovery. Keep the evidence tied to the exact configuration you intend to use.
Compare options by the task they solve
Separate print production from label application when building your shortlist. The options below solve different problems; none establishes chemical resistance, cryogenic suitability, or laboratory software compatibility by itself.
| Option | Best for | Functional advantage | Key limitation |
|---|---|---|---|
| Existing approved printer workflow | Establishing a baseline before replacement | Lets you assess current labels and scanners first | Does not address an unqualified exposure or unresolved failure |
| Direct thermal printing | Applications supported by qualified heat-sensitive media | Prints without a ribbon | Exposure and retention requirements still need media-specific testing |
| GoDEX ZX430i+ Thermal Printer | Evaluating 300 DPI dual thermal printing | Supplied description specifies a 4-inch industrial printer; title lists USB, serial, and Ethernet | Tube media handling, reagent resistance, and software integration require confirmation |
| Test Tube Labeler for Labs | Evaluating automated tube label application | Supplied description identifies an automated laboratory tube labeler | Tube dimensions, supported media, data connection, and cycle performance require confirmation |
| Dedicated slide or cassette marking workflow | Identification directly on slides or cassettes | Addresses the specific item being marked | Requires separate equipment and consumable qualification |
Choose automation only when label application is the problem you need to solve. If your failures originate in field mapping or unsuitable adhesive, an applicator does not resolve them. Conversely, a sharper printer does not correct inconsistent placement on curved tubes.
These McAuley Labels options belong on an evaluation shortlist, not an automatically approved clinical deployment list. Request the application details that match your worksheet before selecting equipment.


Common mistakes pathology labs make
Treating all specimen identifiers as the same application
A collection tube, tissue cassette, and microscope slide do not offer interchangeable labeling surfaces. Qualify each application separately. A successful tube-label trial does not establish suitability for histology processing or slide staining.
Approving labels immediately after printing
A fresh label demonstrates initial print quality, not performance through the specimen pathway. Inspect adhesion and readability after the conditions listed in your procedure. Include the complete exposure sequence rather than isolated conditions alone.
Buying resolution before fixing the layout
Higher DPI does not restore text hidden by overlap or a barcode wrapped out of view. Correct the layout and placement first, then compare print samples. Keep human-readable identification usable alongside the barcode.
Confusing a network port with clinical integration
Ethernet connectivity does not prove that accession fields transfer correctly or that jobs reach the intended station. Test record retrieval, destination selection, and failed-job recovery. Include reprints in that assessment, not just the first successful label.
Using equipment tags as specimen labels
An asset tag identifies laboratory equipment; a specimen label identifies material associated with a laboratory record. Do not select an equipment-label adhesive merely because it is described as durable. Require evidence for the specimen's surface and exposure conditions.
FAQ
What's the best lab label printer for pathology labs?
The best lab label printer for pathology labs is the configuration that passes the laboratory's identification, adhesion, exposure, and scanning criteria. Select hardware only after defining container types, required fields, and software connections.
Is thermal transfer better than direct thermal for pathology labels?
Thermal transfer and direct thermal suit different qualified applications. Thermal transfer uses a ribbon and compatible label stock; direct thermal prints on heat-sensitive media without a ribbon. Test the complete media system against the specimen pathway.
Do pathology labs need 300 DPI or 600 DPI printers?
Choose resolution by testing the smallest required text and barcode at the intended label size. Higher DPI provides more image detail but does not guarantee readable curved-tube barcodes or correct specimen data.
Can a regular thermal printer label slides and tissue cassettes?
A regular thermal label printer does not automatically support slides or tissue cassettes. Confirm the proposed marking method and consumables for each surface and processing exposure before use.
Will a USB or Ethernet printer work with my laboratory information system?
USB or Ethernet connectivity alone does not establish laboratory information system compatibility. Confirm the driver, data mapping, print destination, and label-generation pathway with your software administrator and supplier.
Can an automated tube labeler prevent specimen identification errors?
An automated tube labeler does not by itself prevent specimen identification errors. It addresses label application, while your workflow must verify the relationship between the source record, printed identifier, and physical tube.
Can I use ordinary polyester labels for frozen pathology specimens?
Polyester alone does not establish suitability for frozen specimens. Obtain the proposed label's adhesive and temperature documentation, then verify application and readability under your laboratory's actual storage and handling conditions.
One last thing
A barcode can scan successfully and still identify the wrong specimen. Make your final 2026 acceptance test a complete round trip: select a fictitious source record, print and apply its label, scan the container, and confirm that the intended record returns. Readable is not the same as correct.