
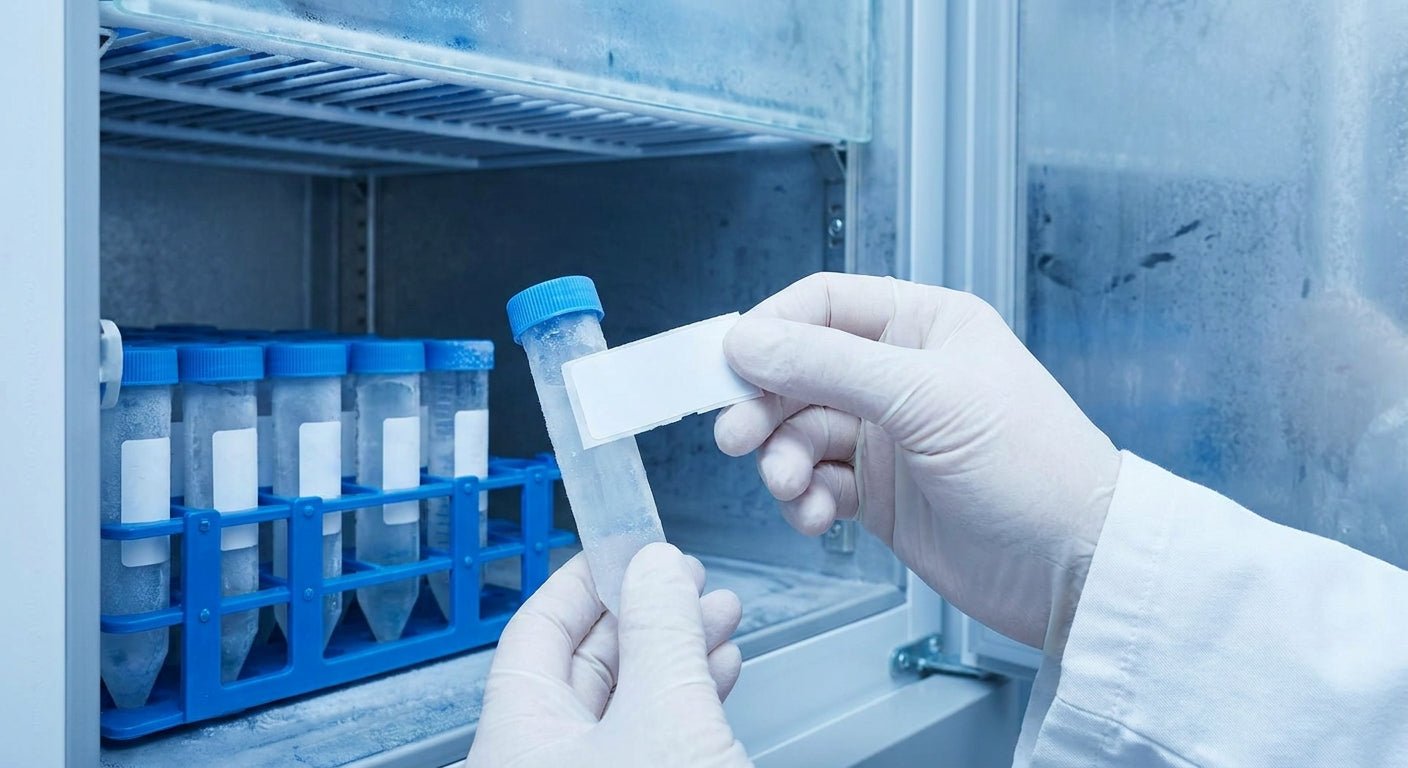
Refrigerated and frozen sample storage destroys standard labels fast — adhesive lifts in the cold, ink smears on contact with condensation, and barcodes stop scanning inside a few weeks. This guide covers the exact label material, ribbon, printer settings, and application steps that keep labels for refrigerated sample storage readable at 4°C and well below freezing through 2026.
- Direct thermal works for short-term 4°C fridge storage; thermal transfer polyester is required below 32°F.
- GoDEX RT700i prints 300 DPI barcodes small enough for 12mm and 13mm test tubes — Buy.
- Resin ribbon is mandatory on polyester stock headed for a freezer; wax ribbon cracks below 0°C.
- Run a 24-hour freeze test on 10 labels before committing a full batch to a production run.
Why this matters
A sample sitting in a 4°C fridge or a -20°C freezer puts more stress on a label than almost any other storage environment. Cold contracts the adhesive, condensation forms every time the door opens, and repeated freeze-thaw cycles crack ink that looked fine on day one. A cryogenic label built for lab samples needs to survive that cycling without losing barcode contrast, because a specimen with an unreadable ID is functionally lost.
Get the material and printer settings wrong once, and you're relabeling an entire freezer rack in the middle of a study. Get it right, and labels for refrigerated sample storage outlast the samples themselves. McAuley Labels builds toward that second outcome — resin ribbon and polyester stock rated for freezer cycling, not paper stock built for shipping labels.
What you'll need
- A thermal transfer printer rated for 300 DPI or higher — 203 DPI blurs barcodes under 1 inch
- Polyester label stock rated for cold storage, not standard direct thermal paper
- Resin ribbon matched to the polyester facestock — wax ribbons crack below freezing
- Permanent acrylic adhesive labels, never removable or repositionable stock
- 10-15 minutes per batch for calibration and a freeze test
- Access to a -20°C freezer or lab fridge for the conditioning test before the full run
The steps
1. Match label technology to the storage temperature
Cold storage isn't one environment — a standard lab fridge at 4°C and a sample freezer at -20°C put very different stress on adhesive and ink. Direct thermal labels can hold up fine in a fridge for weeks at a time, since there's no ribbon to crack and no resin bond to worry about. Drop below freezing, though, and the heat-sensitive coating on direct thermal stock loses contrast fast, often inside 30 days at -20°C.
Thermal transfer polyester is the safer default for anything that sees a freezer, because the resin ribbon bonds into the facestock instead of sitting on a coating that degrades with cold cycling. If you're unsure which technology your current printer uses, compare direct thermal and thermal transfer before ordering stock. Buying direct thermal for a -20°C freezer is the most common labeling mistake in sample storage.
2. Match the ribbon to the label
Resin ribbon is non-negotiable on polyester labels headed for cold storage — wax and wax/resin ribbons crack and flake once temperatures drop below freezing. A resin ribbon bonds into the polyester surface instead of sitting on top of it, so scratching from gloved hands or rack edges doesn't strip the print.
Common mistake: pairing a wax ribbon with polyester stock to save a few cents per roll. It looks fine printed, then flakes off inside the freezer within a week, and the barcode goes with it.
3. Set print resolution to 300 DPI minimum
Most sample tubes give you under 1 inch of label real estate, and a standard 12mm or 13mm tube barcode needs enough resolution to stay scannable at that size. A 203 DPI printer stretches thin barcode bars until scanners start rejecting them; 300 DPI keeps bar width consistent down to a 0.5-inch label.
The GoDEX RT700i prints at 300 DPI with a built-in color display for quick job selection, which matters when a lab is running multiple label formats in a single day. Reusing a 203 DPI printer bought for shipping labels is a step backward for tube-size barcodes.
4. Calibrate for tube and vial stock
Small-format labels need a fresh calibration every time you switch stock sizes, because the printer's gap sensor has to relearn where one label ends and the next begins. Skipping calibration on a new roll of vial labels causes print drift — text creeps toward one edge until it runs off the label by the twentieth print.
Run the calibration cycle in your printer's setup menu, then print five test labels and check alignment against the die-cut edge before loading the full roll. Expected outcome: identical placement from label one to label five.
5. Print a test batch and check for smear
Print 20-30 labels at your working speed and check them under a loupe or a phone camera zoomed to 400%. Smearing at the trailing edge of a barcode usually means print speed is too high for the ribbon-to-label combination; dropping speed by 1 ips (inch per second) is often enough to fix it.
Common mistake: approving a batch based on how it looks on the printed sheet. Always scan the barcode with the same handheld scanner used in daily operations, not just eyeball it.
6. Apply to a clean, dry surface
Adhesive on cold-storage labels only bonds fully if the tube or vial surface is dry and free of condensation at the moment of application. Applying a label to a tube pulled straight from a freezer traps moisture under the adhesive, and the label lifts at the corner within days.
Let tubes reach room temperature for 2-3 minutes, wipe with a lint-free cloth, then apply and press firmly along the full length of the label, not just the center. Expected outcome: no visible edge lift after the initial press.
7. Run a 24-hour freeze test before the full batch
Take 10 finished labels, apply them to representative tubes, and put them through one full freeze-thaw cycle before committing ribbon and stock to a production run. Check for lifting corners, ink smear, and scan failures after the cycle.
A label that survives one freeze-thaw cycle intact will typically survive the hundreds of cycles a sample sees over a study's life. Skip this test and you find out about a bad batch after 500 tubes are already labeled, not before.
“A label that survives one freeze-thaw cycle intact will typically survive the hundreds of cycles a sample sees over a study's life.”


Troubleshooting
- Label lifts at the corner after one freeze cycle — adhesive didn't bond because the tube had condensation at application. Dry tubes fully and let them sit at room temperature for 2-3 minutes before applying.
- Barcode won't scan after a few weeks in the freezer — direct thermal stock used below 32°F. Switch to thermal transfer polyester with a resin ribbon.
- Print smears along the trailing edge — print speed too high for the ribbon-to-label pairing. Drop speed by 1 ips and reprint a test batch.
- Text drifts off the label edge over a run — printer wasn't recalibrated after a stock size change. Run the gap-sensor calibration before loading a new roll.
- Ribbon wrinkles or flakes on polyester stock — wax ribbon paired with resin-rated stock. Switch to a resin ribbon rated for polyester.
- Label edges curl once inside the freezer — printed labels applied before the adhesive fully cured. Let printed labels rest for a few hours before application in cold storage.
Tools and resources
A dependable setup for labels for refrigerated sample storage comes down to three things: the right printer, the right stock, and a printer that's actually calibrated for small-format labels. The best label printer for laboratory test tubes breaks down formats beyond what's covered here, including tube diameters and label widths for 0.5ml and 1.5ml vials.
Keep a spare roll of resin ribbon on hand. Running out mid-batch on a rush order is the fastest way to fall back on wax ribbon out of convenience, and that's how cracked labels end up on a freezer rack. McAuley Labels stocks both thermal transfer polyester labels and matching resin ribbon built for freezer-grade printing.
What to do next
If you're labeling specimens headed for a clinical chain of custody rather than a research freezer, the requirements shift toward chain-of-custody fields and provider IDs. The guide to specimen labels for a clinical lab covers what changes when a label has to hold up in an audit, not just a freezer, in 2026.
FAQ
What's the best label material for a -20°C freezer?
Thermal transfer polyester with a resin ribbon is the best label material for a -20°C freezer in 2026, since the resin bonds into the facestock instead of sitting on a coating that fades with cold cycling. Direct thermal paper works for standard 4°C fridge storage but loses barcode contrast within about 30 days below freezing.
Is direct thermal or thermal transfer better for refrigerated samples?
Thermal transfer is better for anything stored below 32°F, while direct thermal is acceptable for short-term 4°C fridge storage. The deciding factor is whether the sample ever sees a freezer cycle, not just the fridge itself.
How much does a label printer for lab samples cost in 2026?
A thermal transfer printer built for lab labeling runs from roughly $370 for a basic 4x6 model up to several hundred dollars more for higher-resolution units with color displays. Ribbon and polyester stock are ongoing costs on top of the printer itself.
What DPI do I need for test tube labels?
300 DPI is the minimum for barcodes on 12mm or 13mm test tubes, since 203 DPI stretches bar width until scanners start rejecting reads. 600 DPI is only worth the cost for labels with dense 2D codes on very small surfaces.
Can cryogenic samples at -80°C use the same labels as a -20°C freezer?
No, ultra-low freezers and liquid nitrogen storage need cryogenic-rated labels tested to temperatures as low as -196°C, not standard thermal transfer polyester. Standard resin-ribbon polyester labels are rated for -20°C to -40°C freezers, not liquid nitrogen dewars.
How long do labels for refrigerated sample storage last?
A properly applied thermal transfer polyester label lasts through the full freeze-thaw cycle count of a multi-year study without losing barcode contrast. A 24-hour freeze test before a full production run is the fastest way to confirm a given batch will hold up.
Do I need a resin ribbon for cold storage labels?
Yes, resin ribbon is required for polyester labels headed for a freezer, because wax and wax/resin ribbons crack and flake once temperatures drop below freezing. Resin bonds into the label surface instead of sitting on top of it.
What happens if I use direct thermal labels in a -20°C freezer?
Direct thermal labels lose barcode contrast inside about 30 days in a -20°C freezer, because the heat-sensitive coating degrades under cold cycling. Once contrast fades, the barcode stops scanning even though the label is still physically attached to the tube.
One last thing
Ultra-low freezers and liquid nitrogen dewars are a different problem entirely — a -20°C sample freezer and a -80°C or cryogenic tank need different label ratings, and most labs default to the wrong one. If any part of a sample's path touches -80°C or liquid nitrogen, confirm the label is rated for that temperature specifically before printing a single batch. A label built for a -20°C freezer wasn't tested for -196°C, and in 2026 that gap still catches labs mid-study.